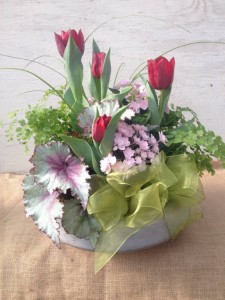
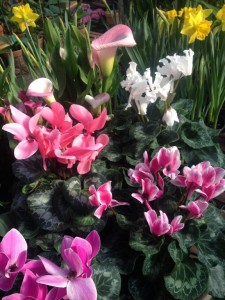
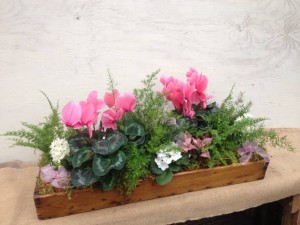
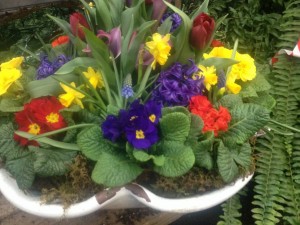
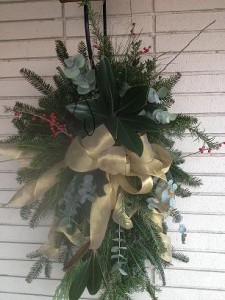
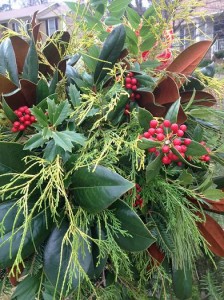
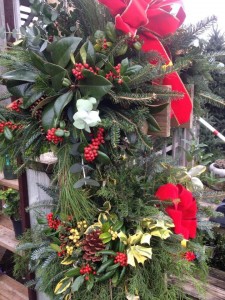
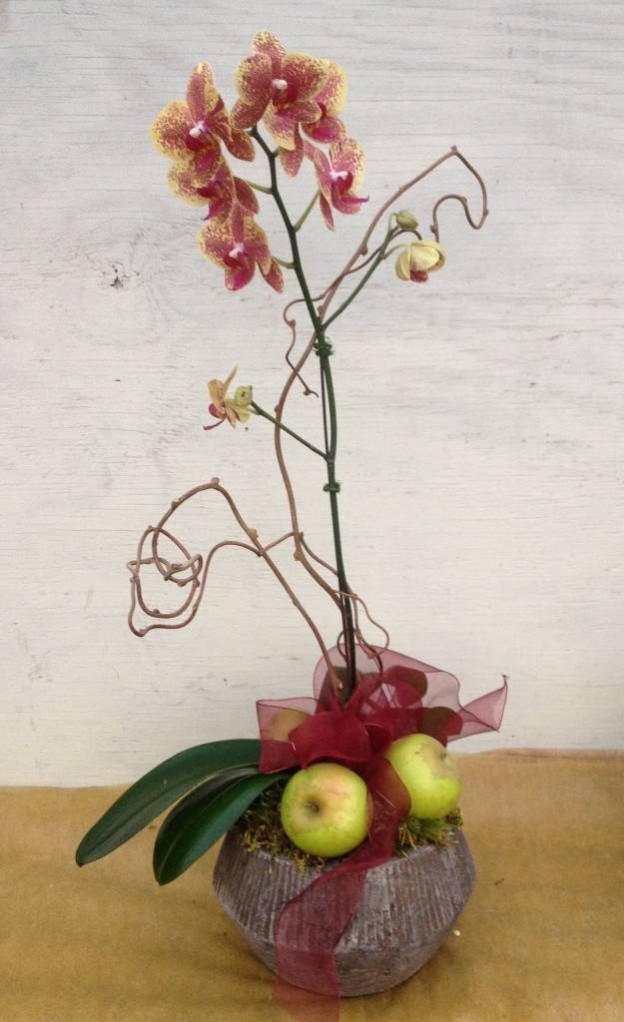
Category Archives: Arrangements
Amaryllis – Beauty In A Bulb
Amaryllis, unquestionably, are one of the most dramatic and elegant of flowers. That bold, beautiful blooms of all colors and sizes can emerge from such a drab, unassuming brown bulb is amazing. They are truly a wonder of nature!
So, you want to purchase an amaryllis bulb (or more than one) for yourself or as gifts for friends? First, you need to know that the size of the bulb corresponds to the size and amount of blooms. Their sizes range from “miniature” amaryllis bulbs to jumbo amaryllis and there are midsize bulbs as well.
Beware of gift boxes and bags already prepackaged. I’ve stopped carrying them because, inevitably, the bulb begins to grow in the box prior to purchase. Believe me, there’s nothing sadder than an amaryllis, stem bent toward the light, growing sideways out of a box. It’s just not right!
Potting them up is quite simple. Find a pot that is no more than an inch or so wider than the bulb and fill it with good quality potting soil (We use Fafard.) about half way up the pot. Next, position the bulb on the soil, pushing the roots firmly in place. The “shoulder”, or widest portion of the bulb, should be above the soil. Fill in around the bulb, push down gently, and water with some of the remaining manure tea.
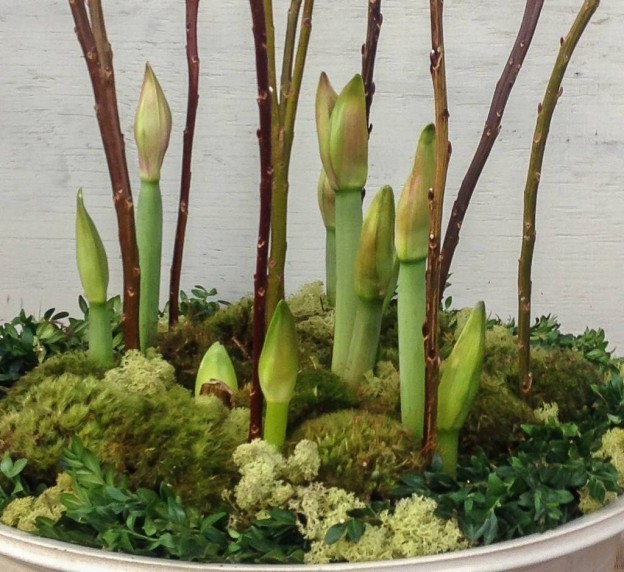
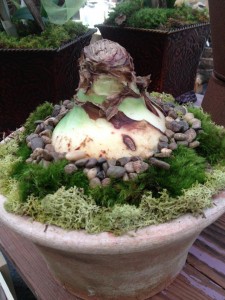
The hardest part is the wait for the bud to begin to emerge. It may take just a few days in a warm, sunny room, but it can just as easily take longer. Amaryllis don’t always cooperate with our timetables. Take a look at this “Holiday Flowers” post from last year and you’ll see what I mean. When you do see new growth starting to emerge, begin to water just so the soil stays slightly moist and watch the magic happen! You can also “dress up” the top of the soil with decorative moss or pebbles.
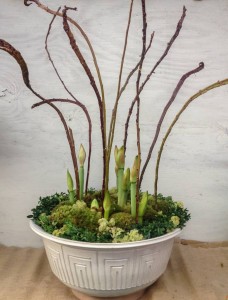
In bloom amaryllis can get quite tall and will usually benefit from some type of staking. In addition to simple bamboo stakes, stems of red and yellow twig dogwood, birch, curly willow, or branches from your landscape can be used. Insert the staking material at the edge of the bulb and tie it with raffia or ribbon.
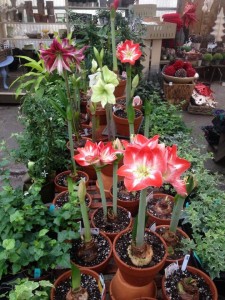
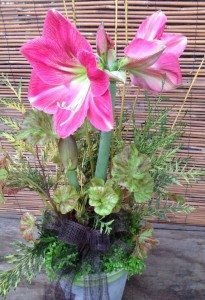
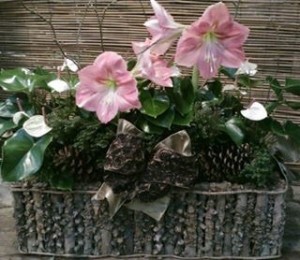
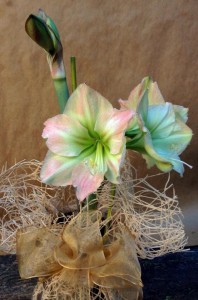
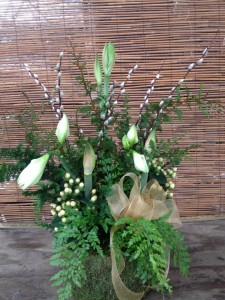
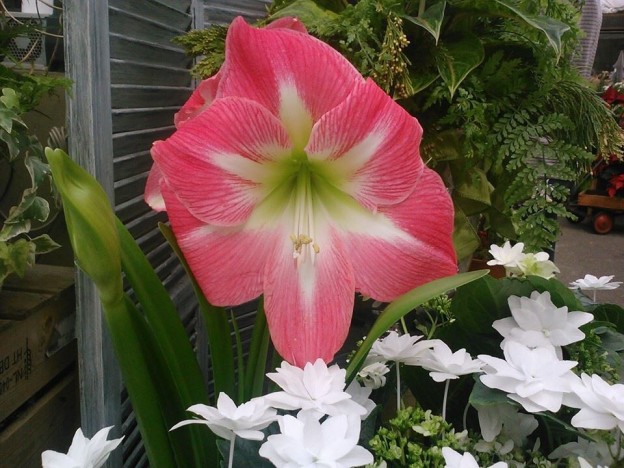
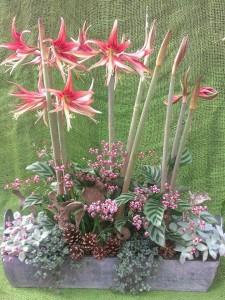
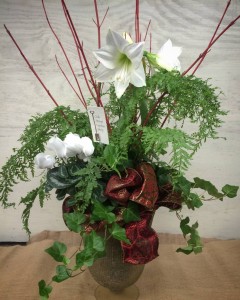
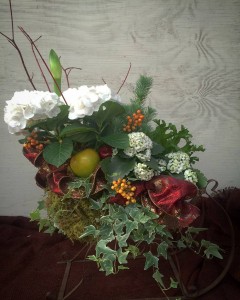
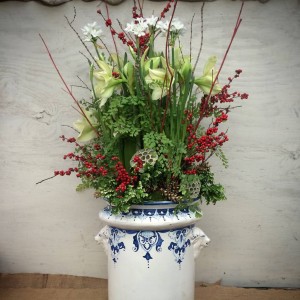
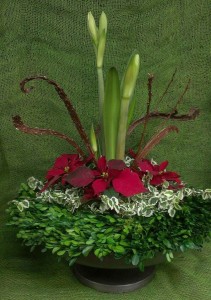
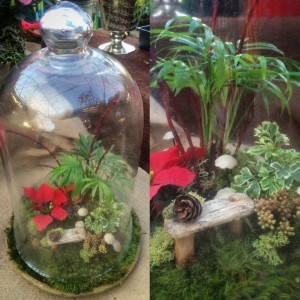
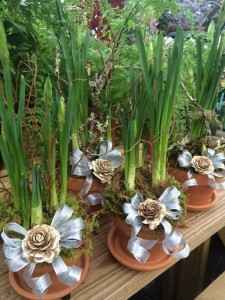
The pictures here show what we’ve done in the past using amaryllis. They make wonderful presents during the holiday season and simply watching the bloom stalk grow taller and the enormous buds begin to open is a gift in itself!
There’s also a video we’ve done on amaryllis available to watch on the Oak Street Garden Shop YouTube channel. If you enjoy it, subscribe for more!
In addition to bulbs that are available for you to plant, we also will be receiving many amaryllis already potted up from our growers. So, if you’re in the Birmingham area, there’s no excuse not to have one of these holiday favorites!
Fall Inspiration With Pumpkins And Gourds As A New Season Begins
That’s when we look at each other and say, “We are so lucky to work outside!” We’ve been looking forward to this, and with the arrival of pumpkins, gourds, and fall decorating staples, we are willing the temperatures to fall.
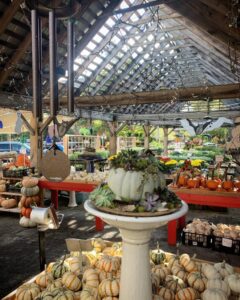
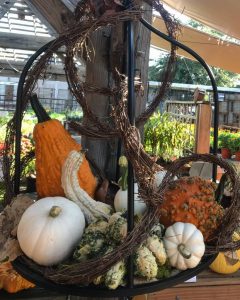
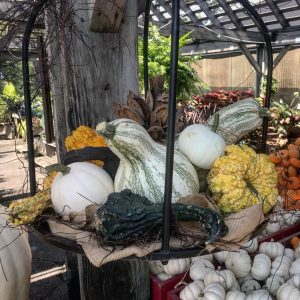
The hanging “platforms” shown here a couple years ago were used to create a pumpkin/gourd garden in the air.
We envisioned them as an elevated centerpiece for a party, hanging on a screened-in or covered porch area, or simply set in the perfect place to spotlight the abundance of the season.
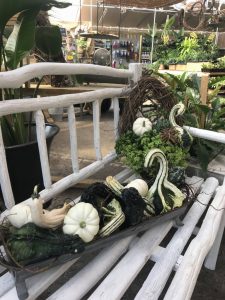
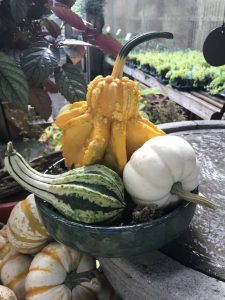
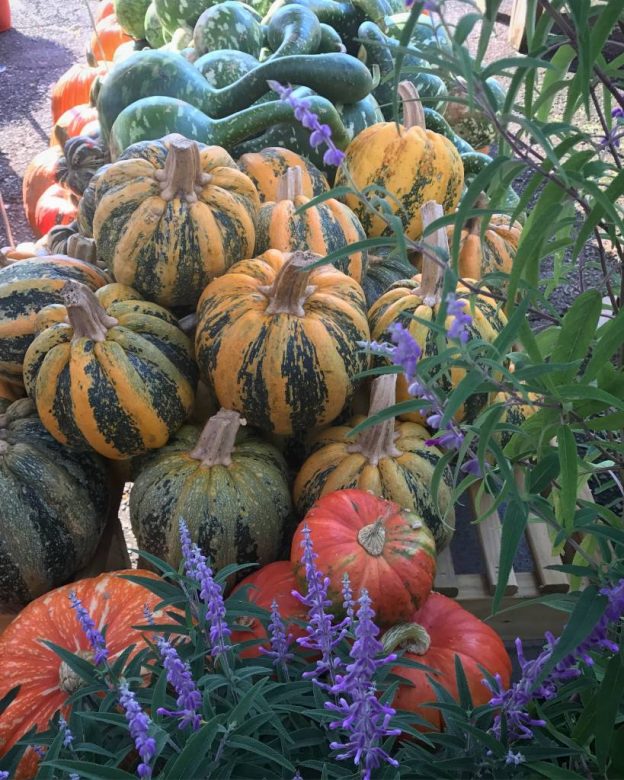
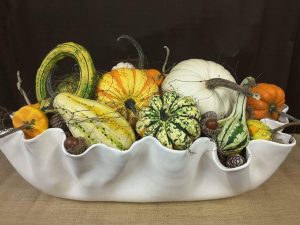
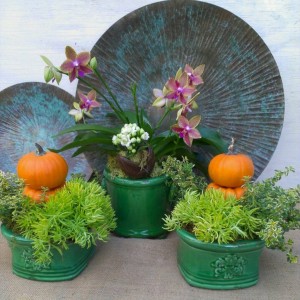
There are so many varied sizes, shapes and textures of gourds and pumpkins that can be used alone or with plants for centerpieces and gifts.
Simply gather those you like, being sure to get enough of a selection. With so many to choose from, it’s more than likely you’ll gather more than you need!
We use all manner of organic materials to complement them and have a customer who brings us beautiful fallen acorns to use. We add lichen, mosses, branches, burlap, and ribbon too, depending on the container.
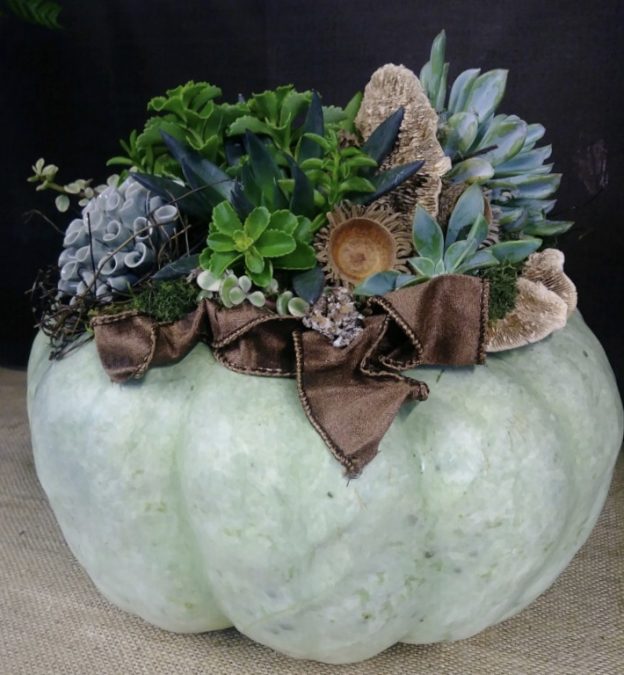
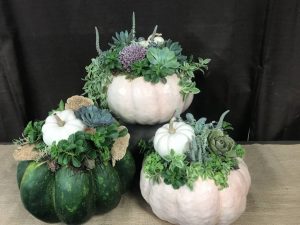
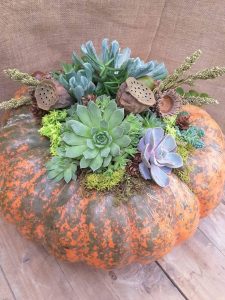
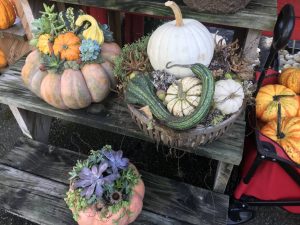
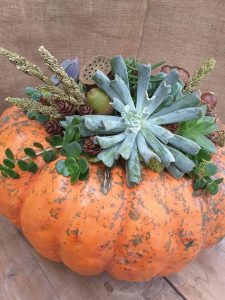
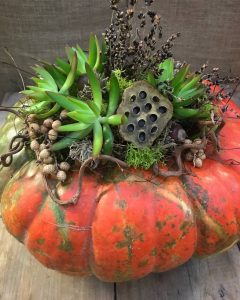
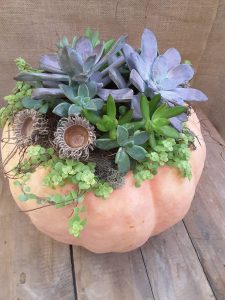
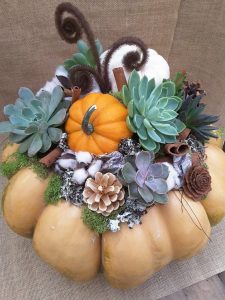
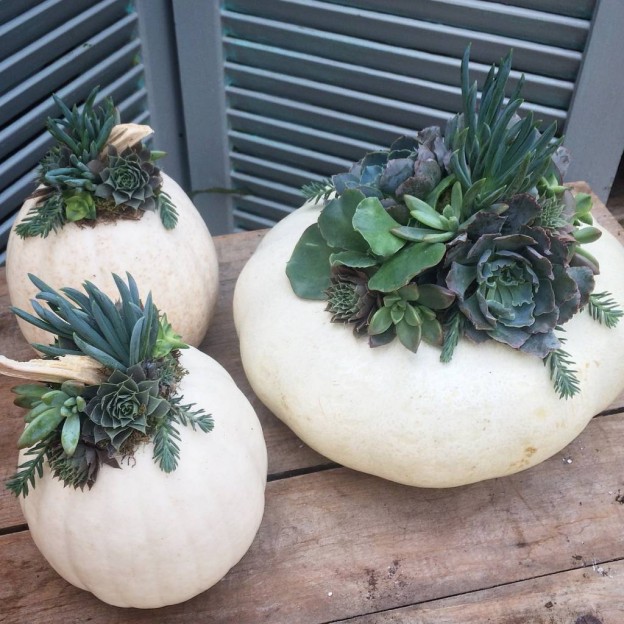
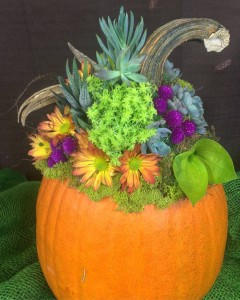
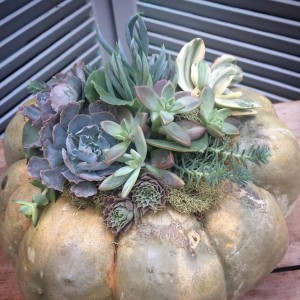
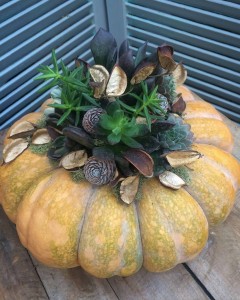
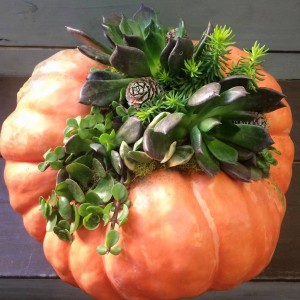
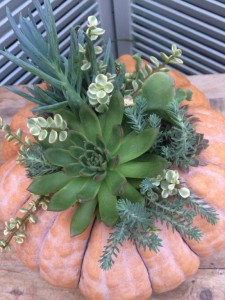
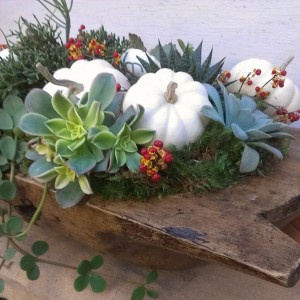
Our succulent topped pumpkins will be making a return for the season as well. Those shown here are some from past seasons. If you’re in the area and would like one, give us a call!
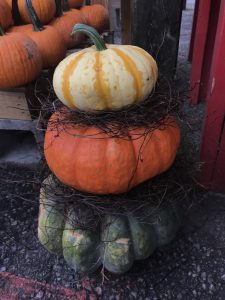
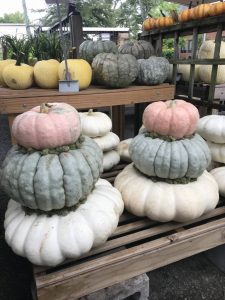
Stacking pumpkins is a popular way to display them in front of your house.
Simply find two or three that are different colors (or the same!), stack them as is or add another element like moss between them, and, voila, you have a beautiful entrance for the season.
We are just beginning to work with the small gourds that can be grouped together in containers for tablescapes, on bedside tables in guest rooms, or on coffee tables. Make a nest of angelvine or moss and position them however you like them.
Our pumpkin supplier comes weekly with the best assortments hand picked for us. We hope you’ll stop in if you’re in the area! Our pumpkins will be arriving soon!
If you follow us on Instagram or Facebook you’ve no doubt seen the videos we’ve been doing, or we hope you have! Follow us there or you can also subscribe to our YouTube Channel – it’s under Oak Street Garden Shop. Thanks for watching!
By Kris Blevons
Container Gardening – Pointers & Possibilities…
Early spring in Birmingham….the temperatures fluctuate up and down, and it’s still early to be planting the real heat lovers like caladiums and vinca in the ground – oh, but your fingers are itching to dig in the garden again…
Happily, you can begin planning your summer container plantings, which can also be great springboards for future garden groupings – testing them in a pot first is a safe and fun way to experiment.
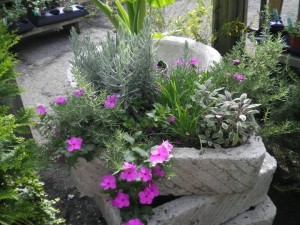
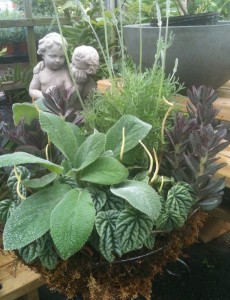
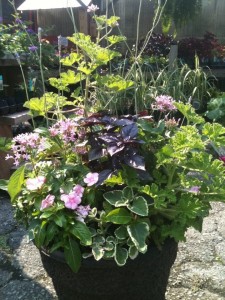
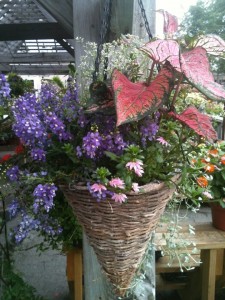
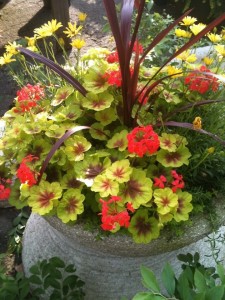
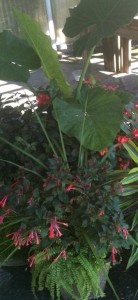
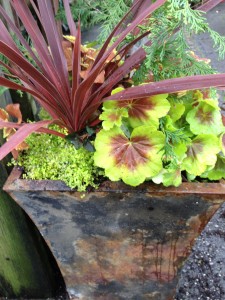
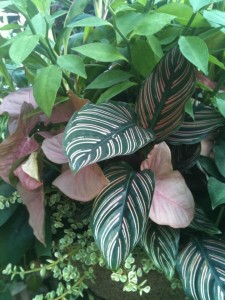
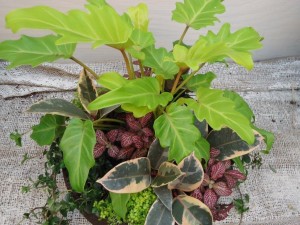
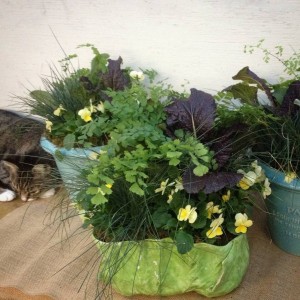
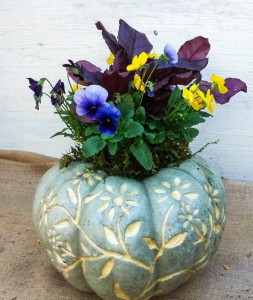
These pictures are container combos from seasons past – all lasted through the brutal heat of summer given water, deadheading and cutting back as necessary.
The old cliché of using a “thriller, filler and spiller” has been much used, (Maybe a little too much?) but don’t feel tied to it please! Designing creative plantings shouldn’t be absolute or bound by rigid rules.
However, do try to combine plants that appreciate the same amount of light and water and have growing habits that compliment one another.
If you can do that, any plant combo you like within those parameters is fair game. There are many plants that will handle a lot of sun but still appreciate a little shade, especially in the afternoon, when the heat is the most brutal. Others will need partial to full shade in our climate. The important thing is to choose the right plants for whatever conditions you have.
The larger the container your space can accommodate the better! Not only will you be able to add more plants, but watering will be easier as well. Having said that, when maintaining large planters, if temperatures are in the 90’s every day and lows don’t get below the 70’s at night (July and August in Birmingham!), be prepared to water every day, even if your planters are in only half day sun. Of course, there are always exceptions…succulents, purslane, portulaca – these are a few plants that can take dry soil and heat, but even they will need water eventually!
Plant choices change weekly during the height of spring and it can be overwhelming…we’re happy to help you come up with the right combinations of plants for your containers if you’re unsure. Just be sure you know how much sun (or not!) they receive and the sizes of your planters, and we can take it from there.
Another tip: Flowers aren’t always what adds the most pizazz. There are great foliage choices out there, many that add color with no blooms at all. Some of the most striking planters are those done with just foliage – try it sometime!
If you follow us on Instagram or Facebook you’ve probably seen a new series of shop videos – if not, follow us and check them out! They’re also on our YouTube channel under Oak Street Garden Shop – if you’d like to see more, subscribe!
By Kris Blevons
Ideas For Container Gardens In The Sun
Even in June we have folks come in to get planting advice for their garden beds and pots. It’s never too late to plant something! Here are a few ideas for your summer planters.
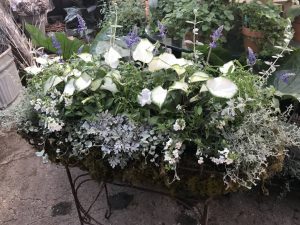
Keep in mind you don’t have to make fancy plant combinations if you feel unsure of yourself. You can also choose to use just one kind of plant in a planter.
The bottom line? Do whatever you feel works for you and your landscape. The staff at Oak Street Garden Shop and I enjoy putting together combinations of plants though, so here are a few examples of that type of planting.
The wire plant stand shown in the first two pictures lives at a local restaurant, receives lot of sun, and is well tended. It was first lined with a thick layer of green sheet moss, then soil and Osmocote were added (We mix in this slow release fertilizer to all of our plantings.), and finally plants were positioned.
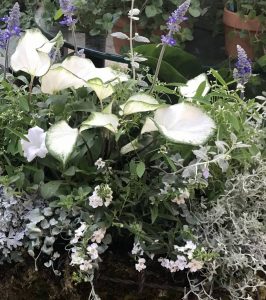
Because this needs to show up in the evening as well as during the day, the color scheme is white and silver with a touch of blue. It’s sited in front of a window and needs to look good all around as patrons also view it from inside the restaurant.
Blue salvia and silver germander will give height to this planting and spiky blooms, silver artemesia, sun tolerant caladiums, and an airy white euphorbia will add fullness, while a trailing artemesia, spreading angelonia, helichrysum, and silver dichondra will spill out the front.
The next example is simpler since the container, a bowl made out of hypertuffa, is smaller. Again, the plants chosen will work in the sun if care is taken to keep the contents watered. Our advice, unless it rains, is to water each morning, thoroughly in the heat of summer, and check the planting again each afternoon.
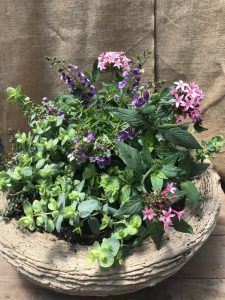
Three types of plants fill this bowl: spreading angelonia, ornamental oregano, and trailing pentas. Each of these will either spread out or trail, so the overall look will be of a mounding planting. Each of these has a different shape bloom, so there will be contrast in form as well as color of foliage or flower.
The final example is an intensively planted, heavy glazed container that a customer brought in to be planted for a wedding party. Her color scheme was white, pink, and purple, and some variegated and silver foliage was used as well.
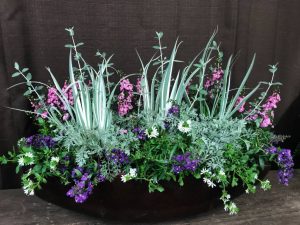
Because this needed to be intensively planted to look “grown out” immediately, maintenance will be important, and plants will need to be cut back periodically and groomed often. The planter sits against a wall in hot sun, so the view is 3/4 around.
Here Iris pallida was the starting point, then silver artemesia, silver germander, upright and spreading angelonia, and trailing plants of both purple and white scaevola were added to complete the planting. Again, there’s contrast in foliage color, bloom form, and growth habit.
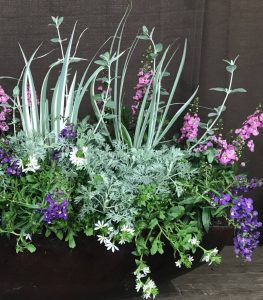
The mixed planting combinations shown here could just as easily work in a sunny garden bed too.
Experiment with new plants you might not be familiar with, try different combinations, whether they’re all in the same pot, one plant type in a container. or in the ground. You just might find a new favorite!
Plants used in these containers include:
Sun tolerant caladiums: There are many out there. The sun caladiums generally have lance shaped leaves. Blue salvia: Again, look for salvias that grow between 12″ and 18″ the size best for most mid-size container gardens. Euphorbia: There are many, and they all offer an airy growth habit with small white blooms. You can’t go wrong with any of them! Helichrysum ‘Silver Star‘: This is an excellent choice for southern gardeners, usually available only early in the season. Doesn’t “melt out” like most other helichrysums do for us.
Silver dichondra: Don’t let it’s skimpy appearance in the pot fool you. This is one of the best choices to create a silvery waterfall of coin shaped leaves to trail out of containers in the sun, and it loves the heat too! Angelonia: Sometimes referred to as summer snapdragon because of it’s bloom shape. Angelonia comes in an upright form perfect for the center of containers or in garden beds and as a spreading plant, more lax and outward growing.
Artemesia: Good for a silver foliage element. ‘Powis Castle’ is big and billowy, ‘Silver Brocade’ spreads out and down. Silver germander: A lovely upright growing plant used for foliage texture and color. An excellent plant to add structure to plantings, though it can be difficult to find.
Pentas: A workhorse for us. They’re available in an upright form, useful for adding height in containers, and now there’s also a trailing variety. They do require deadheading to perform their best. Ornamental oregano: Another that can be difficult to find, but if you can, the trailing habit and pink bloom bracts make it a winner.
Scaevola: This spiller comes in a range of colors: white, pink, blue, or purple, so it can be used with any color scheme. Clip it back periodically to keep it from getting ragged. Its other name is fan flower because of the charming fan shaped blooms.
Iris pallida: A striking iris, with either yellow (‘Aurea’) or white (‘Variegata’) variegated leaves, it prefers sun and dryish soil. Lovely light purple blooms appear in early spring.
A few more good choices not used here include:
Coleus: With their colorful leaves they brighten shady areas, but there are also many sun tolerant varieties as well. Sunpatiens: Provide plenty of water if you place them in full sun. Begonias: There are many excellent varieties out there including ‘Dragonwing’, ‘Big Leaf’, and others. It’s not your Grandma’s begonia world any more! Calibrachoa: Also known as million bells, these diminutive petunia look-alikes spill from containers with every color imagineable. Purslane: Colorful blooms close in the late afternoon on succulent, drought tolerant plants. Lantana: An old workhorse, new varieties are more compact and extremely floriferous.
Just In Time For Valentine’s Day – Flowering Plants For Your Love
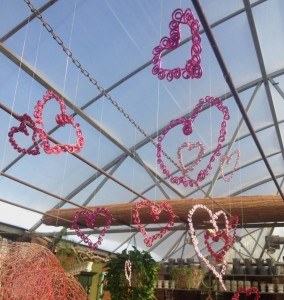
If you need a beautiful flower for your Valentine, look no farther than your nearest independent garden shop.
Sure, you’ll see all sorts of blooming plants in every other store on the block (They are everywhere!), but we like to think that, since plants are what we do, 365 days out of the year, we offer the best. And isn’t that what you want for your love today and every day?
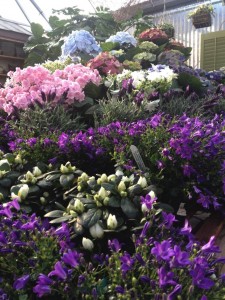
The weeks leading up to Valentine’s Day really are beautiful in the greenhouse.
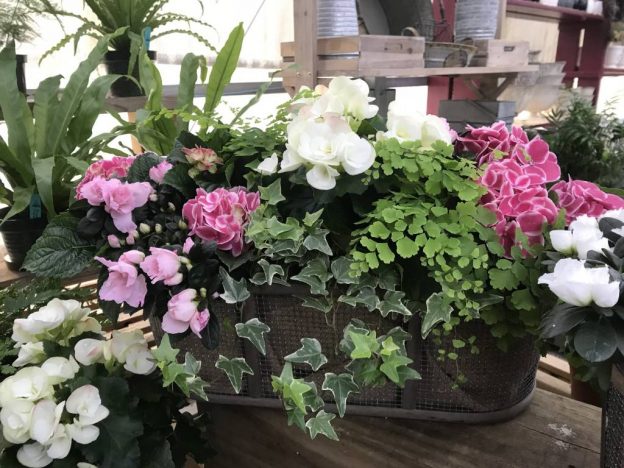
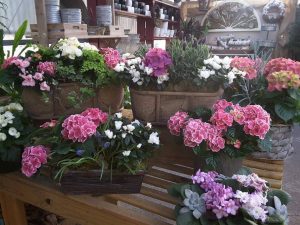
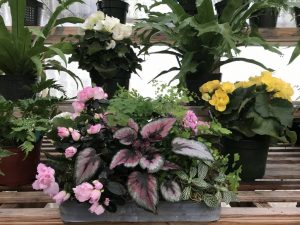
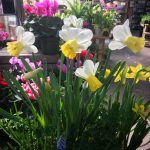
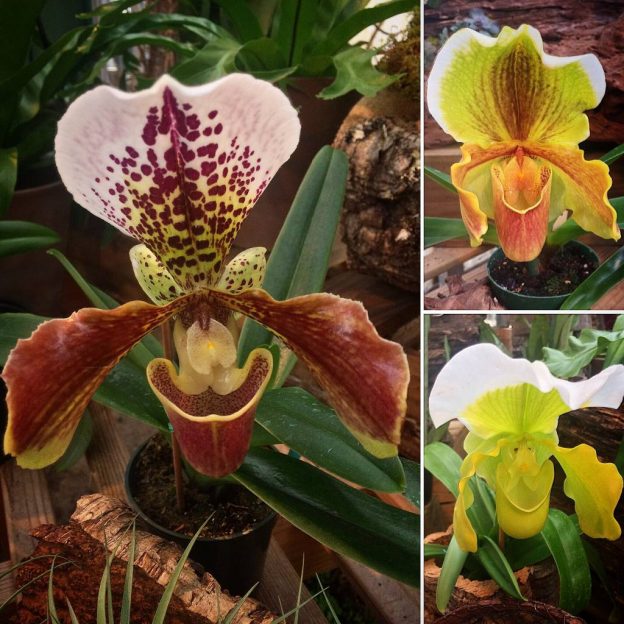
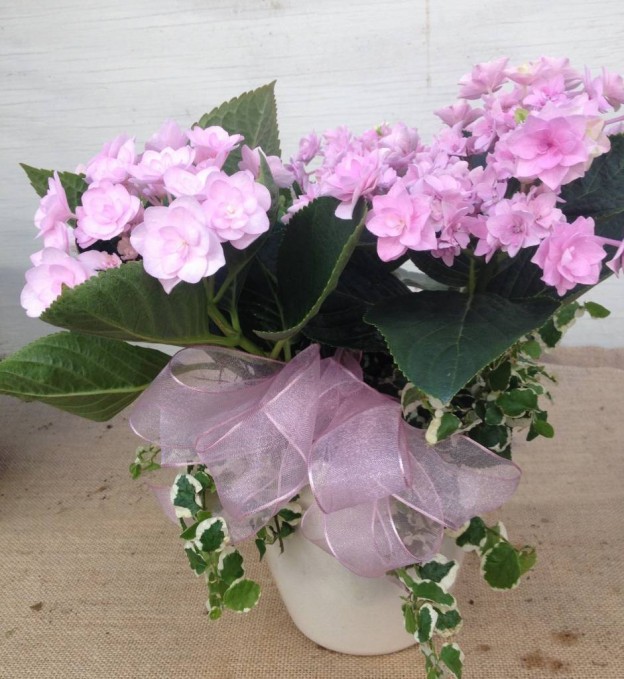
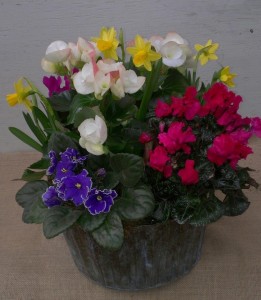
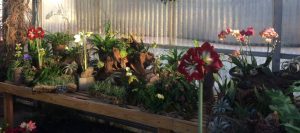
Orchids of all colors, forced hydrangeas in bloom, and the promise of spring with daffodils and other bulbs fill the tables. It may be winter on the calendar, but it’s spring in the greenhouse!
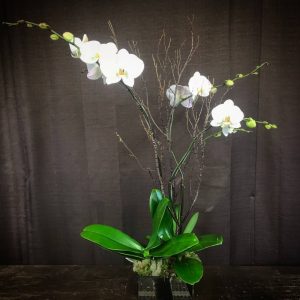
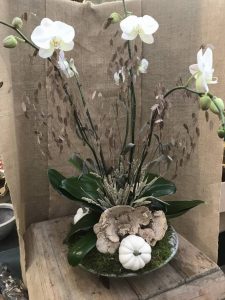
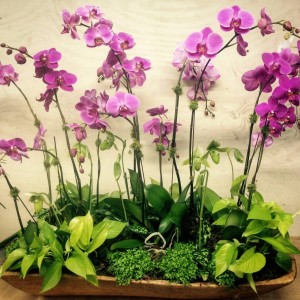
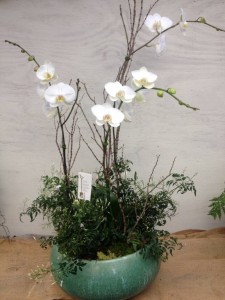
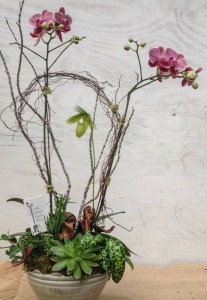
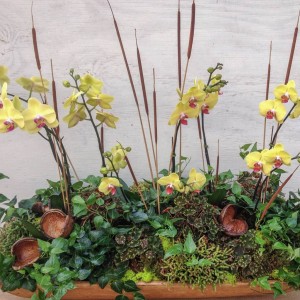
Whether your gift is an elegant orchid in a pretty pot or an arrangement of mixed plants and flowers in bloom, we’ll make this holiday with your love special.
To place an order for a custom design give us a call at 205-870-7542.
The Change Of Season Inspires Us – We Love Fall!
The other day I reran a blog post from last year showing some of our fall-inspired arrangements, noting that I needed to write another for this season. A quick reply came from a FaceBook friend. “I want to see them. Get posting!”
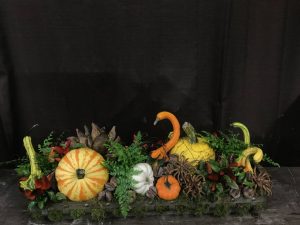
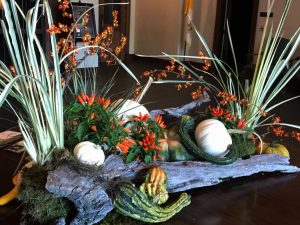
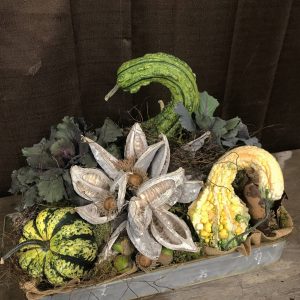
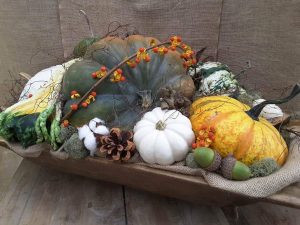
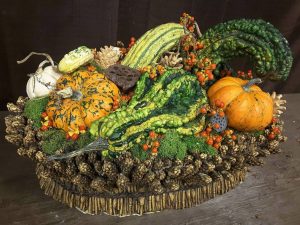
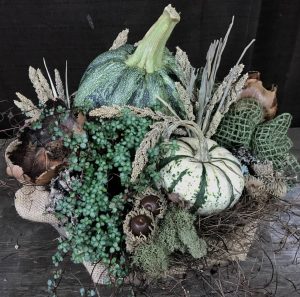
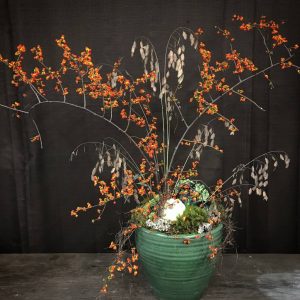
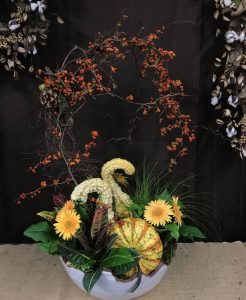
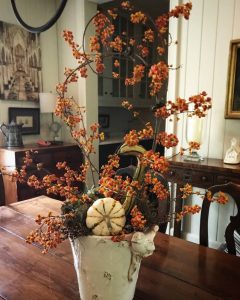
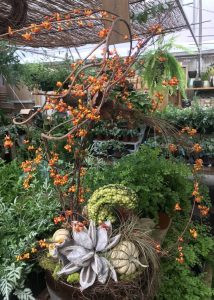
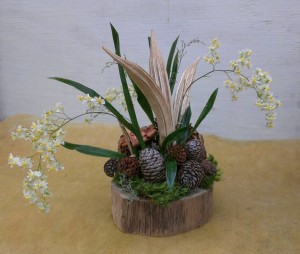
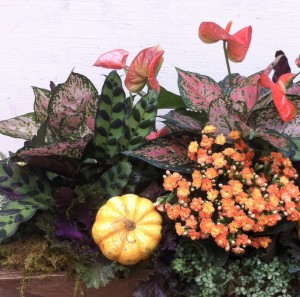
So, while there are so many more we’ve done that aren’t pictured, here’s a sampling of arrangements using pumpkins and gourds, bittersweet and burlap, plants and dried materials, acorns and pinecones, literally anything that has inspired us this season. We hope they inspire you too.
A Mandala Inspired by Art
I grew up watching my mom create beautiful works of art using only a sewing needle and the colorful threads and yarns that she stitched into amazing designs on fabric.
She showed her stitcheries in a few museum textile art exhibits, but mostly they were an artistic outlet for her and a joy for friends and family.
One hot, slow summer day Jamie mentioned it would be fun to make another Oak Street Garden Shop Mandala (designs using blooms, leaves, and other materials around the shop.).
I agreed and mentioned the pieces of driftwood we’d gotten in reminded me of my mom’s stitcheries. She displayed them hung on pieces of driftwood found at area lakes where I grew up in Michigan and Wisconsin.
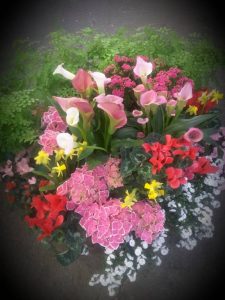
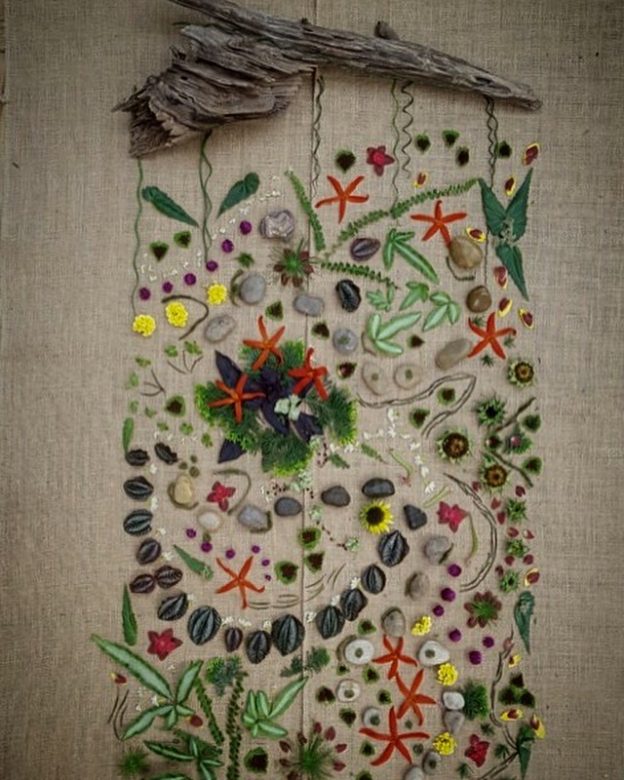
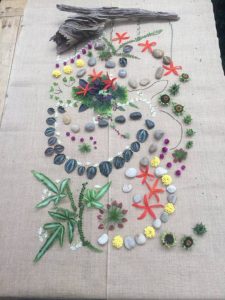
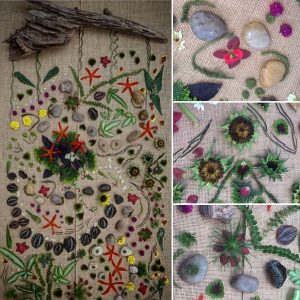
So we decided to try to make a mandala in the same manner as one of my mom’s stitcheries and started out by laying fabric onto a table and positioning a piece of driftwood at the top.
Jamie began gathering colorful blooms and leaves, and I laid out stones to create the lines and forms we could work from. I remember my mom saying it was the relationship of forms that she enjoyed most.
I did mention it was a hot summer day, right? Of course that’s why it was a slow day too, perfect for a project like this. However I have to say that it might have been even hotter than normal on this particular afternoon in the greenhouse.
The table was set up up by the front door to take advantage of as much air as possible, but we had to eventually close one of the doors because it was too breezy and nothing would stay where we placed it.
A few people came in looking for things here and there, and it was easy to tell the ones that didn’t really get it. “What is it?” was the usual question. “It’s a design”, we’d answer, “using leaves and things.” “Ahh…” they’d say uncertainly and slowly walk away.
But one woman and a group of young girls were intrigued and asked what various things were and why we were making it, exclaiming that it was beautiful.
Here then are pictures of our “tapestry project” using my mom’s stitcheries as inspiration. And, whether you “get it” or not, we hope you enjoy the idea! If you like this one and would like to see some others we’ve made, look HERE. You can also click on Blog Posts, go to Archives and use the Search feature. Just type in mandala.
By Kris Blevons
Catching Up In The New Year
It’s been a while since the last blog post, so this will be a catch up entry to give you an idea of what’s been going on the last couple of months. January and February are usually pretty quiet, and, to be honest, we’re glad of it. Aside from a big shipment of garden planters and statuary, it’s a time for planning and rejuvenating.
The garden is quiet too, though early blooming shrubs and perennials are beginning to put on their show, and cutting stems of forsythia, quince, and spiraea for early bloom indoors help stave off the winter doldrums.
In December Ben got the ‘Better Late than Never’ garden across the street cleaned up and ready for winter. Angie laid fresh pinestraw in the paths in January, and now we’re seeing larkspur and bachelor buttons appearing..self sown seedlings from last winter’s plants. I sowed lots of poppies a few weeks ago in hopes that they’ll be abundant this year too. We shall see.
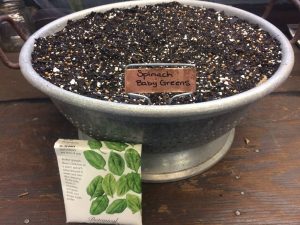
Our spring/summer seeds from Botanical Interests have already come in, though we’re still eyeing the winter options of lettuce and other cool season veggies and flowers. Jamie sowed a colander full of spinach seeds and is going to try them inside. It’s fun to experiment, and seeds are a small investment to make.
It’s a good thing the spring seeds arrived when they did. Yesterday a woman came in looking for zinnias, sunflowers and more summer bloomers, so we let her look through the boxes that weren’t unpacked yet. She mentioned last year she’d been disappointed, coming in too late to get any and was so happy this year to have first pick.
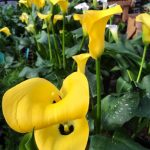
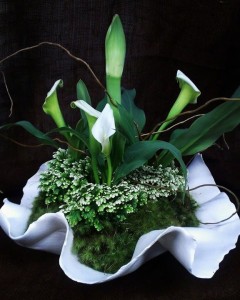
It’s hard to believe Valentine’s Day is right around the corner. We’ve got our orders in for the most beautiful blooming plants we can find. Orchids, hydrangeas, cyclamen, calla lilies, azaleas, and more – all plants, not cut flowers, so they’ll last longer.
In fact, every picture I post on our Instagram account of our planted arrangements has the hashtag #plantsnotcut. I love cut flowers as much as the next person, but it’s nice to have a gift that lasts a bit longer.
The cats of the shop, Tacca, Liam, Ozzie and Spooky, like the late winter quiet too, though they probably get the most visitors coming in looking just for them. There were at least 7 children in the other day squealing with delight and so happy to follow Tacca and Liam around. Spooky and Ozzie are too shy (Or smart?) to make friends, content to watch from a safe distance.
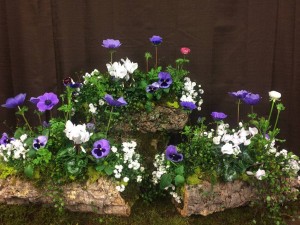
The cork bark planter inspiration continues. A couple weeks ago we planted three for a party with blooming blue anemones, ranunculus, and pansies. They really were striking, and since they’re planted to last will only get better as they grow.
The pussy willow branches are abundant now. I’m not sure what stage they are when cut, I only know they’re perfect when they arrive here. I still remember my Dad cutting way back the huge pussy willow shrub in our back yard in Wisconsin and all the beautiful stems that it produced.
Those pussy willow branches were one of our earliest harbingers of spring in the dead of late winter – the catkins shining in the sunlight on days the drip,drip,drip of melting snow filled the air and puddles materialized on every flat surface.
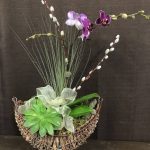
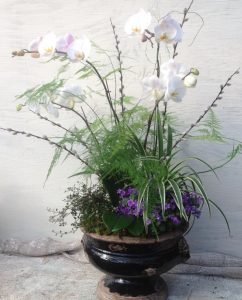
Here in the south we use them as accents in orchid arrangements and with other spring flowers. Their fleeting availability makes them all the more special.
In the winter the nursery area out front can be very deceiving, and, if you take just a few more steps and enter the greenhouse, you’ll see all sorts of colorful blooming flowers and houseplants.
We stay busy maintaining the many plants, creating beautiful container gardens and arrangements for parties, and taking pictures of everything for our Facebook and Instagram social media accounts. Our goal this year is to create more video content to better communicate the joys of what we do.
Here’s looking ahead to spring, but ’til then enjoy these late winter days and appreciate the beauty of this quiet season.
And, if you need a beautiful respite from the world’s cares, stop in and stroll through the greenhouse, either here or somewhere near you. It’s bound to make you smile.
By Kris Blevons
Decorated Pumpkins
It all began with my Mother’s 85th birthday in early October. She has macular degeneration and would rather stay close to home now.
Since I am in Birmingham and she is in Wisconsin, unfortunately, with this a busy time in the garden shop business, getting together on her birthday doesn’t happen anymore.
But she is on Facebook. I decided a couple of years ago to get her a Nook that she could use to listen to audio books, thinking it would be a perfect way to open her world. It also allows her, through Facebook, to see pictures of the garden shop and my garden. It has been a joy for her, and I’m thrilled!
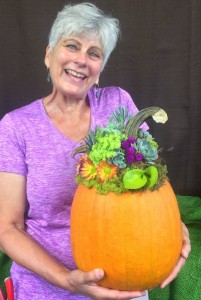
So, with this in mind, I decided to decorate a pumpkin for her birthday and put a picture of me holding it on her timeline as her birthday gift from me. I’d seen lots of pictures of succulents on pumpkins (more on that later), but I wanted something bright and happy from me to her on her milestone day.
I chose a bright orange jack-o-lantern pumpkin, glued some cut flowers of gomphrena and mums to it along with a couple of okra pods, added a few succulents, and tucked moss around the edge. I even cut a couple of tiny hosta leaves. Voila, the birthday pumpkin was born.
A few days later a customer came in with a picture of the aforementioned succulent topped pumpkins. They’ve been everywhere the last few years, in magazines and various places on line.
Easy to do but requiring lots of cut succulents, I’d stayed clear of getting into the making of them. I dutifully tried to emulate the white pumpkins in her picture with the succulents we had on hand.
When they were finished, I set them on the display steps up front, where people could see them, and decided to make a few more. Here’s how they turned out. We had a few more orders that day as people saw them!
if you’d like to make a succulent topped pumpkin, choose a pumpkin and have fun! Any kind of moss can be used. I chose green sheet moss, gluing it to the top of the pumpkin.
Purchase or take cuttings from succulents you might have growing in your garden or pots and simply glue them to the moss. Succulent experts advise misting the cuttings once a week.
It’s also fun to add other decorative elements like the okra pods I used on my Mom’s pumpkin. Try tiny pinecones, acorns, and more to add interest. It’s only limited by your imagination!
If you’re in the area, and would like us to decorate a pumpkin for you, stop in and place an order!
By Kris Blevons
New Year’s Day…A Look Back And Wishes For The New Year
It’s a quiet, rainy morning as I write this, too chilly to make my usual morning walk around the garden. The time the shop is closed between Christmas and New Year’s Day is a welcome respite from the previous month’s hectic pace. It’s such a relief to be still and have no demands, if only briefly.
I’m looking forward to the new year, and soon I’ll be writing of primroses and spring flowers…the ones that our growers magically produce for greenhouses much earlier than in nature – blooming daffodils, tulips, crocus and more.
Today, though, I’m thinking of the holidays just past, when winter white azaleas, calla lilies, hydrangeas, paperwhites, larger than life blooms of amaryllis in every color, jewel-toned cyclamen, traditional poinsettias, and all the most wonderful orchids on dazzling display turned the greenhouse into a wonderland.
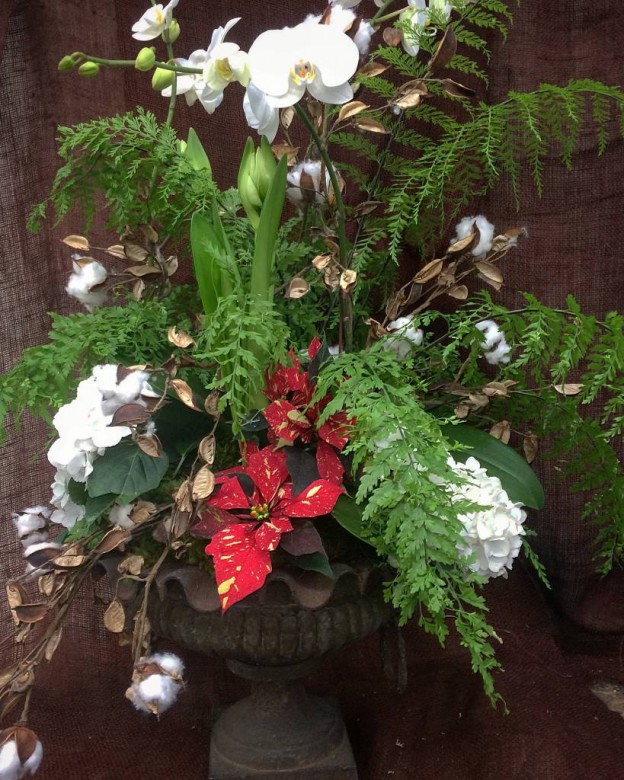
I hope these pictures bring a smile at the start of this new year. The artful combination of plants, branches, textural mosses (and other happy discoveries), are our resolution for the coming year. Here’s to beauty and creativity in 2016!
While these designs are mostly mine, Jamie’s, and Molly’s, I’d be remiss not to mention that many more were created by Pinkie, Danielle, and Angie – worthy of a future post!
By Kris Blevons
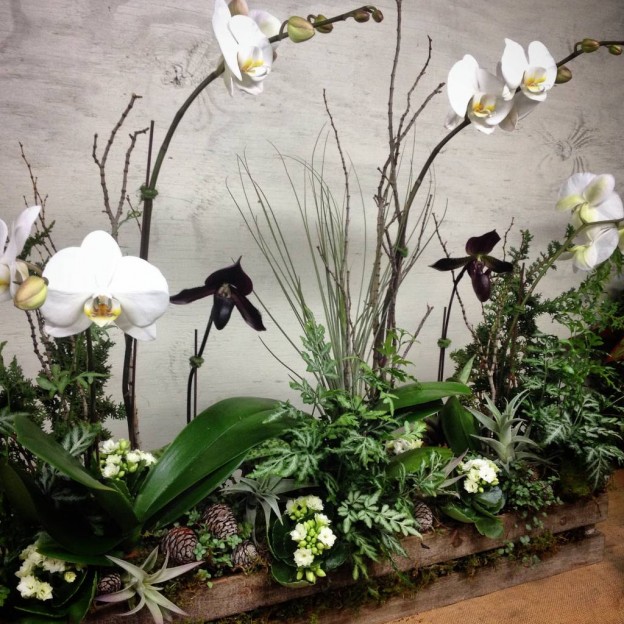
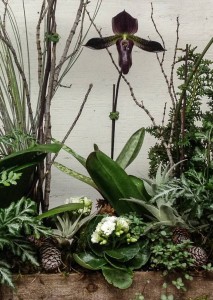
Southern Living’s ‘Grumpy Gardener’ Noticed This Orchid Arrangement
We try to have as many orchids and other plants as possible to fill customer’s containers for parties and special events. The amount of design work we do is certainly a far cry from our start 25 years ago when we didn’t even offer orchids for sale!
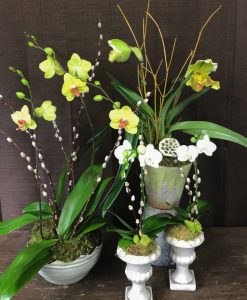
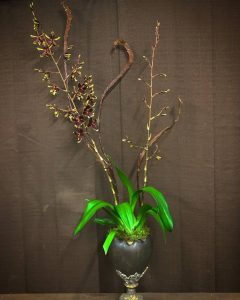
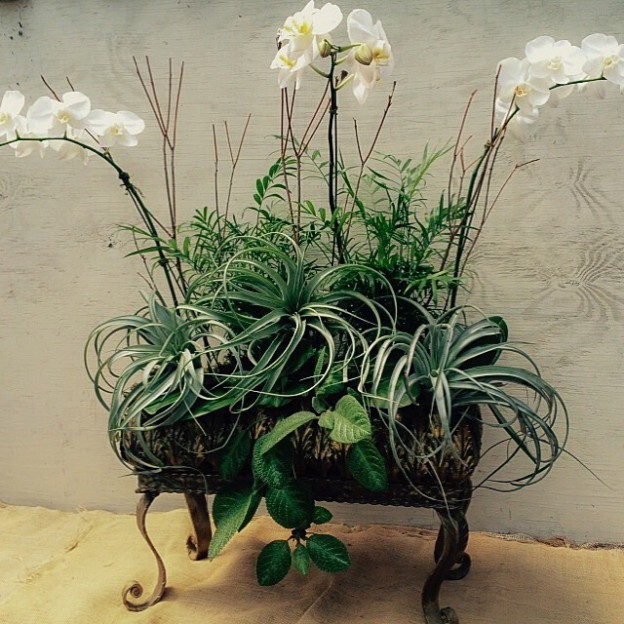
This orchid arrangement, in a customer’s beautiful footed container, was spotted by Steve Bender, Southern Living’s ‘Grumpy Gardener’. He then “stole” it and featured it on his blog with our permission. But happily, it’s here too!
For anyone who may not know, we create arrangements like this on a daily basis for folks bringing in their containers or using ours.
If you have something at home you’d like filled with living plants, (It doesn’t have to be orchids, it could be other foliage and flowers.) simply bring your container in, or choose one of ours. Give us some idea of where it will be placed, and if you’ll be using it for a party or need something long lasting.
Finally, give us some guidelines on color preferences if you have any, and then simply leave it for us to create something beautiful for you.
The orchid arrangement he featured had some beautiful, large air plants in it. For more information on air plants, look HERE.
During the holiday season and spring we ask at least a week’s notice (or more) so we can do the best job possible – this also allows us time to gather the plants needed for your arrangement.
These Miniature Gardens are Centerpieces…
I recently received an email letting me know of a much anticipated visit to Birmingham of a certain Connecticut gardener, Douglas Thomas. She was coming on the invitation of a friend and member of one of the oldest garden clubs in the city, and, to celebrate her visit, a joint meeting of two Garden Club of America groups had been arranged at the Birmingham Museum of Art.
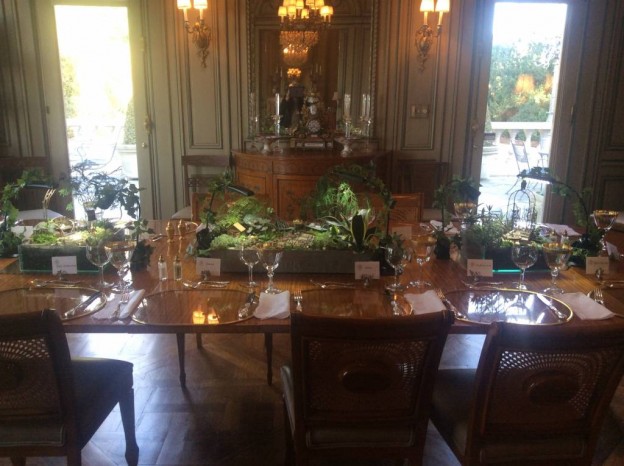
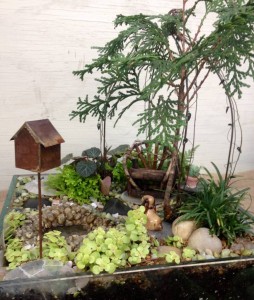
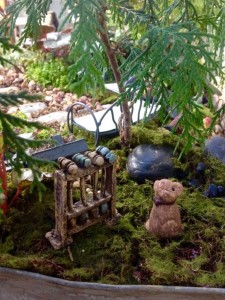
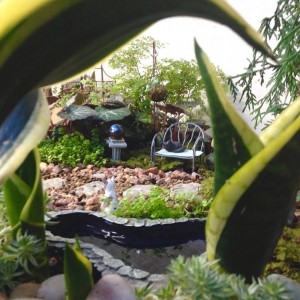
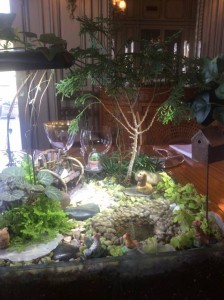
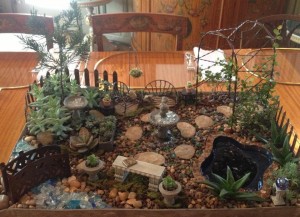
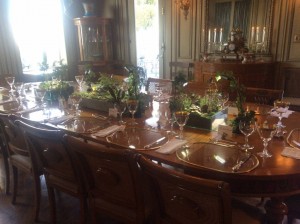
The miniature gardens shown here were designed as centerpieces for a small gathering in a private home to honor her visit. Ms. Thomas gardens on a grand scale, so the hostess and I decided having miniature gardens as part of the tablescape was bound to
be something unexpected and fun. First a little background:
Douglas Thomas is only the third owner of Twin Maples, a beautiful 400 acre estate in Connecticut. She would be in Birmingham in early February speaking on it and of the 40 acre meadow that she and her late husband, Wilmer, created with the help of noted Pennsylvania landscape designer Larry Weaner.
In 2011, the Foundation for Landscape Studies awarded her their Placemaker Award. See the link HERE to read more about this award.
Delving more thoroughly to learn more before going to hear her speak, I came across a New York Times article from 2008, which described the meadow in their headline as “The Natural Look, With Much Effort.” This phrase could certainly be applied to any garden I thought, including miniature versions!
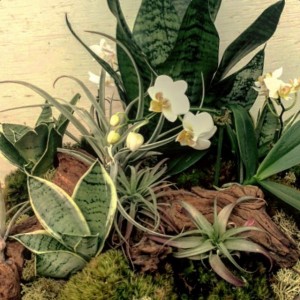
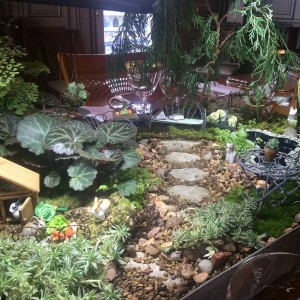
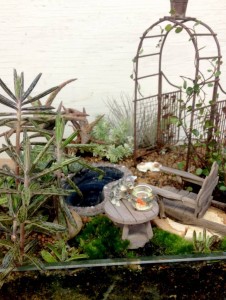
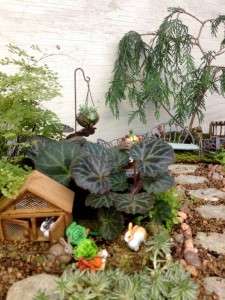
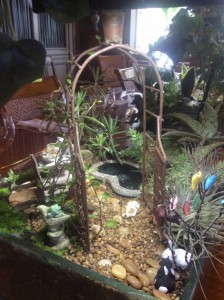
These particular miniature gardens had actually been created two years earlier for another eventful gathering, and, due to the owner’s exceptional care, many of the original plants were still thriving. The chamaecyparus “trees” had grown (Just as real trees do!), and the succulent landscape around one of the ponds only needed a bit of pinching back. Still, there were areas that needed fresh “landscape” plantings.
Some of these new plants included the addition of a fresh angelvine climbing on the arbor and air plants at the entrance to the succulent garden. In another, sedum ‘Ogon’ was added near a pond as a “groundcover”. More tiny ferns and some selaginella were added to the existing tiny leaved maidenhair fern in the largest garden, and beyond it a strawberry begonia was planted to frame the rabbit hutch. Great care was taken to place plants with like water needs together.
With careful attention all of the “hardscape” paths and placement of small pieces were redone for each garden, and some redesigning of certain areas was accomplished as well. This takes a good bit of time and a lot of patience, but, above all, it’s quite a bit of fun too.
It really is exactly like laying out a real garden, with decisions of where the paths need to be, what materials they should be made from, what they lead to, and more questions needing to be answered to make it realistic. Scale of materials is very important too and can be difficult to accomplish, but it makes all the difference!
I received a phone call from the hostess the morning after the dinner party. “Your ears should have been burning,” she said. “They were a hit! Everyone enjoyed them, and kept finding new things the more they looked at them.” What a compliment, and how kind of her to pass it on.
Take a look HERE for another post on miniature gardens, and type in “miniature gardens” in the search field for more.
Haven’t Been In Lately? Here’s What We’ve Been Up To…
Outside the greenhouse can look a little drab this time of year, but, if you’ve just passed us by, have you ever missed out!
The greenhouse has been packed full with blooming beauties and with Valentine’s Day just past, we’ve been putting together the prettiest arrangements for gifts and filling containers with all sorts of plants for centerpieces too.
Here’s a sampling of what the greenhouse has looked like.
Next time you’re driving by, take a moment out of your busy day to stop and smell the flowers!
Need a Valentine? We Can Help!
Just a quick post to point out the many beautiful flowers in the greenhouse. Our baskets and containers are one of a kind…special creations custom made for each order.
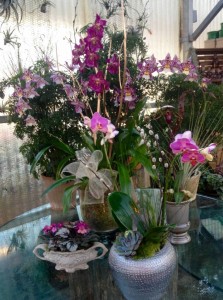
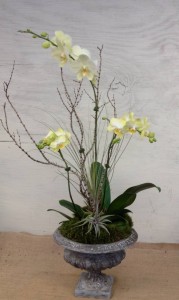
If you have a basket, bowl, or other container you’d like us to fill with beautiful plants, just bring it in and we’ll take it from there, or choose one of ours. Valentine’s Day is this Saturday, so get your order in soon!
Some of the many blooming plants we have in now, or will be getting in this week, include cyclamen, campanula, primroses, rieger begonias, narcissus, violets, orchids, hydrangeas, hyacinths, freesias, azaleas, and more. Stop in to browse or give us a call to place an order for pick up or delivery.
More Holiday Inspiration – Arrangements, Flowers and Greens – Part 2
The greenhouse is literally overflowing with so many flowers we’ve had to move most of them onto the tables outside.
Many of these holiday flowers – hydrangeas, amaryllis, paperwhites, azaleas, stephanotis, flowering jasmine, and cyclamen – prefer the cool temperatures. It works out well, unless temperatures drop below freezing; then the nursery carts are loaded up and they’re moved back into the warmth of the greenhouse.
There it’s a riot of color, with orchids seemingly in every nook and cranny, trays of ferns and other foliage plants in abundance, and of course, poinsettias too. It’s a crazy, slightly chaotic time of the year!
The two weeks prior to Christmas find us focused on projects big and small in the design area, and there’s not much time for anything else.
We’ll put plants in just about anything, including porcelain and glazed bowls, mercury glass containers, pots of every size and shape, jardinieres, wooden boxes, dough bowls, silver pieces and everything else imaginable. You can too!
Holiday Inspiration – Arrangements, Flowers and Greens – Part 1
The last few weeks have flown by in a colorful blur of customers, Christmas trees, and deliveries of beautiful plants and flowers.
Now Christmas is almost here, though soon enough a new year will be upon us, filled with possibility and fresh beginnings.
To celebrate, here is the first post of a few of our arrangements of flowers and cut greens from the past few weeks, our gift to you this holiday season.
The End Of The Season…Fall Arrangements
Autumn passes far too quickly. As usual, when a season is nearing the end, I find myself wishing I’d made the time to take more pictures of the many arrangements that we’ve created the past few weeks. Jamie, Molly, and I looked through those we had and here are a few of them – a simple goodbye to the autumn season for another year as we set our sights ahead to the holidays.
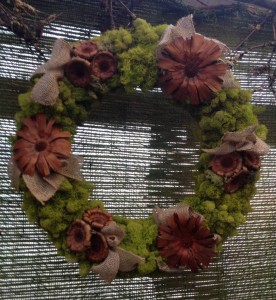
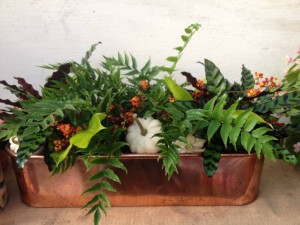
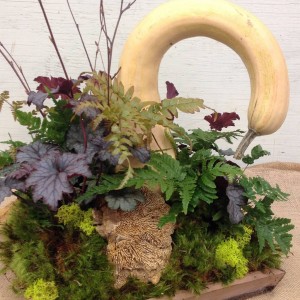
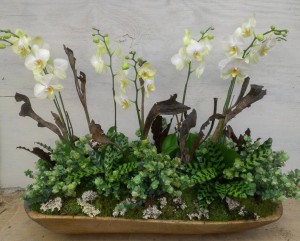
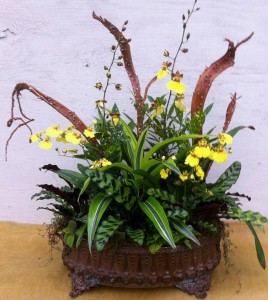
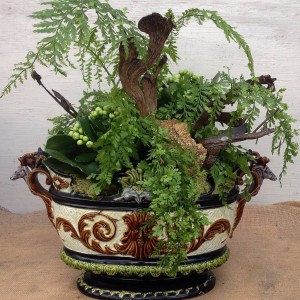
Fall is a favorite time, as the materials we work with are so interesting and organic. There’s none of the shiny, glittery, in-your-face glitz that will be here, oh, so soon enough, with the approach of Christmas. No, this time of year is quieter, as we embrace the down-to-earth beauty of mushrooms, soft green moss, natural branches, dark wiry angelvine, pods of all kinds, and interesting gourds. I enjoy the combinations that result, melded at times with the muted tones of burlap and raffia.
We see such interesting pieces in the fall too. Earthy dough bowls, dark metal planters and copper containers, low wooden trays just perfect for mossy vignettes, a majolica bowl the right size and shape for a woodsy arrangement. Soon enough we’ll be making quite different sorts of combinations through the holidays, with quite different materials. For now though, I’m content to enjoy these last few days of fall.
Succulent Wreaths For The Holidays
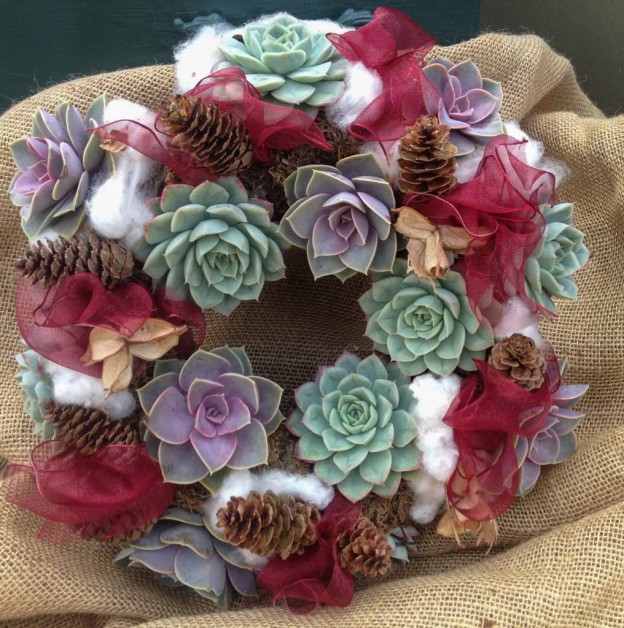
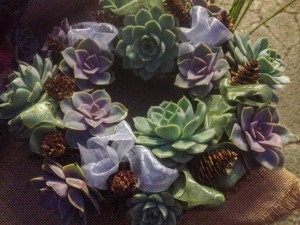
Succulent wreaths might not be what one thinks of first as a component of holiday decorating, but these pretty echeveria wreaths just might change your mind. The best thing about these wreaths is that there is room for the little echeverias to grow, and this also makes them easier to take care of through the winter months.
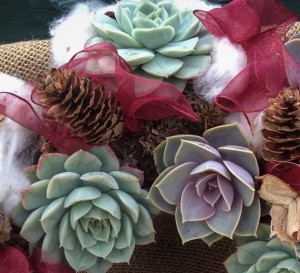
The wreaths are just about 10″ in diameter and can just as easily be laid flat on a table and made part of a holiday tablescape as hung. Though they’re beautiful just as they are, adding other elements is easy to do. The one shown here was “dressed up” with small loops of a pretty, sheer ribbon, tiny pine cones, and small tufts of real cotton.
The echeverias in these wreaths have been planted in a sphagnum moss wreath form and will continue to grow with the proper care. Give them as much direct light as possible, and, when the wreaths feel very light when lifted, it’s time to water. Place them in a shallow pan filled with a few inches of water and leave them in it for at least 30 minutes or until the form feels heavy, indicating it’s saturated. Do not water again until it feels very light once more. Remember, succulents prefer to be on the dry side.
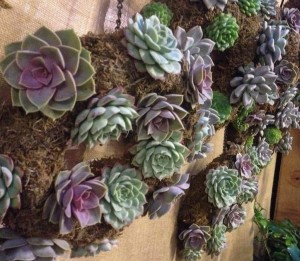
These sweet wreaths are in limited supply, so, if you’re interested in trying one, now is the time to stop in and take a look. On their own or “dressed up”, what a lovely, unexpected, and long lasting addition to your holiday decor!
Decorate Your Mailbox & Door For Christmas – Here Are A Few Tips!
I have to confess, where I grew up, mailboxes were at the houses, either as a mail slot in the door or physically attached to the outside of the home, and only folks in the country had mailboxes on a post at the street. Now this was actually a very good thing since it saved having to walk outside each day to get the mail, especially on extra cold or very snowy days. Of course, there was always a wreath, and garland with bows, and evergreen bunches in frozen pots.
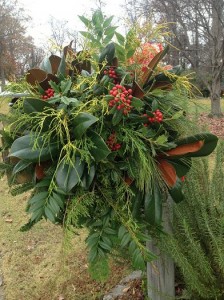
But, since moving to Birmingham, I’ve grown to enjoy having a more southern twist to decorating, using a swag on the front door with all sorts of beautiful greens and berries, putting up garland with bows on the porch rail, and, yes, decorating the mailbox. In fact, that’s one of the things I enjoy most.
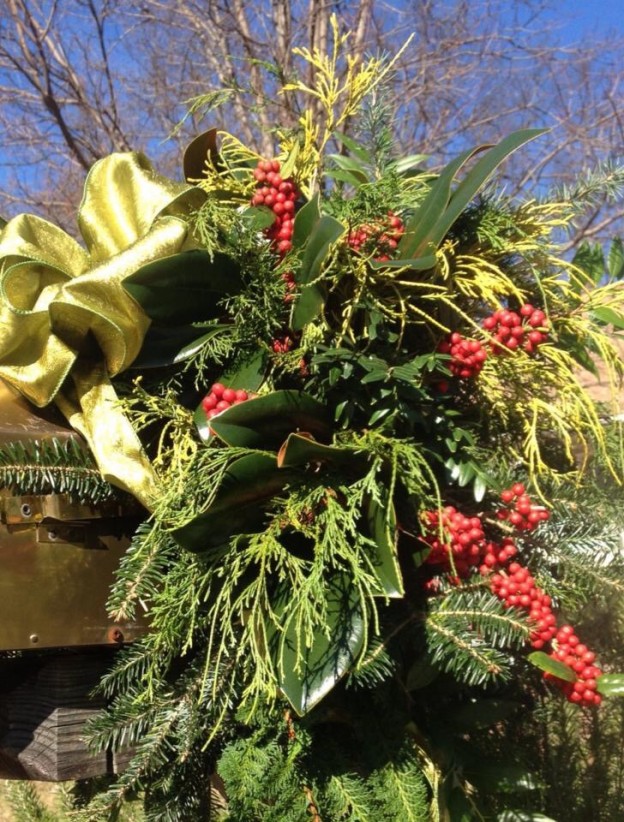
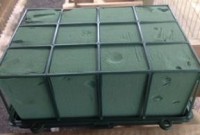
If you’d like to try your hand with your own mailbox decoration or door swag, using oasis in a cage will make the project easy, and, of course, the oasis will keep the cut material you use as fresh as it can be. Scout out your yard. Are there shrubs with berries that you can use? If you buy a real Christmas tree, save any branches that are trimmed off the bottom – they are wonderful as the starting point of a pretty decoration. I like to use magnolia, boxwood, juniper, chamaecyparis , pine, cedar, and a shrub often used in the shade, leucothoe, which is particularly long lasting when cut.
If your options are limited in your own yard, we also have bunches of greenery available through the season for you to decorate with. From berries to greens and pinecones too, there will be enough here for you to play with! I warn you though, once you start putting your decoration together, it will be hard to stop!
Begin by soaking your oasis piece(s) for at least an hour so the foam absorbs all the water. It will feel heavy. If you’re working on your mailbox, take a look at it. Would you like to see your decoration attached to the post? Or perhaps you’d like to put it on top. For either of these two options, simply take florist wire through the oasis cage and around the mailbox or post. If you have a mailbox with the nameplate across the top, it’s quite easy to wire two oasis forms together, creating a “saddle” to hang on the mailbox.
Now you’re ready to begin inserting your greenery and having some fun! Whether I’m doing a door swag or a mailbox decoration, I like to have all my different greens, berries and pinecones laid out so I can see all my options. If there was one thing I could tell you at this point, it’s to not be afraid. If you cut a stem and it’s too long, don’t sweat it, just recut it shorter. By the same token, if you feel the stem you’ve cut is too short, set it aside; it will probably work just right in a different spot. Remember, this should be a fun project, not a test! Try to cut stems that aren’t too “fat” since those larger than an inch in diameter tend to take up a lot of room in the oasis and can tear it up, especially if you aren’t happy with your placement and pull it out to reposition it too many times. Smaller stems are better.
This isn’t going to be a do it by pictures post. I think that limits your creativity. So, I’m not going to tell you what exactly goes with what. If you like it, that’s what counts! You might choose to do your entire mailbox with magnolia because you have a big magnolia in your yard, or you may just want a small boxwood piece with ribbon. To emphasize, again – there is no wrong way to do this. Simply gather the greenery you like, and go from there. I think some of you who are unsure will be happily surprised at your creations. Have fun!
If do-it-yourself isn’t for you, we make mailbox decorations and more throughout the season. Give us a call or stop in to place an order!