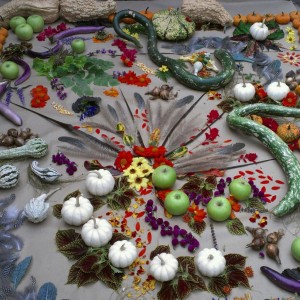
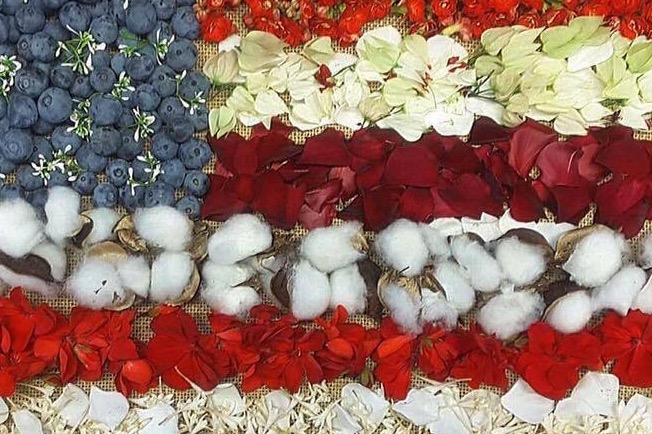
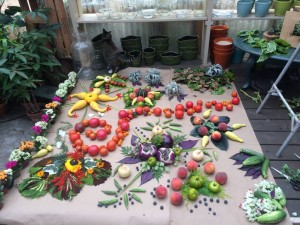
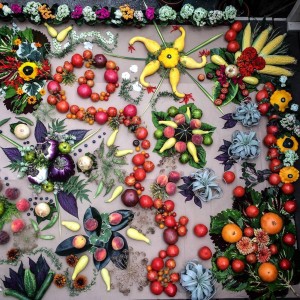
 The first day of fall had come and gone, and, while we’d talked about doing a group project mandala design for each season, the days kept slipping away as days do. Our summer mandala had turned out to be so much fun for us, though, that we’d been looking forward to creating another one. Well, last Friday turned out to be The Day.

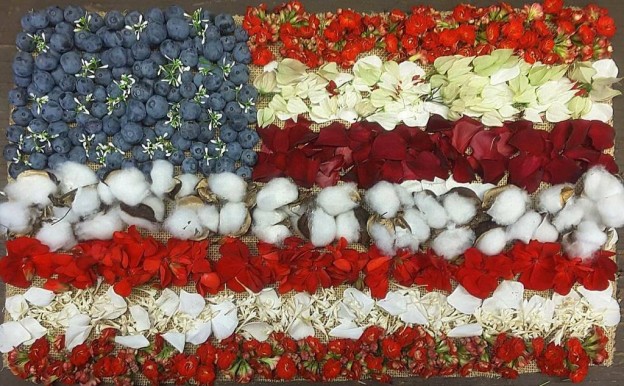
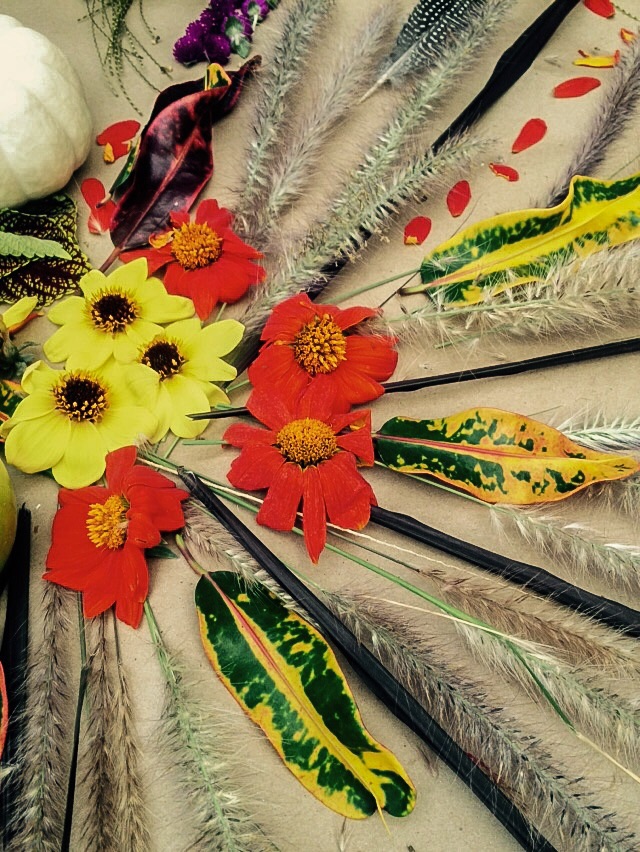
Dahlia, tithonia and penisetum blooms…croton leaves
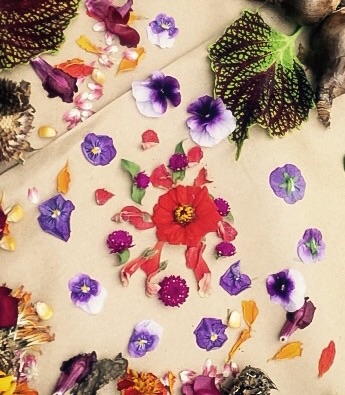
First of all, some of you may not be clear what a mandala is. By definition, a mandala is “any of various ritualistic geometric designs symbolic of the universe, used in Hinduism and Buddhism as an aid to meditation.” Another definition describes a mandala as “circular designs symbolizing the notion that life is never ending.”
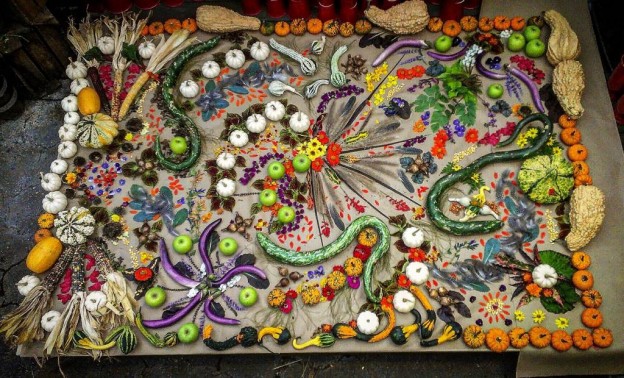
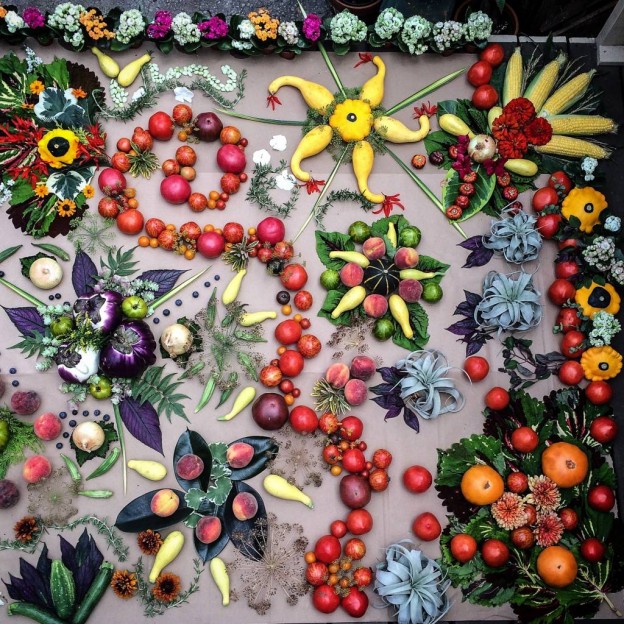
 While ours may not conform completely to a strict definition, this is our version of a mandala, using fruits, vegetables, seeds, leaves, and blooms of each season.
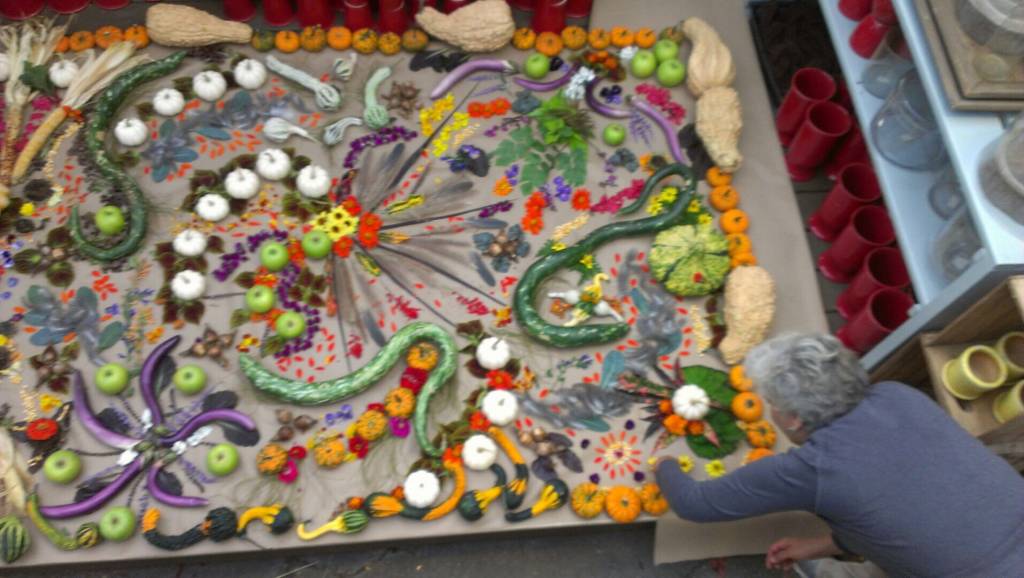
I can see how studying a mandala can be a meditative act. Almost everyone who gazed at it for any length of time mentioned continuing to see more things, and from different angles they had new observations of color, form, and texture as well.
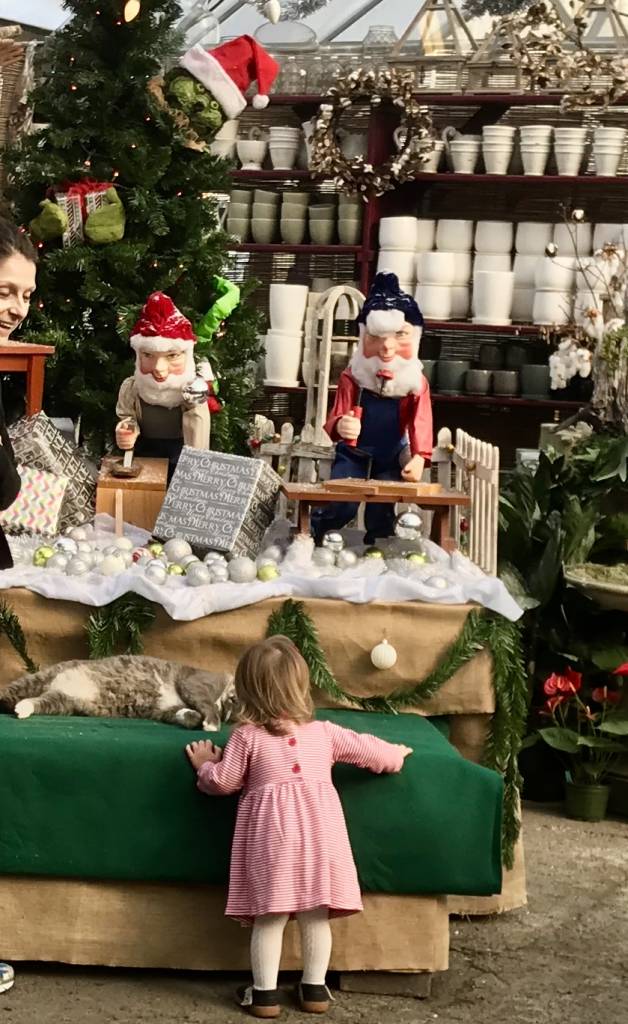
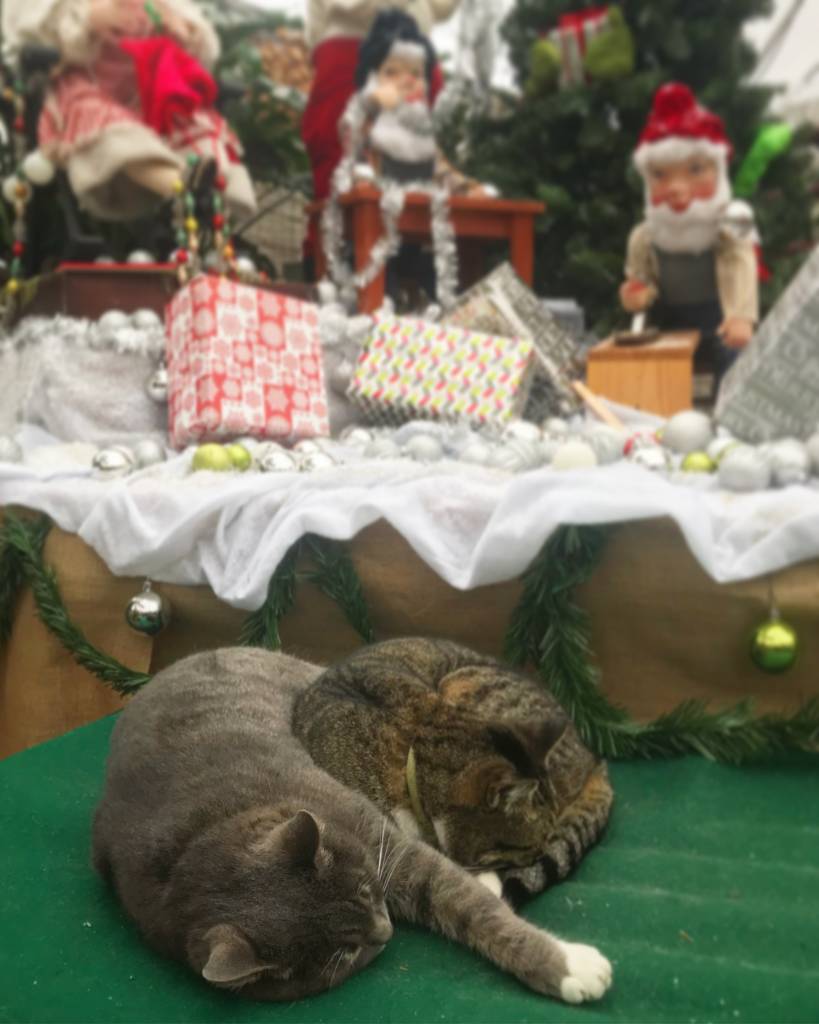
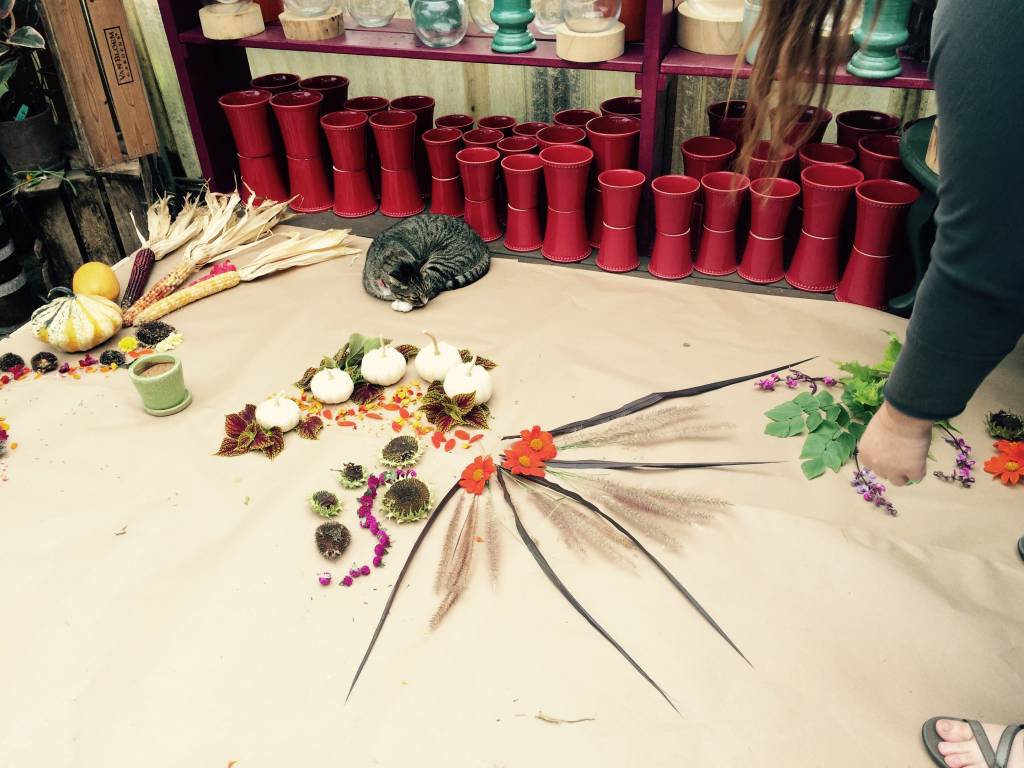
Tacca thought it was a good spot for a nap…
This idea of a meditative design is an interesting one. A customer even wanted to take a picture of it for a friend about to have a baby so she could concentrate on it while she was in labor!
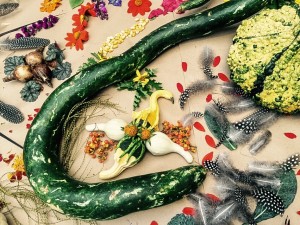
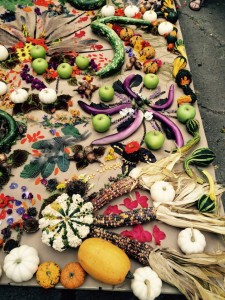
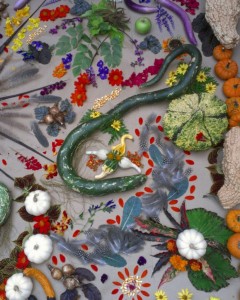
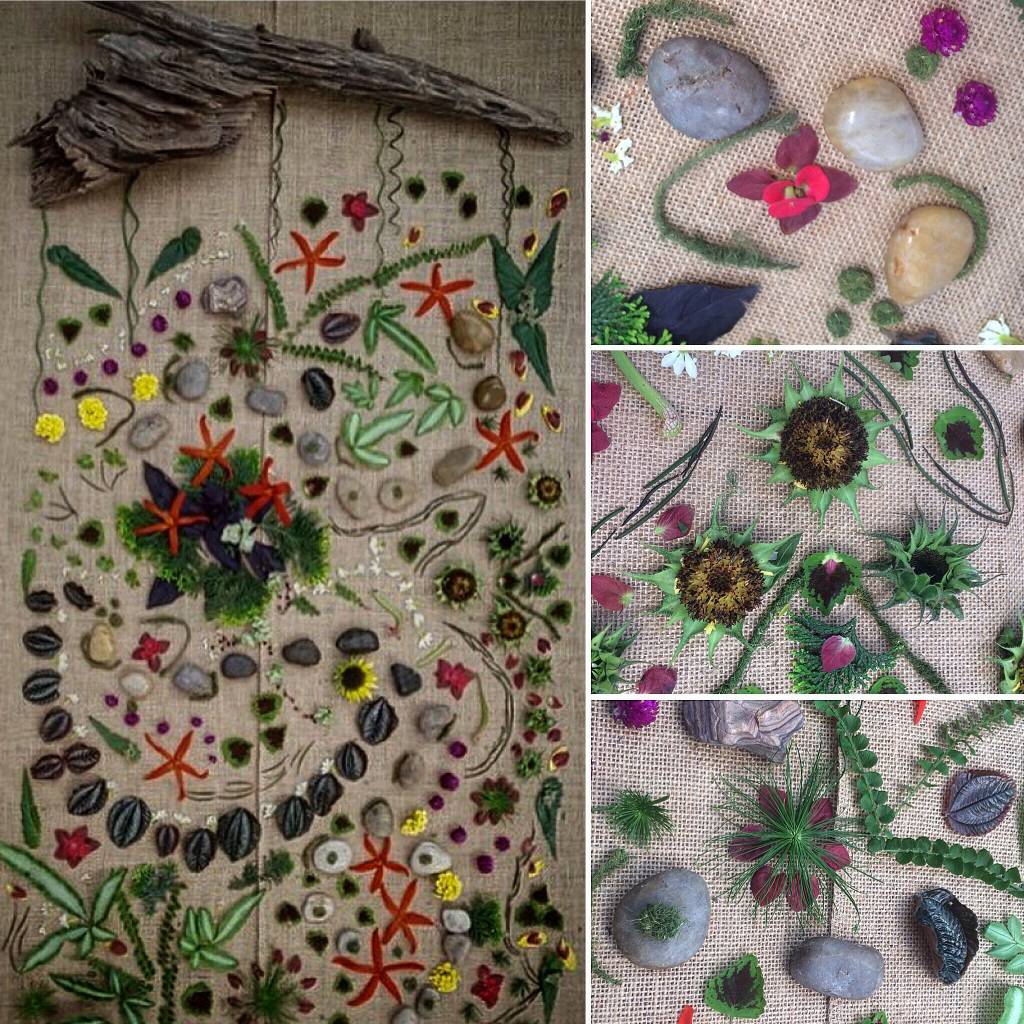
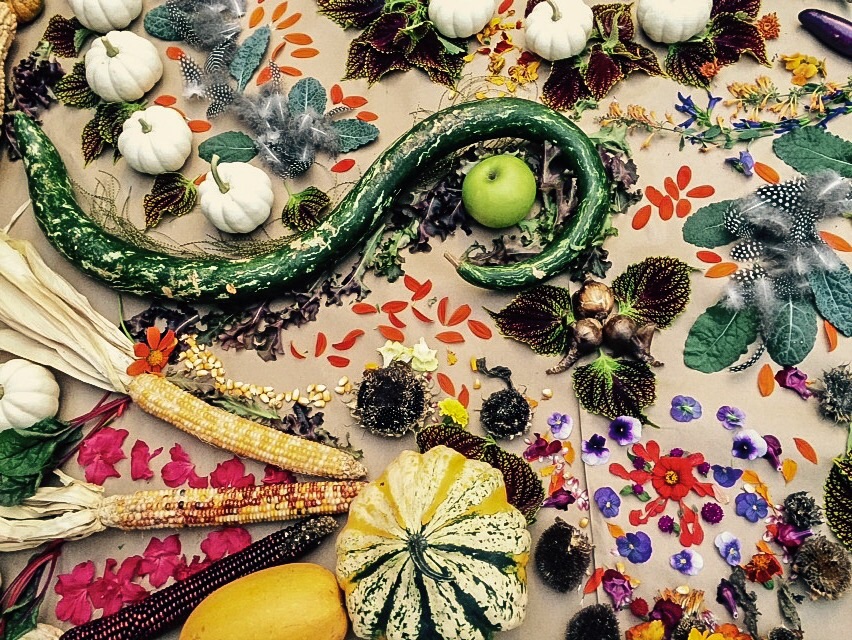
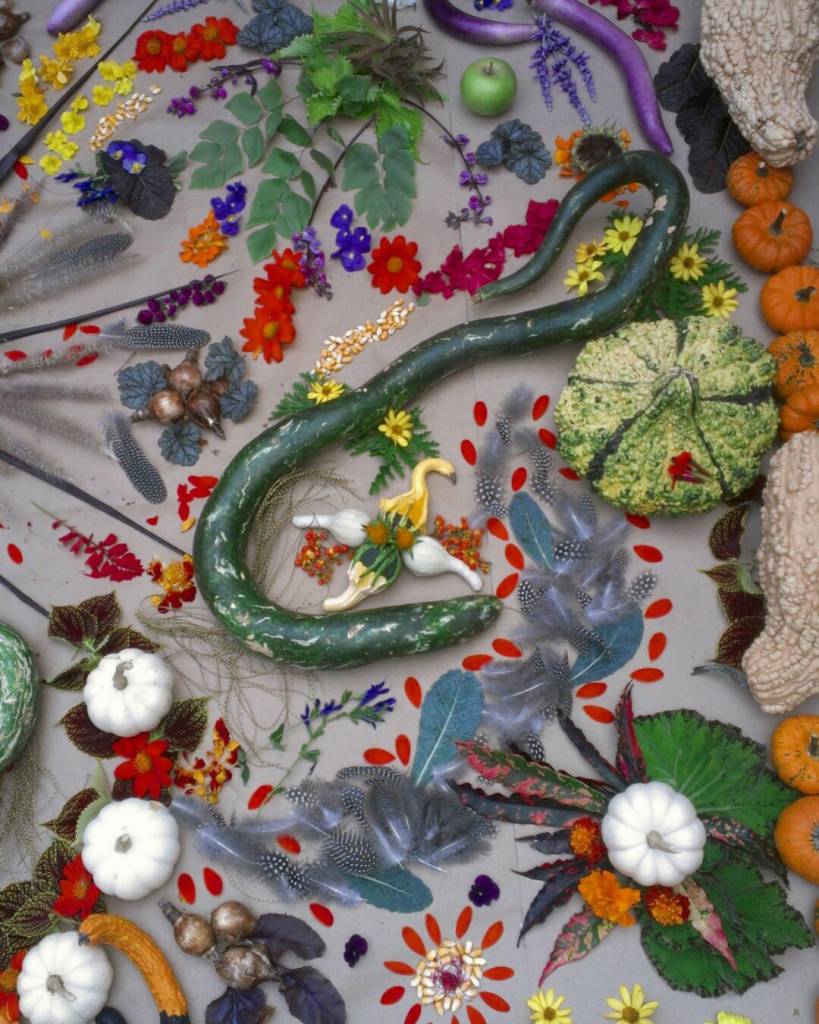
A snake gourd encircles smaller gourds and bittersweet
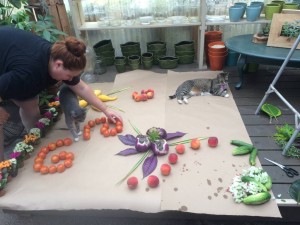
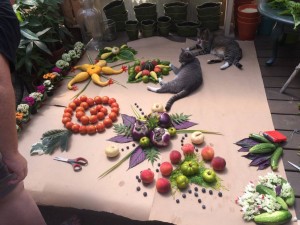
With the start of our first mandala this past summer, Jamie, Molly, and I had begun by gathering our “ingredients”.
Many people have asked whether we made some sort of design on paper before we began. While others probably can be that organized and clinical about it, none of us are, and I’m actually very happy to say there really wasn’t any planning involved in either the summer version or this one.
Tacca’s playground!

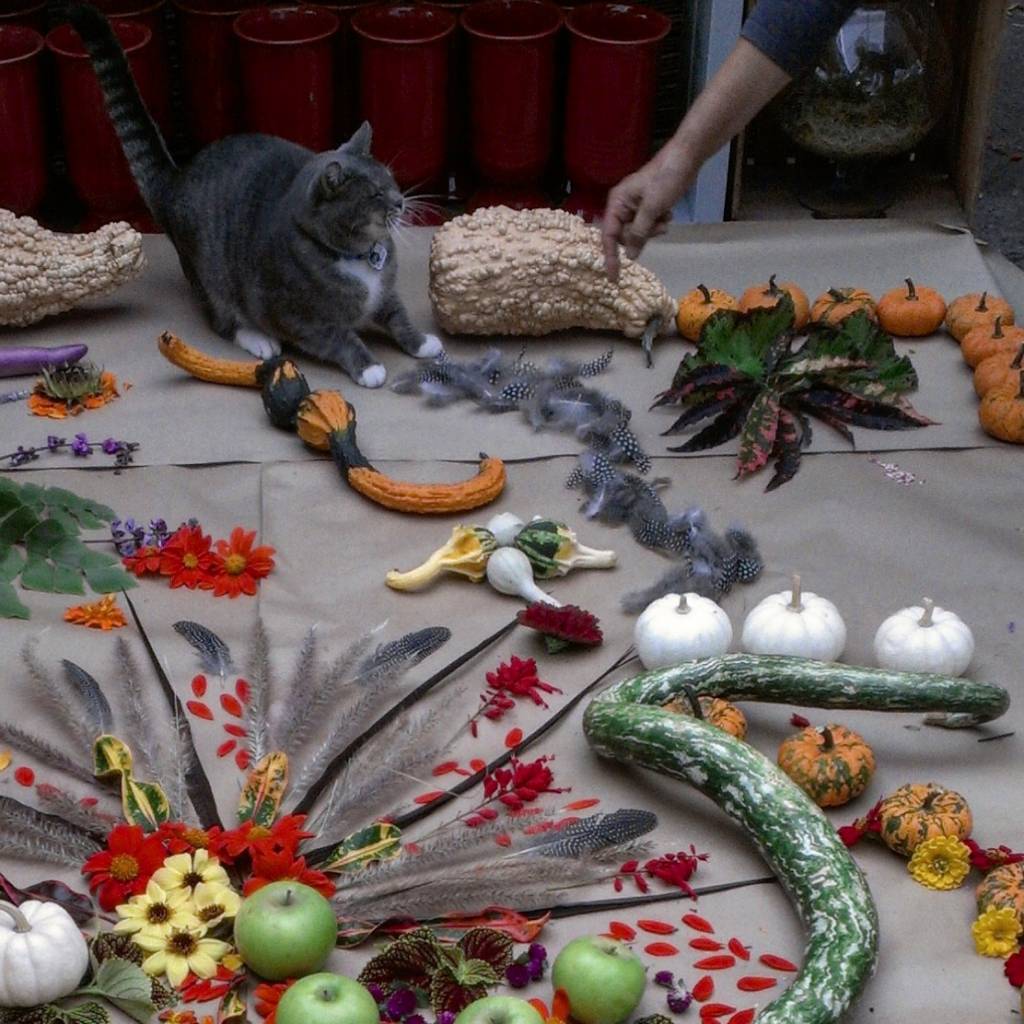
Liam got in trouble going after the guinea hen feathers…
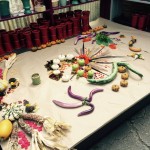
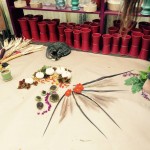
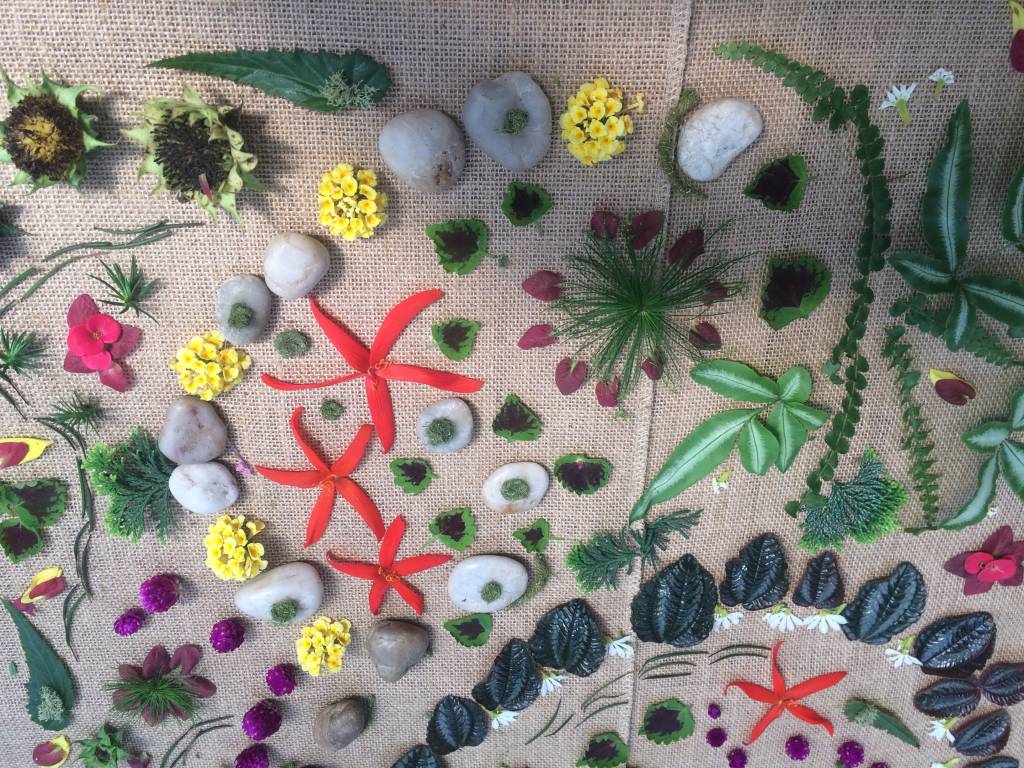
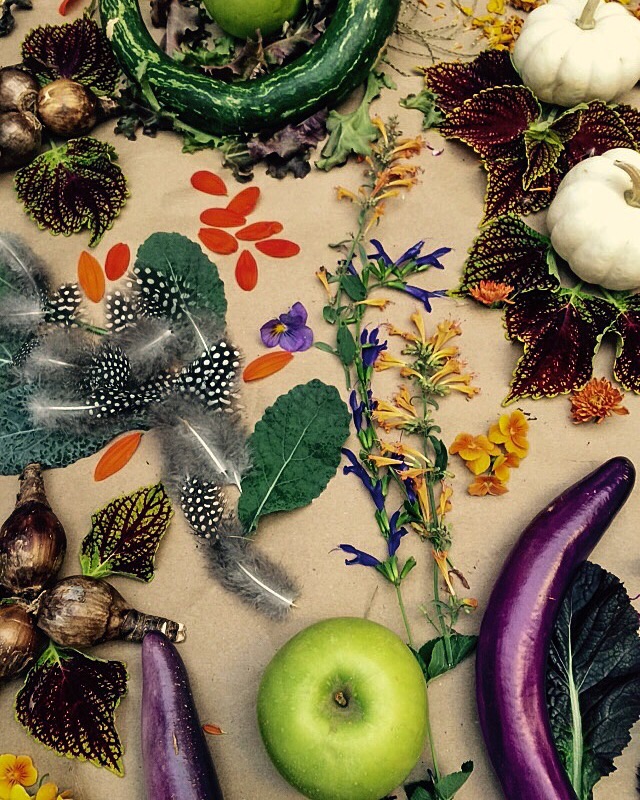
So we began by gathering the things that spoke to us of fall, randomly laying them on our sections bit by bit and snitching blooms and leaves from various plants between helping customers.
At the end of this post, I’ll list everything we used since it may be hard to tell from the pictures. Wish you could all have seen it in person!
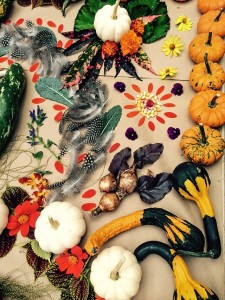
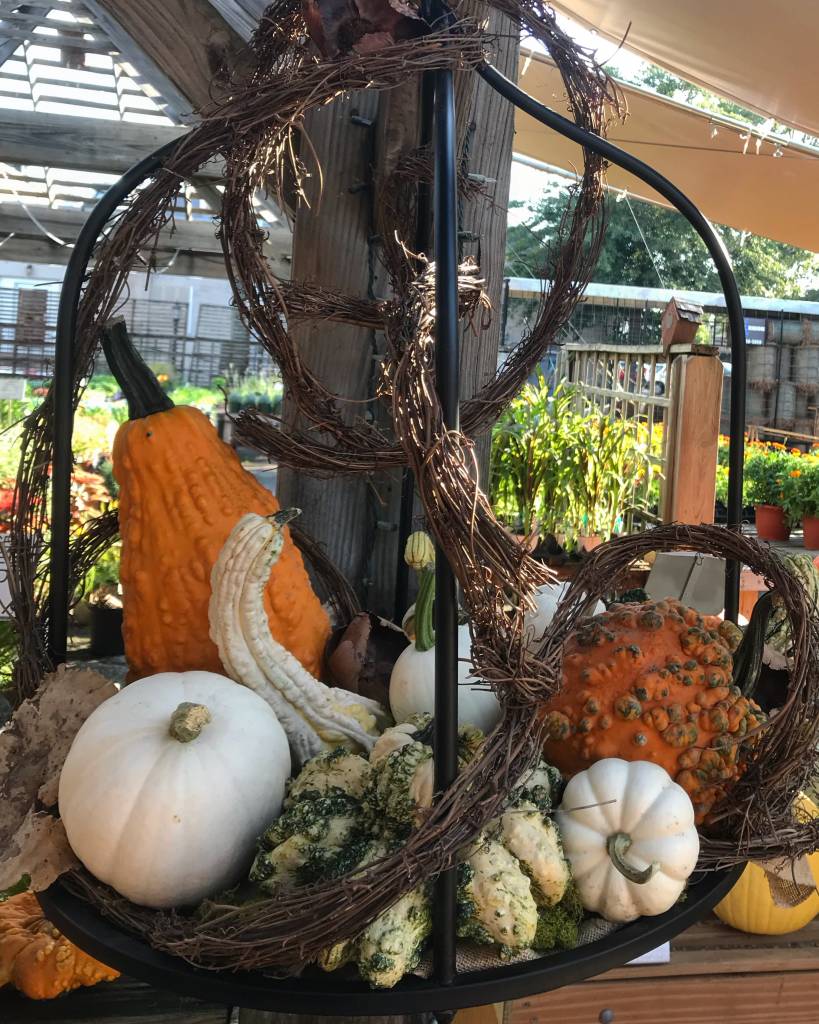
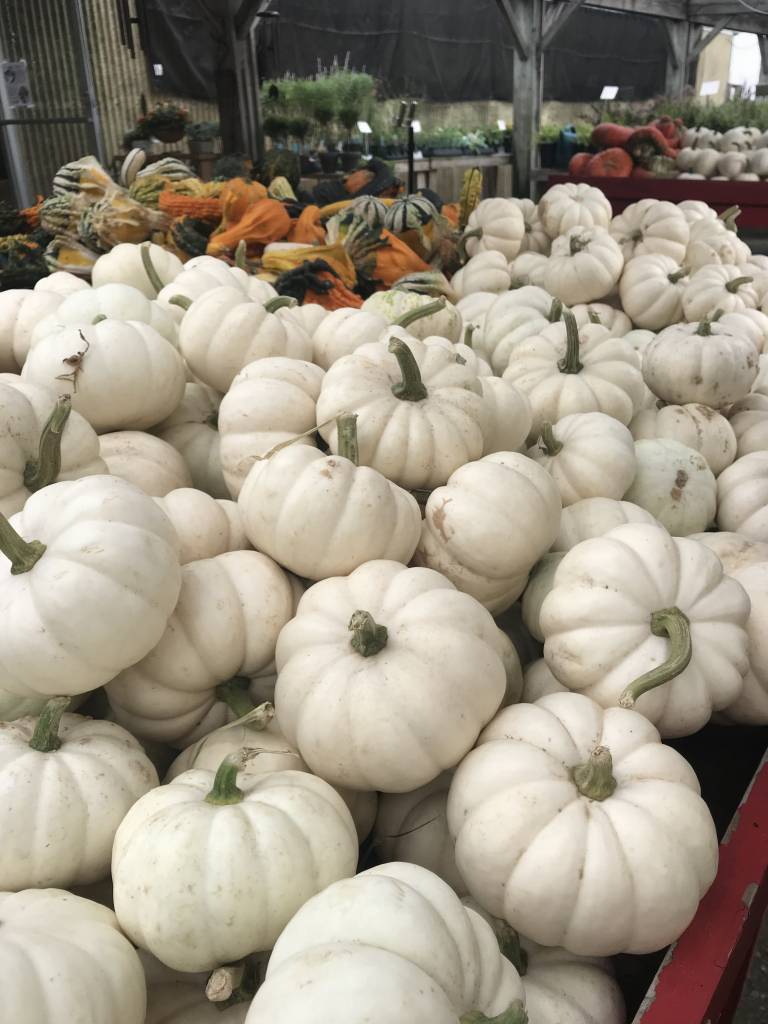
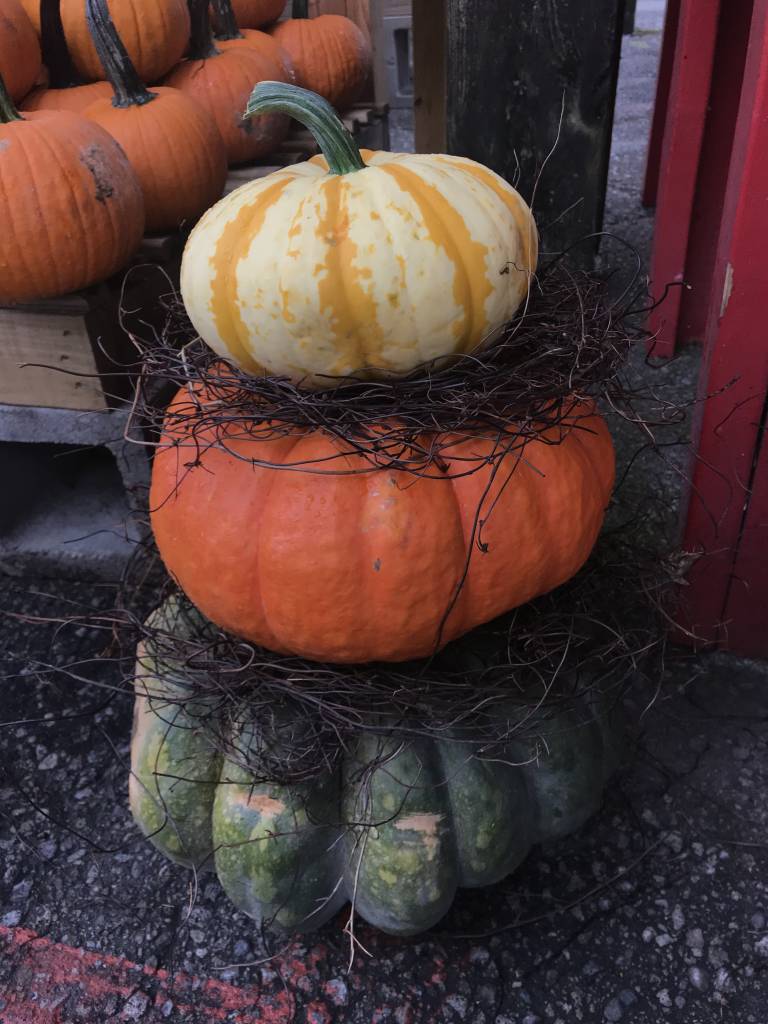
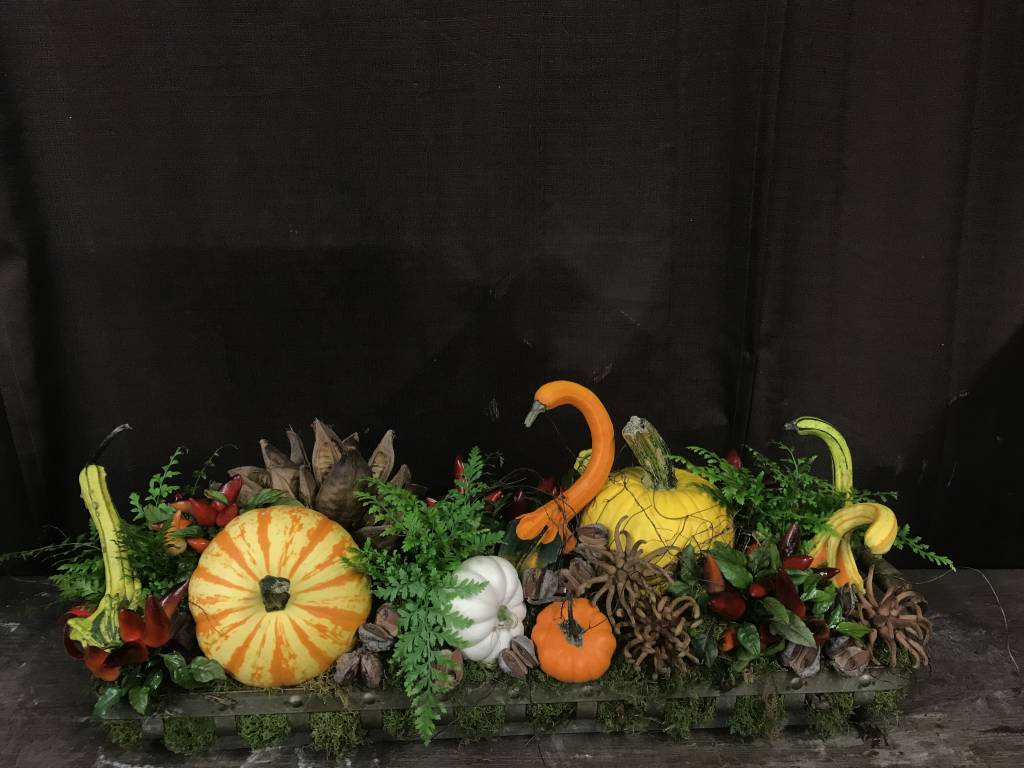
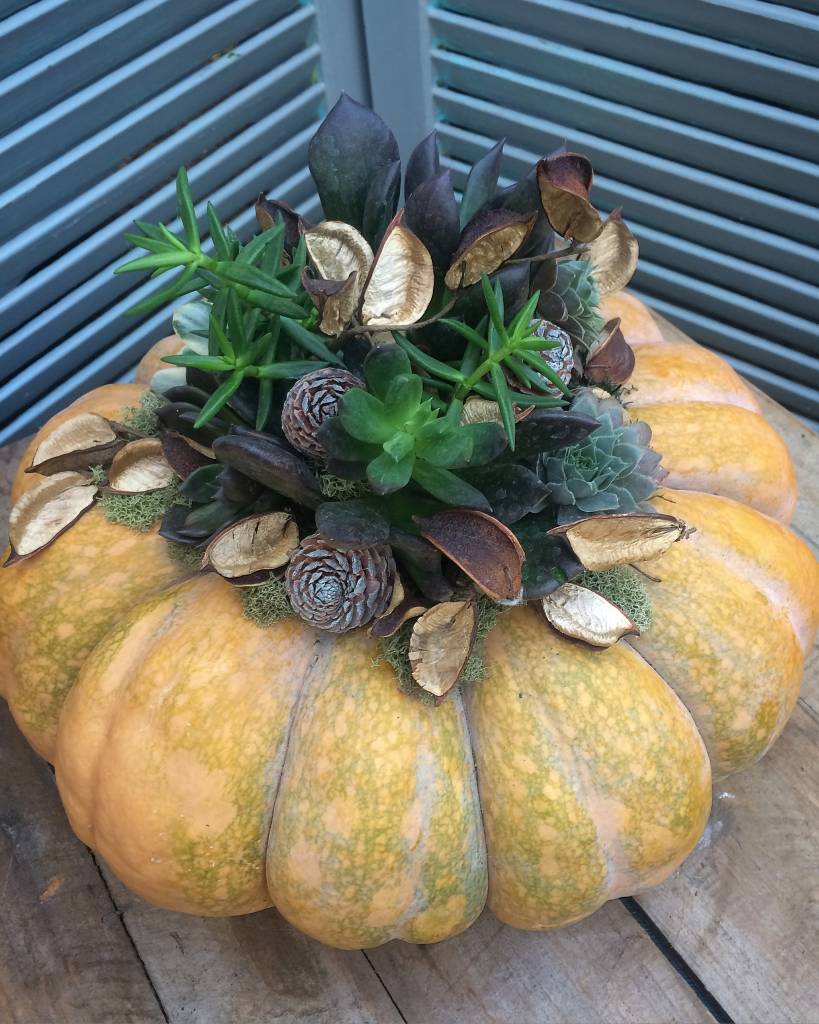
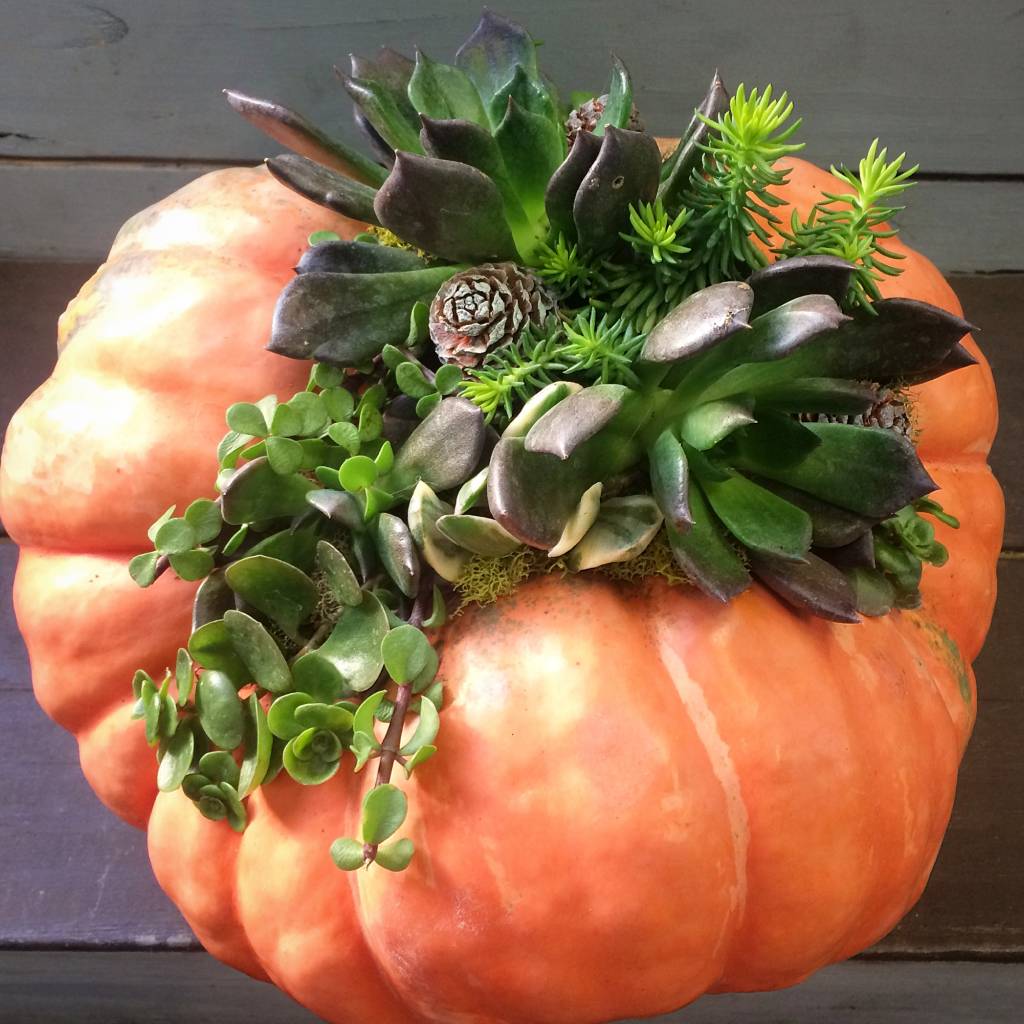
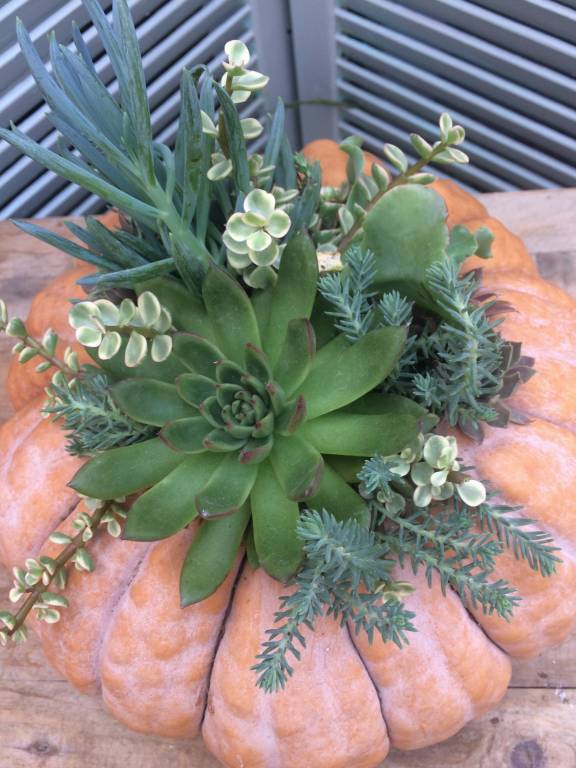
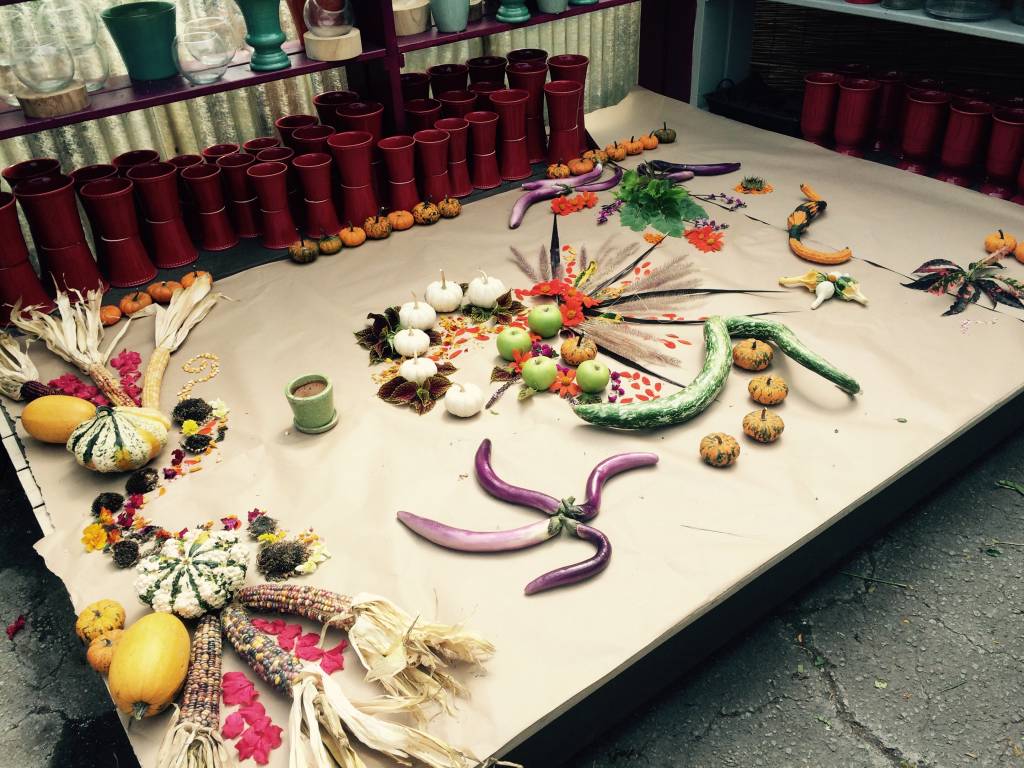
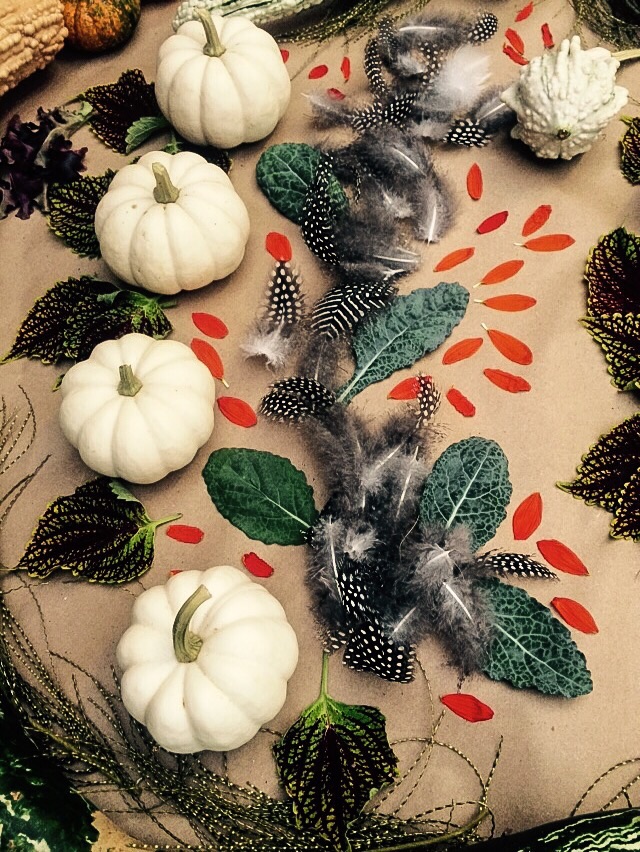
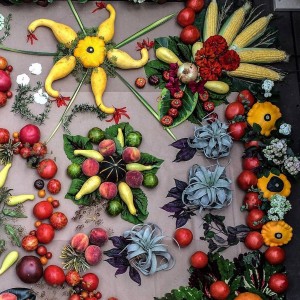
Pumpkins and gourds…
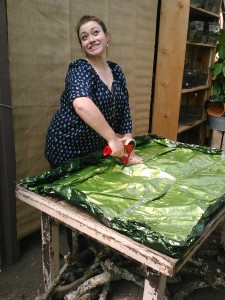
 As we had done for the first one, we emptied the stage floor completely and laid out a backing of brown Kraft paper that all of our botanicals would be laid on.
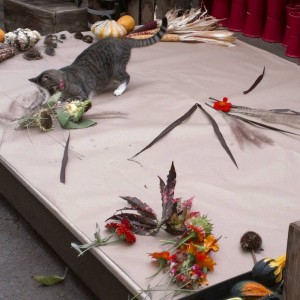
And, it turned out our garden shop cats, Tacca and Liam, wanted very badly to get in on the fun again. It seemed like a repeat of July!
In fact, the very first pieces I had chosen, the long, dark leaves of a Pennisetum named ‘Princess’, were quite obviously cat toys in Tacca’s eyes. They both loved the fluffy, light, guinea hen feathers too. We were worried we weren’t going to get very far with this project.
 But it turns out we have the perfect shop cats. Really, we do. They got bored pretty quickly with our shooing them away constantly, gave up on trying to get those wispy feathers, and strolled off to find some other adventure (or a nap) elsewhere.
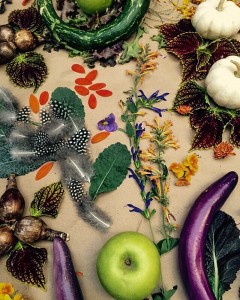
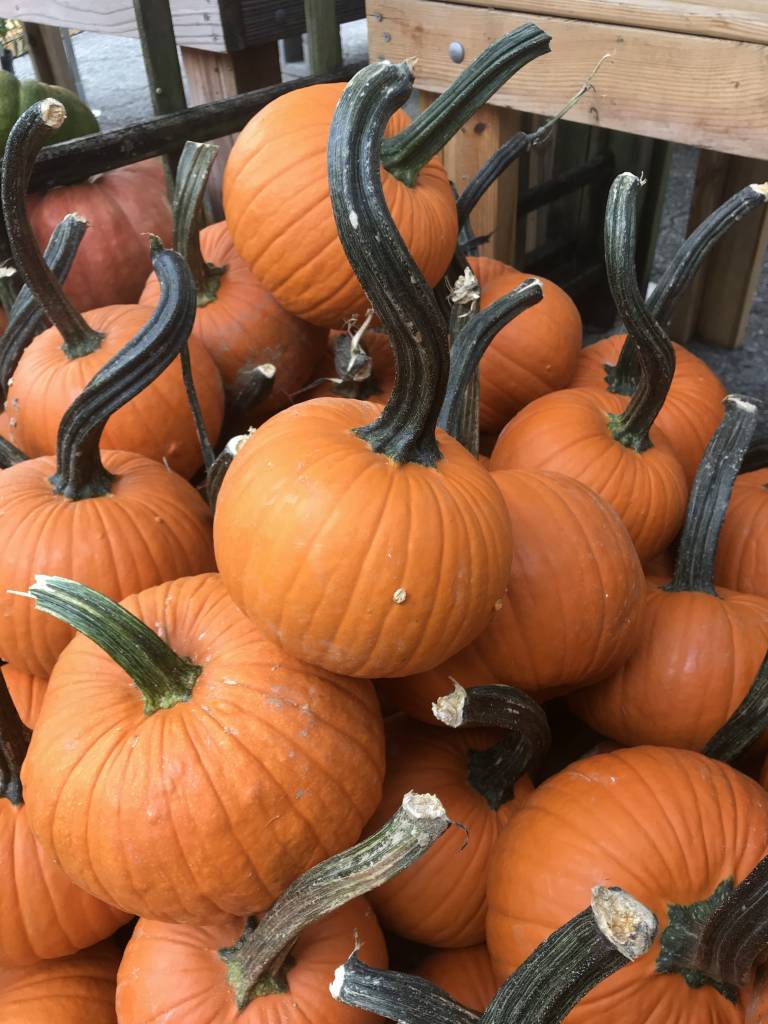
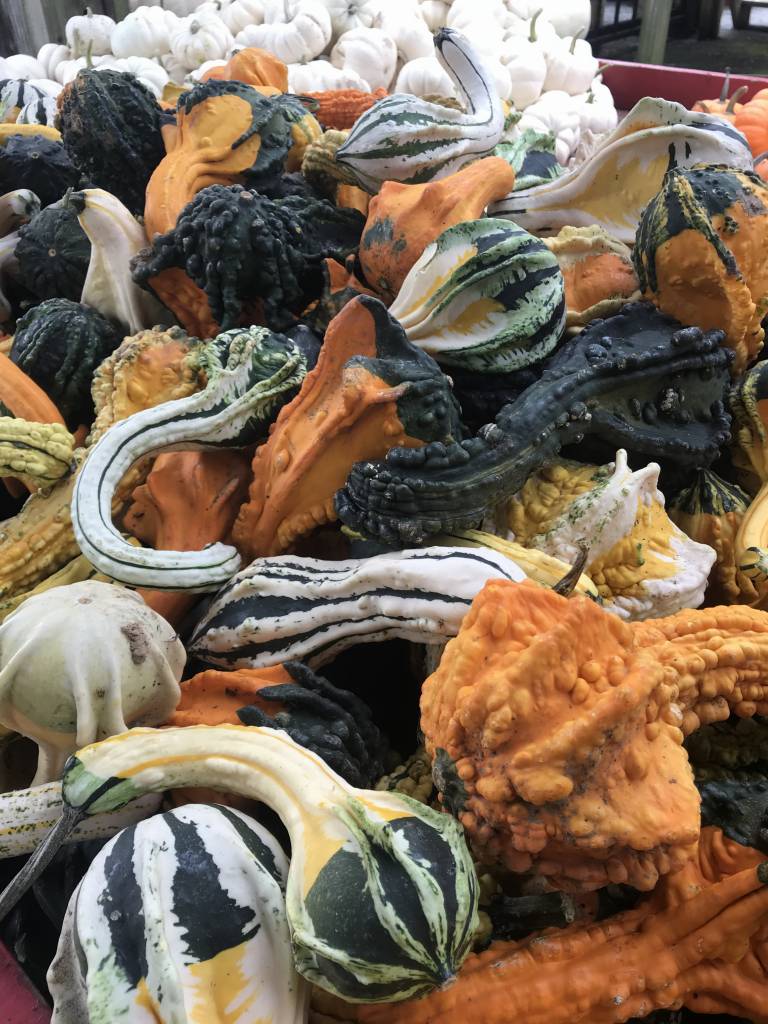
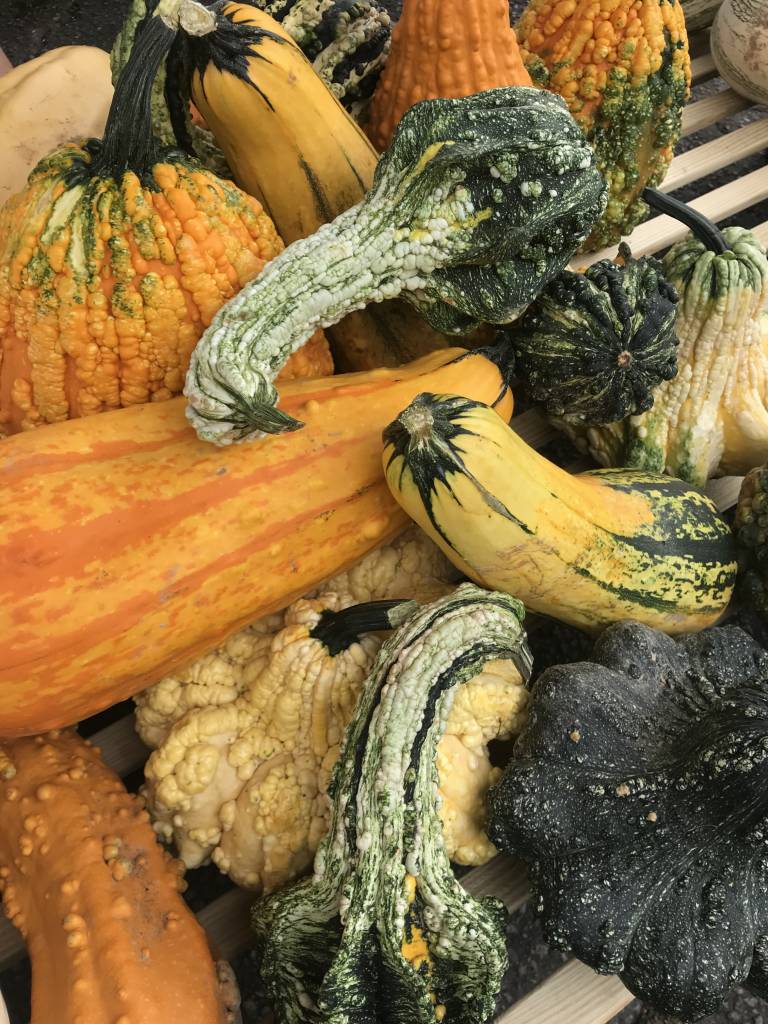
Some of the first things we pulled for our fall mandala were, of course, pumpkins and gourds. The snake gourds are so interesting; it was impossible not to use them as a dark green counterpoint to all the brighter colors of flowers and leaves.

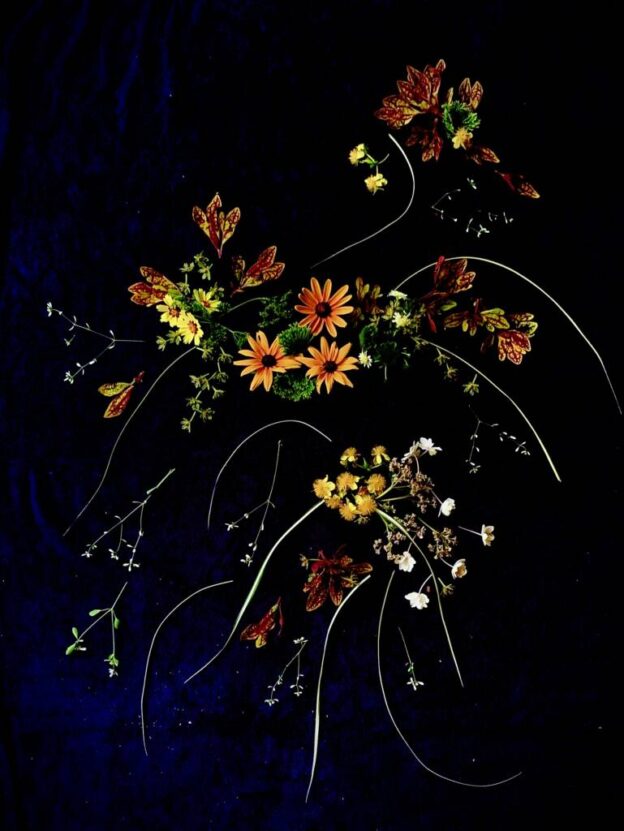
The ‘Better Late Than Never Garden‘ added its life to our design too, as we snipped blooms from massive tithonia plants and the last of the season’s cutting zinnias. The towering hyacinth bean vine in full bloom at the very top of the arbor is so tall it was hard to get many blooms from it, but the beautiful shade of purple from the few we had turned out to be very pretty in contrast to the orange colored blossoms we’d already gathered.
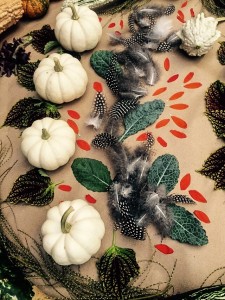
Tithonia, blue kale leaves, feathers…
Other deep hued elements like the purple eggplant with its pretty shape, the dark blooms of African blue basil, and various salvias worked well too.
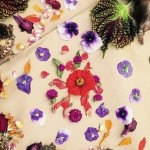
A particularly pretty grouping, I thought, were blue-green lacinato kale leaves interspersed with guinea hen feathers and single petals of bright orange tithonia. In fact, many blooms were pulled apart to use, including marigolds with their orange-red streaked yellow petals.
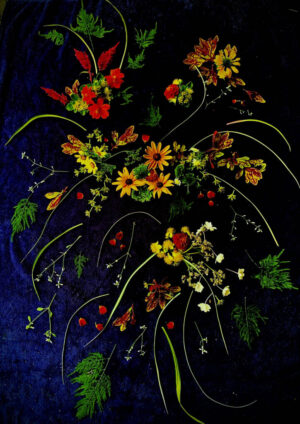
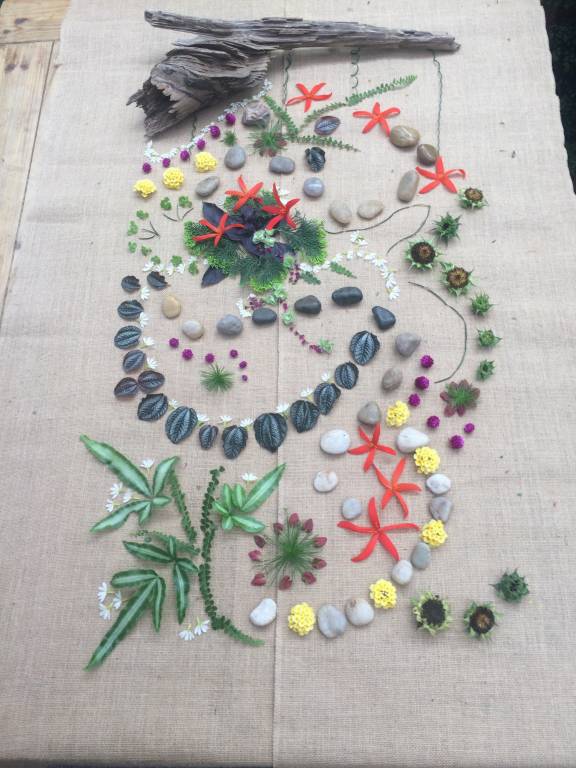
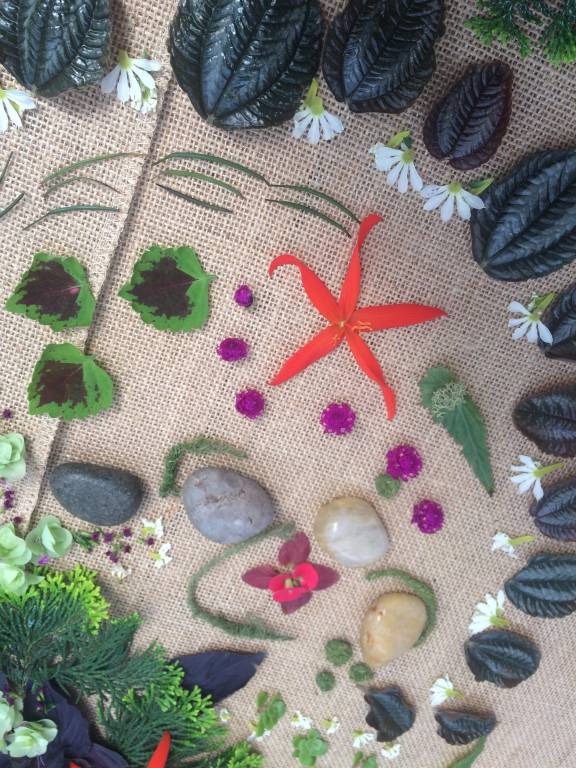
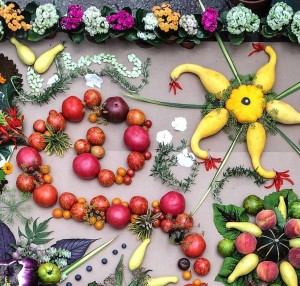
I stand back and look, studying what we’ve made. Hmmm….I really like the green apples against the purple eggplant but the tiny white miniature pumpkins are pretty wonderful too.
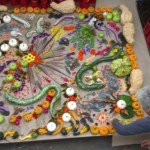
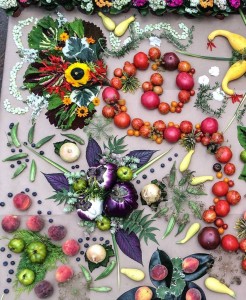
Another view…
Oh, but look at the beautiful leaves of red leaf lettuce, silvery veined heuchera, the chard’s brilliant red stems, and that gorgeous green rex begonia. Really, it’s impossible to pick a favorite spot, so I’m going to stop trying and just meditate on it for now…because that’s what a mandala is for.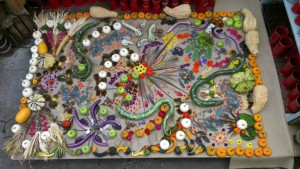
I know describing the elements doesn’t quite convey the creation of it, which was pretty much an instinctive process. I can say with authority that it is a really wonderful way to spend time, and we left it in place for a few days (Amazingly, the cats continued to ignore it!).

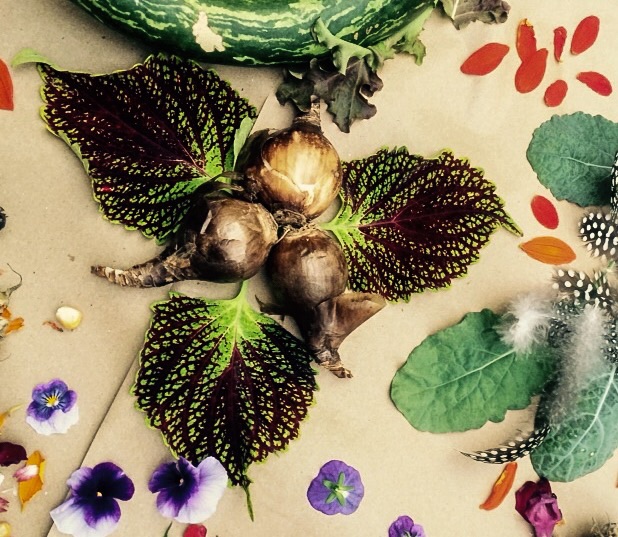
Lycoris bulbs, coleus leaves…
Finally, it was time to dismantle it, as the tithonia blooms were beginning to fade, the coleus and other leaves were curling, and we needed the space for shop business again. We’re already looking forward to the next one – our winter version, in January, 2016. Stay tuned!
FALL MANDALA INGREDIENTS:
Tiny blooms…
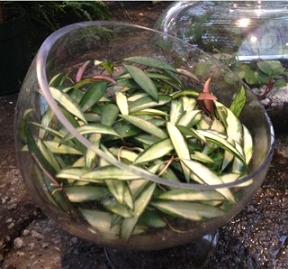
Indian corn (whole and kernels), snake gourds, mini pumpkins, gourds, green apples, purple eggplant, lycoris squamigera bulbs, guinea hen feathers, miscanthus blooms Lacinato kale, Charlotte chard, red lettuce, coleus, croton, ‘Red Giant’ mustard, ‘Silver Dollar’ maidenhair fern, ‘River Nile’ begonia, ‘Princess’ fountain grass leaves
Tithonia, zinnia, Mexican sage, ‘Deb’s Blue’ salvia, dahlia, hyacinth bean vine, viola, marigold, dianthus, forced azalea, African blue basil, agastache (Sunset series), purple gomphrena blooms
Sunflower seed heads (gone to seed), bittersweet berries
Everything either from plants, food, pumpkins, in stock or picked from the shop’s garden…
By Kris Blevons


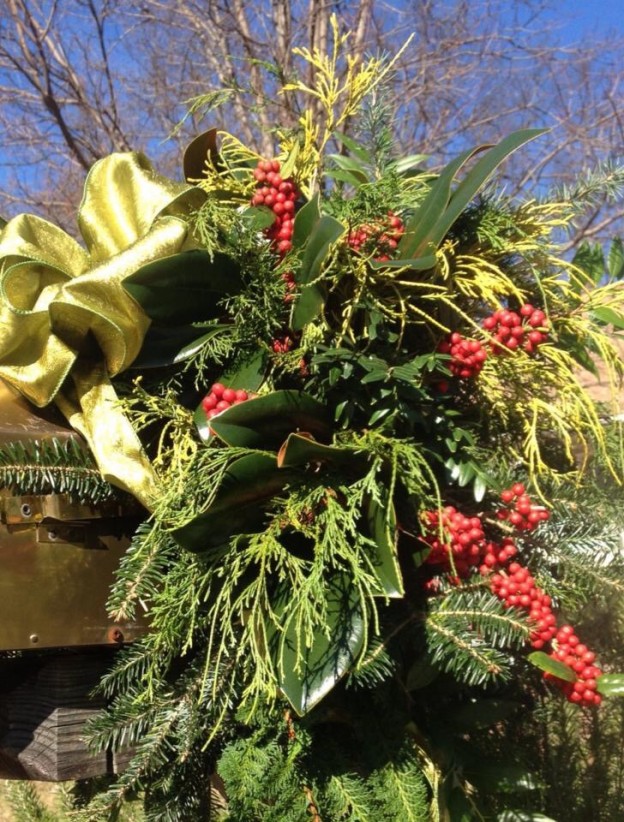
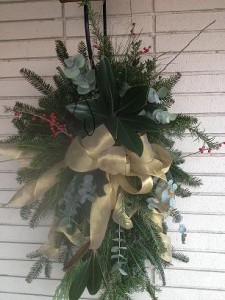 I have to confess, where I grew up, mailboxes were at the houses, either as a mail slot in the door or physically attached to the outside of the home, and only folks in the country had mailboxes on a post at the street. Now this was actually a very good thing since it saved having to walk outside each day to get the mail, especially on extra cold or very snowy days. Of course, there was always a wreath, and garland with bows, and evergreen bunches in frozen pots.
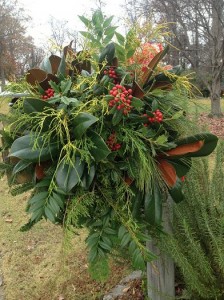
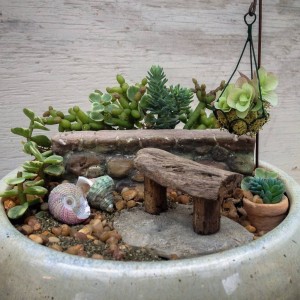
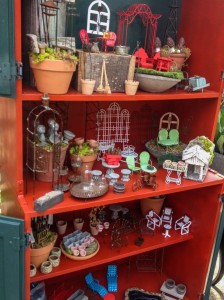
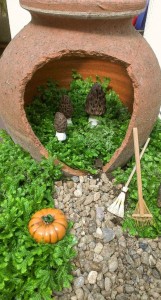
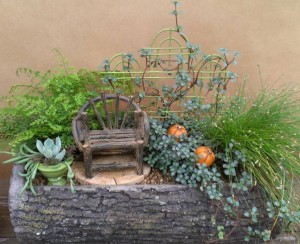
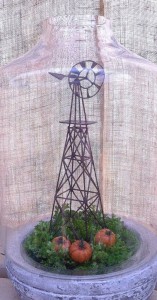
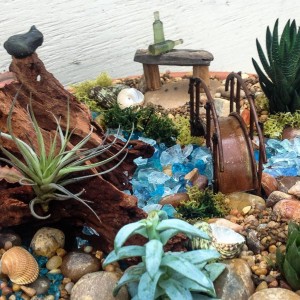
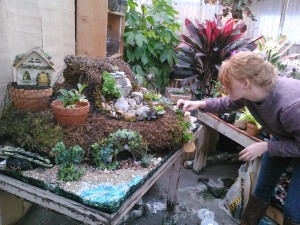
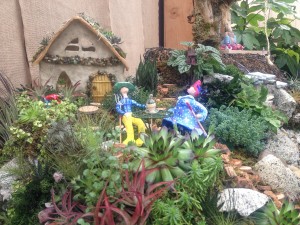
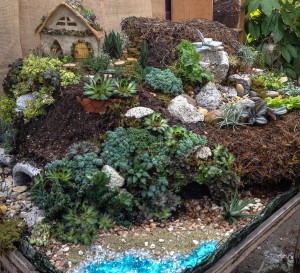

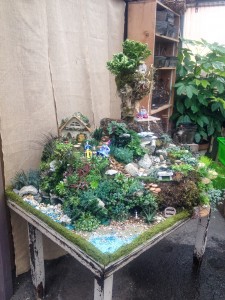
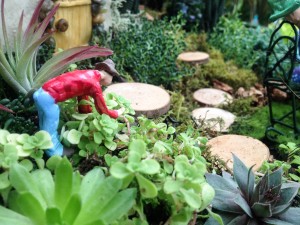
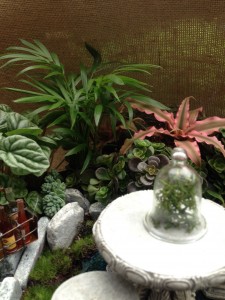
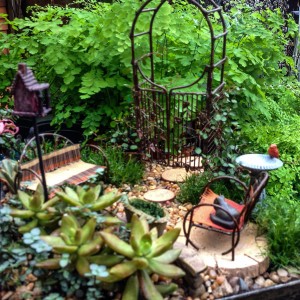
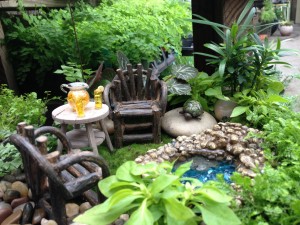
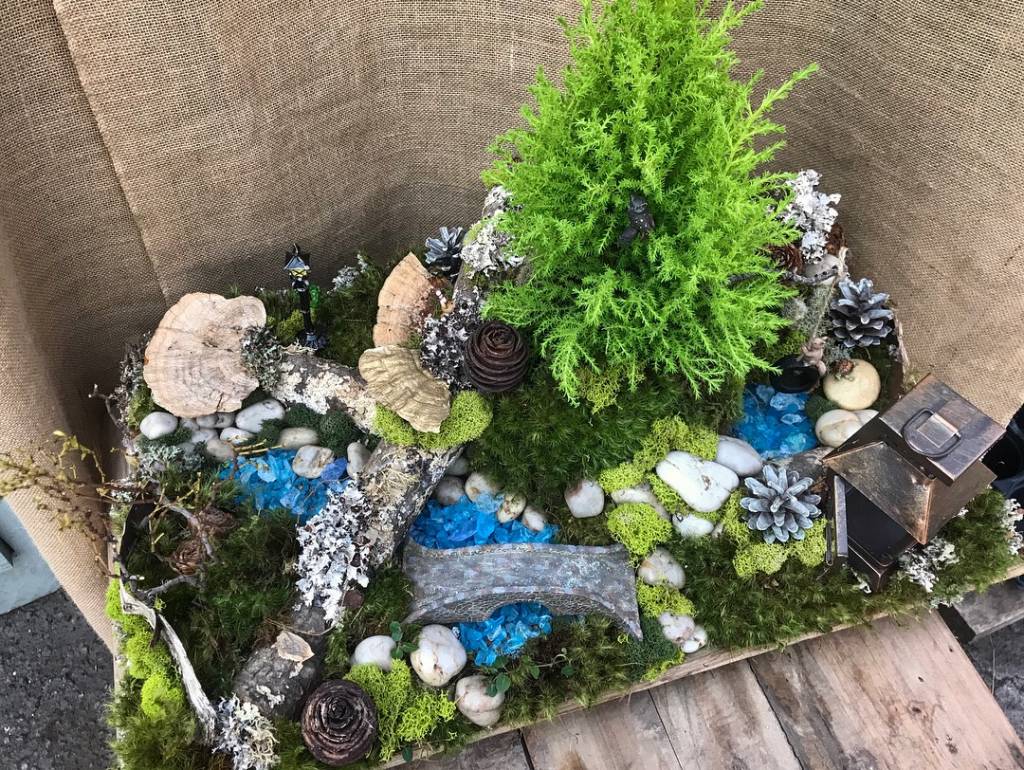
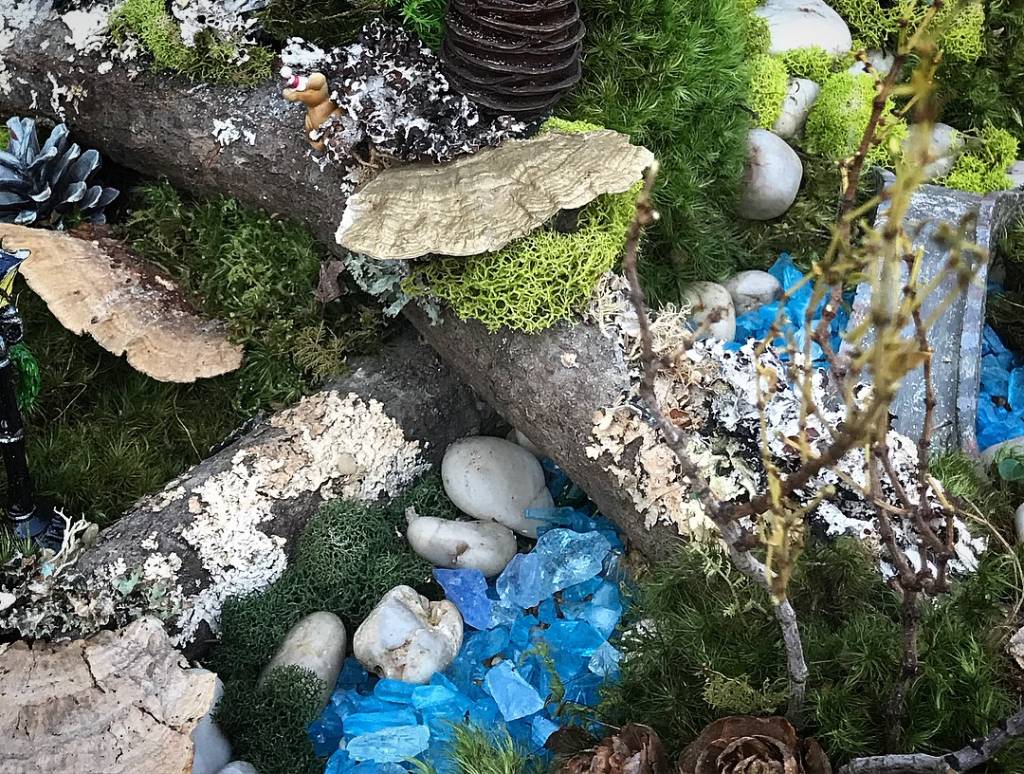
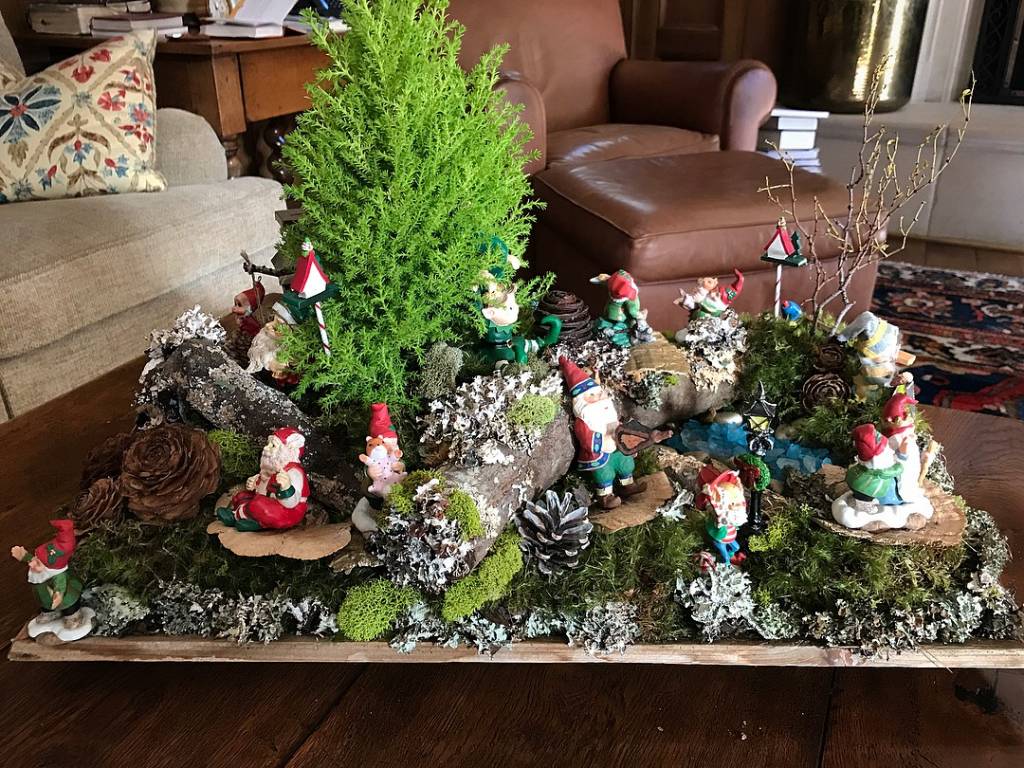
 What does all this have to do with miniature gardens, you ask? Well, these tiny gardens have been very popular the past number of years, and the garden club organizers decided it would be a fun thing to have on some of the tables for one of their meetings. And they turned to Oak Street Garden Shop for help.
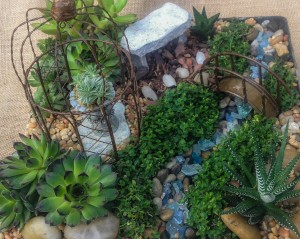 Because these take a great deal of time to make, I finally gave up on waiting for new miniature garden accessories I’d ordered since my deadline to have them completed was looming…but I still had plenty of fun things to play with. If you’ve ever made one of these
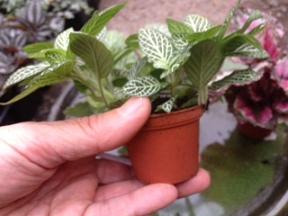
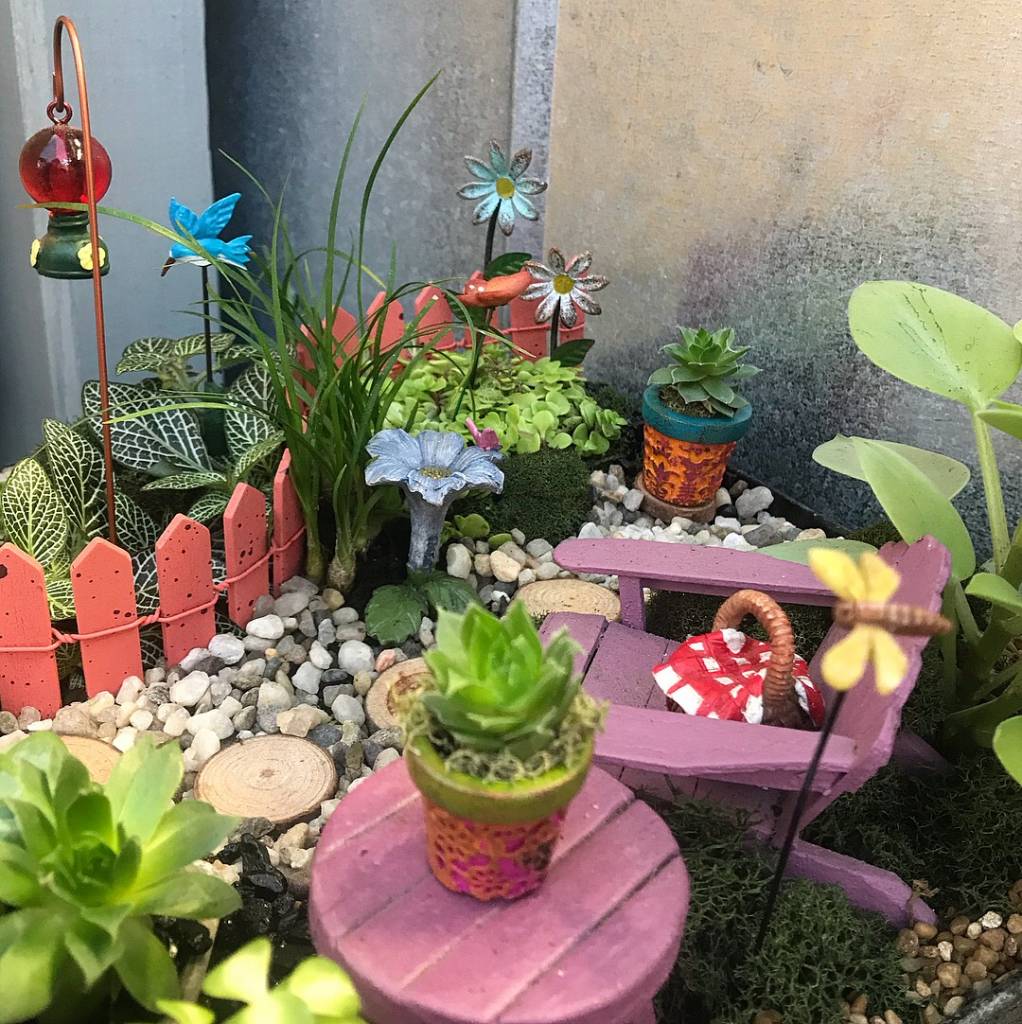
 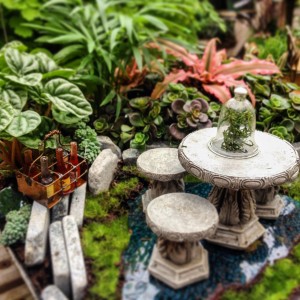 Tiny pots of ordinary houseplants also work in these gardens. Little parlor palms, ferns, polka dot plants and baby podocarpus make good companions, and selaginella is a pretty groundcover.
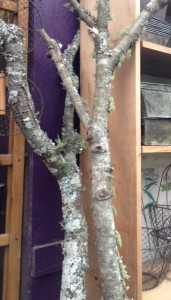
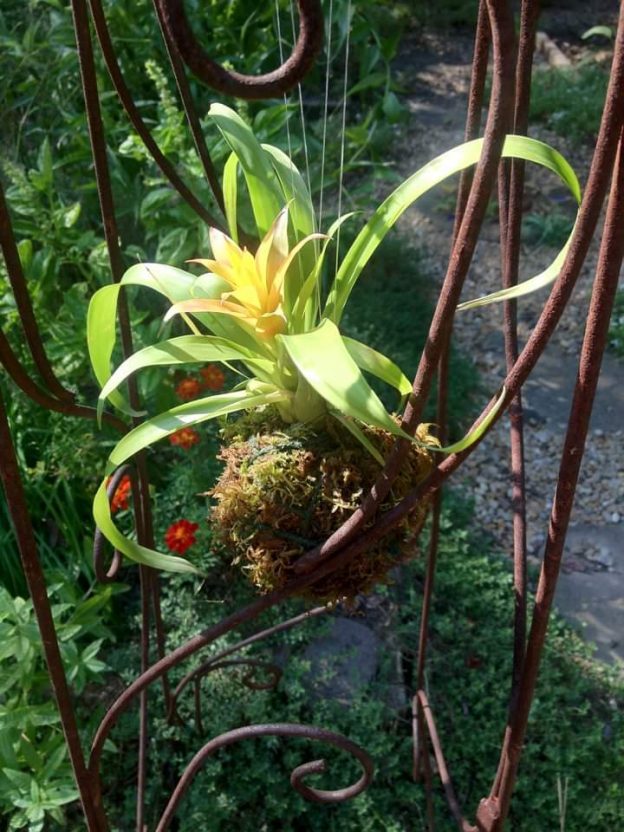
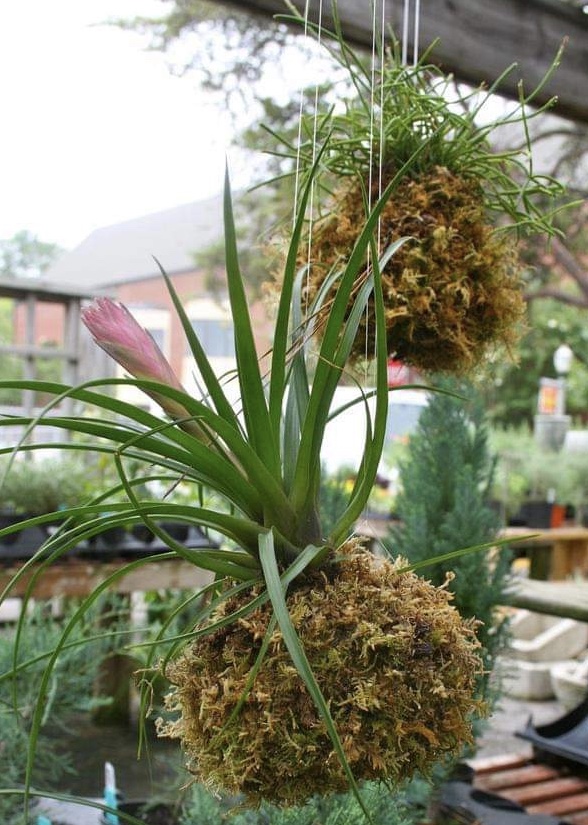
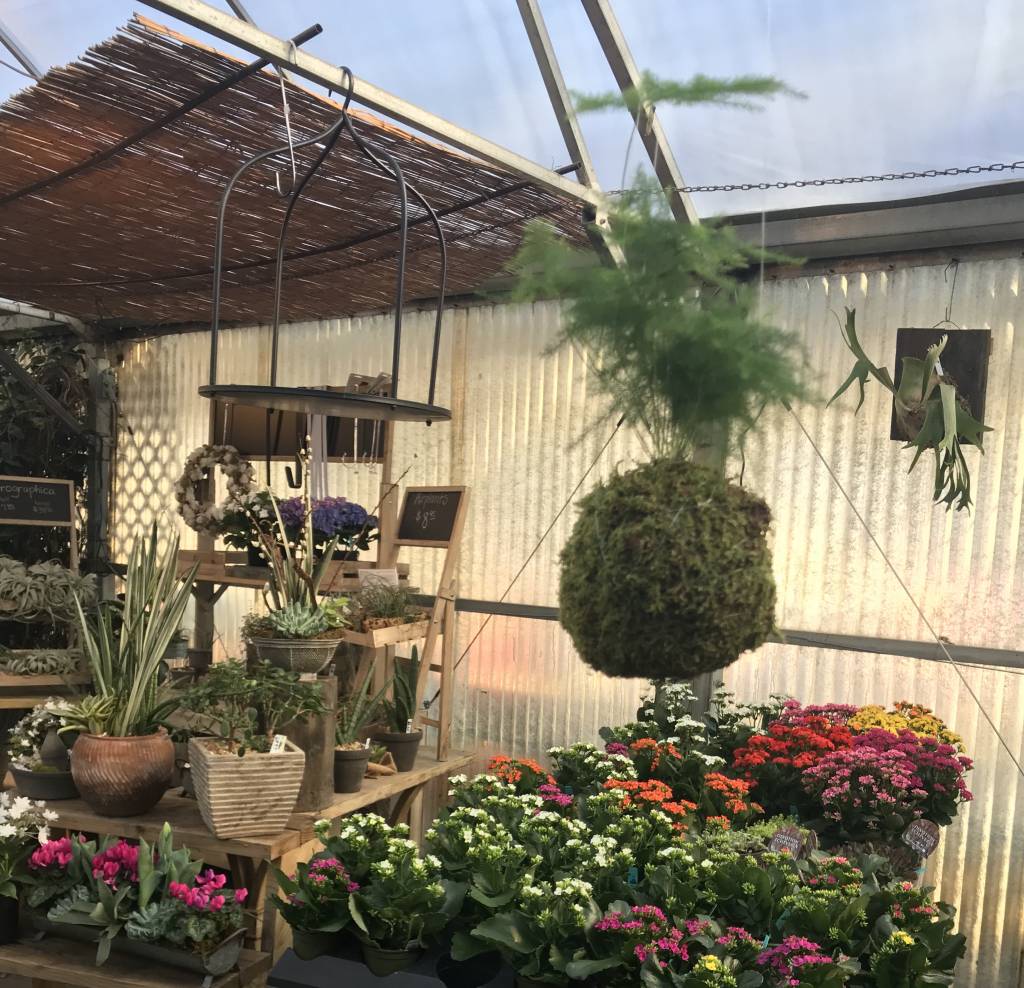
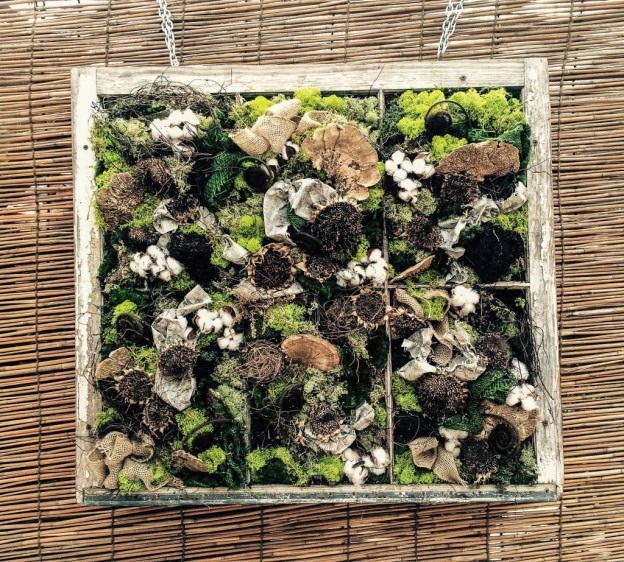
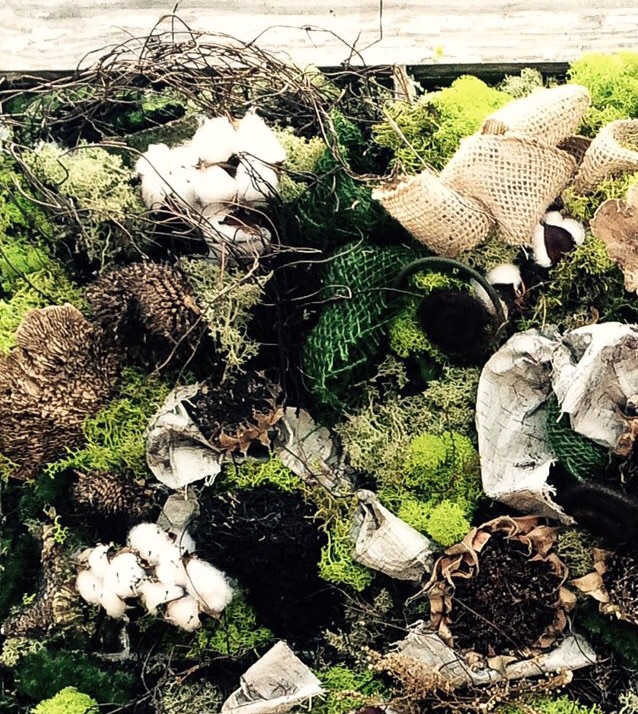
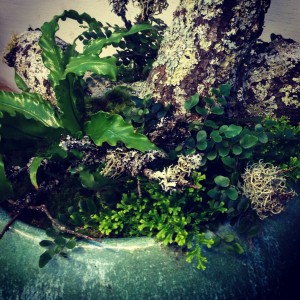
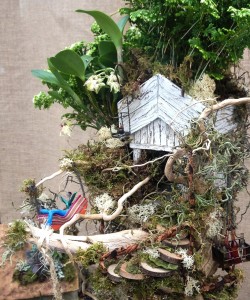
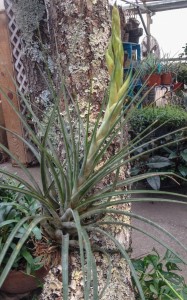
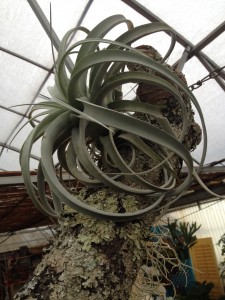
 The key components are some really large limbs, swiss cheese philos that were too rootbound to remain in their plastic pots, air plants, bromeliads, and lots of helping hands!
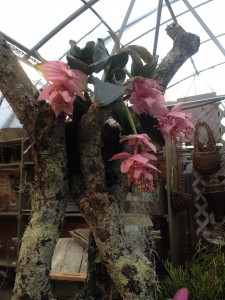
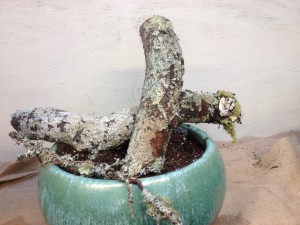
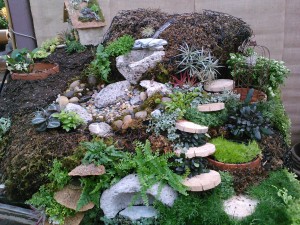
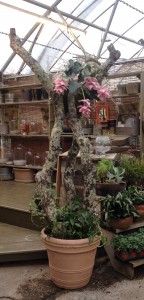
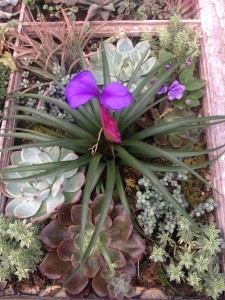
 While Pinkie planted the medinilla, Jamie and I played with the positioning and wiring of the larger air plants and small bromeliad. It was coming together!
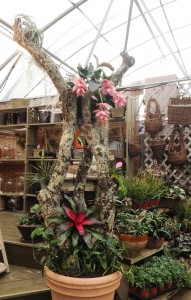
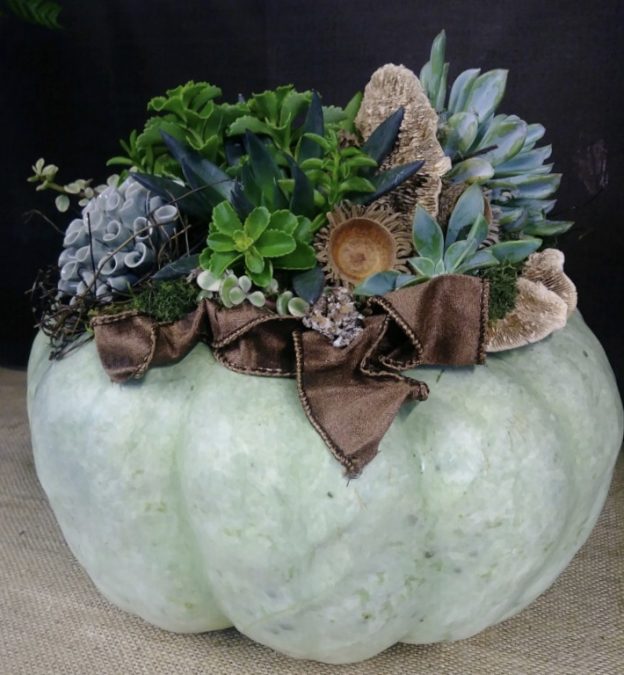
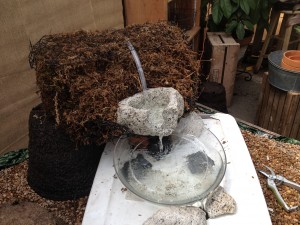
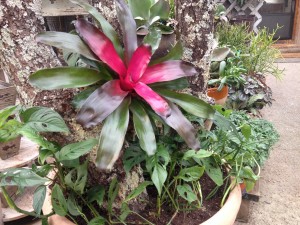 Finally, a bright Neoregelia bromeliad with a moss wrapped pot was nestled in at the botttom for a pop of color at the base. A bit of spanish moss hanging delicately from the top limbs completed our project.
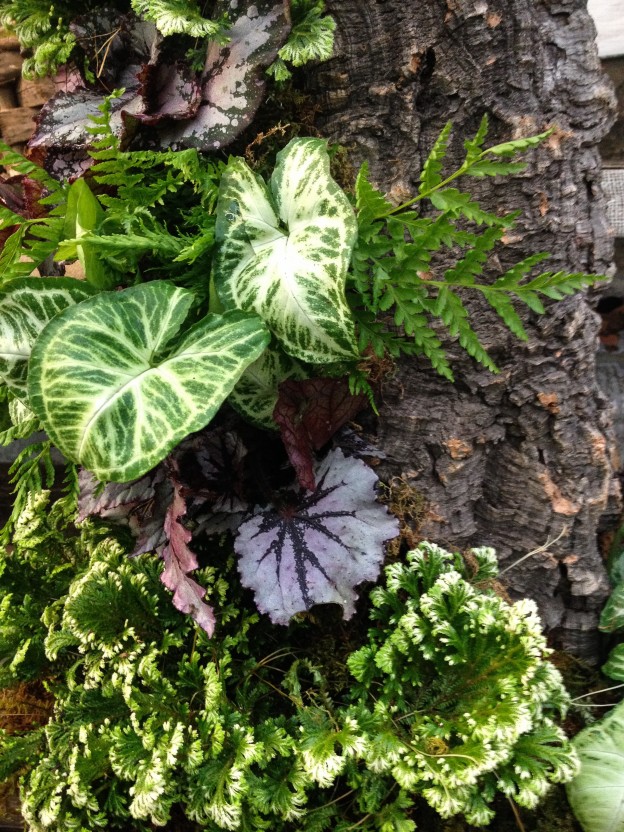
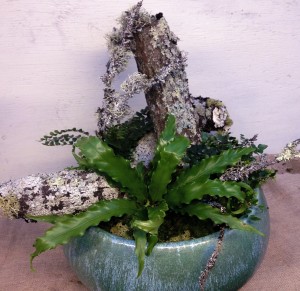
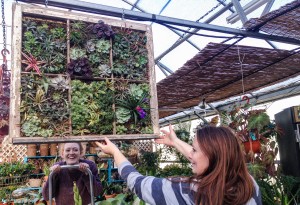
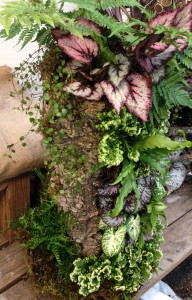 These pieces can be used either horizontally, planting along the top, or vertically, like I’ve designed this one, positioning the plants up the planter. Since it could be unsteady if it didn’t have something to stabilize it at the base, I placed it in a pulp planter that I’d covered with a layer of sheet moss. A plastic saucer underneath will protect the floor during its time indoors, then it can be used without the saucer out in the garden or on a patio, porch or other spot that has some shade.
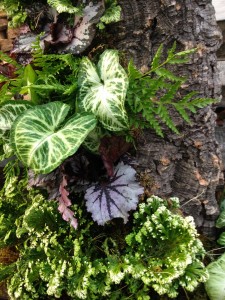
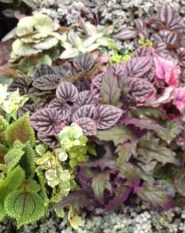
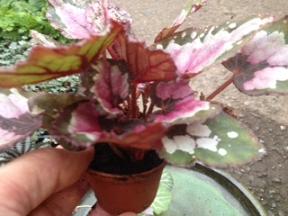
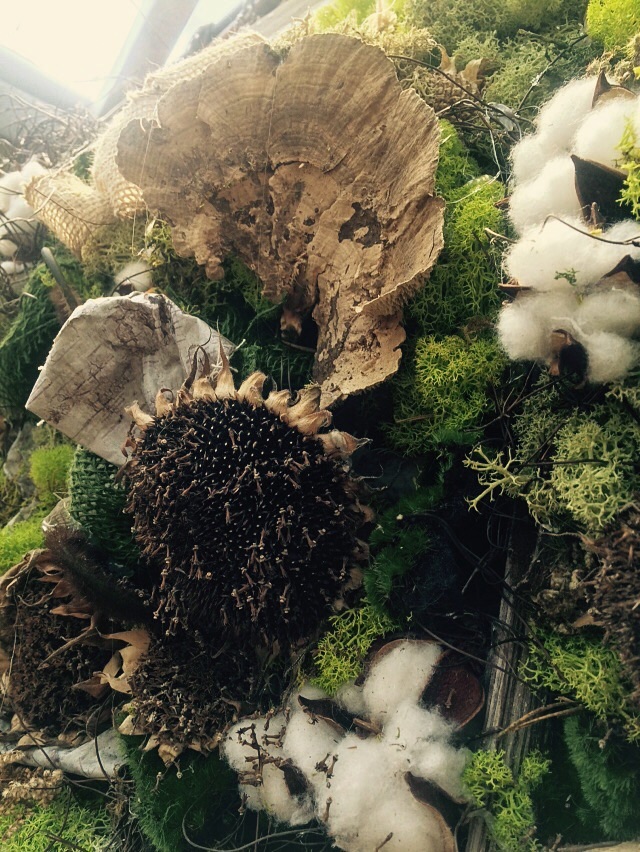
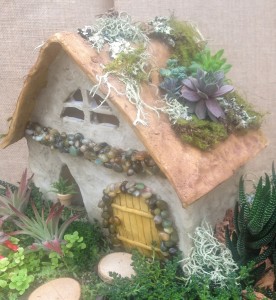
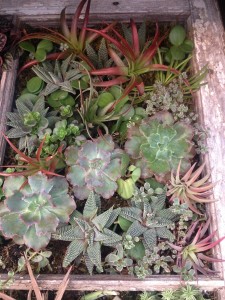
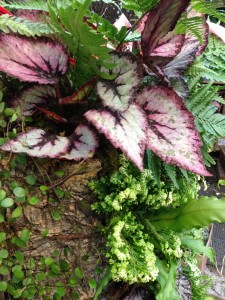 This planting has a variety of houseplants, including nephthytis, used for its lighter green and white foliage, rex begonias for a bit of color, tooth brake ferns and a bird’s nest fern, a new selaginella with white tips called ‘Frosty’, and a large autumn fern in the top with angel vine spilling over the edge with one last, large rex begonia.
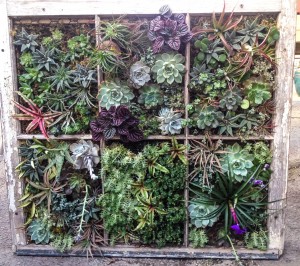
 If you haven’t noticed,