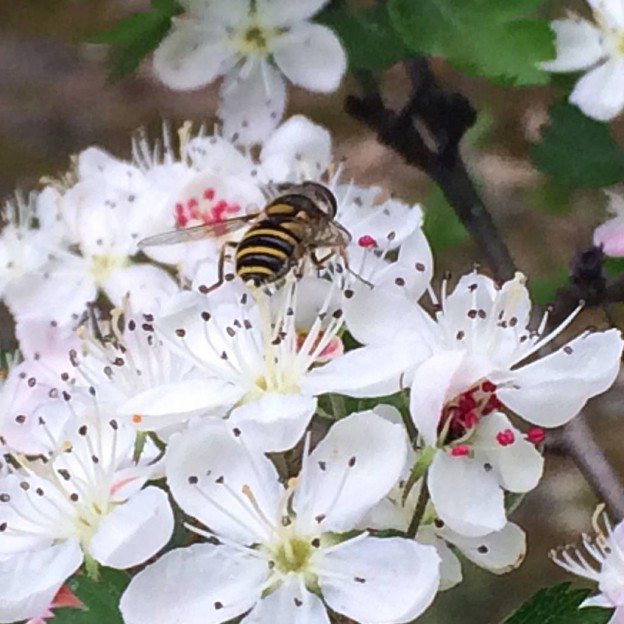
 I like to feel I’m doing a good job of gardening to attract pollinators. At any rate, my home garden and the ‘Better Late Than Never’ garden across the street from Oak Street Garden Shop seem to have lots of bees, hummingbirds, and butterflies, so I must be doing something right, right??!!??
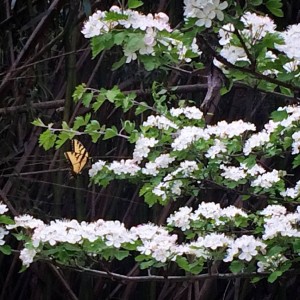
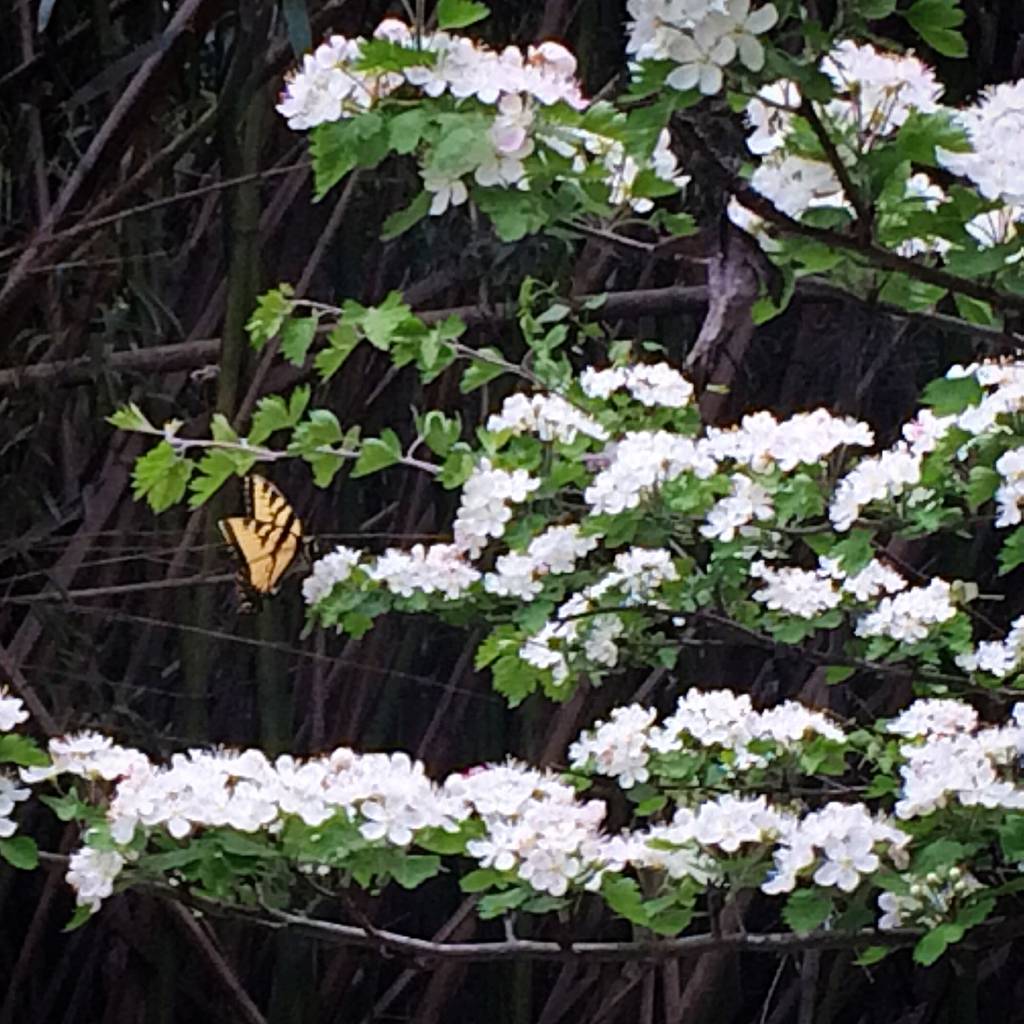
Swallowtail Butterfly on Parsley Hawthorne
Researching pollinator gardening information for a garden talk and workshop recently, in the midst of wading through article after article (There are a lot of posts on honeybees and their decline, and numerous writings on attracting hummingbirds and butterflies to your garden.), I came to the conclusion that it basically boils down to this:
Your home and yard, garden, landscape, whatever you call the space that surrounds your home, is your personal ecosystem. The health of it and the pollinators that visit it depend on how you build your soil, what you plant, and how you choose to maintain it.
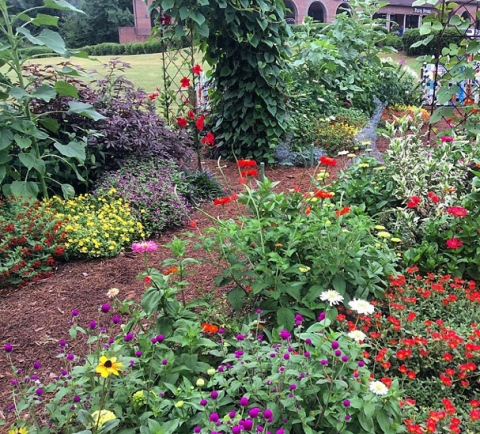
So my choices have been to try to have as diverse a plant pallette as possible (I admit, I’m a plantaholic. Who knew that would play right into gardening for pollinators?) and to eliminate pesticide use almost entirely. I’m gratified when I hear of others that are trying to do the same thing.
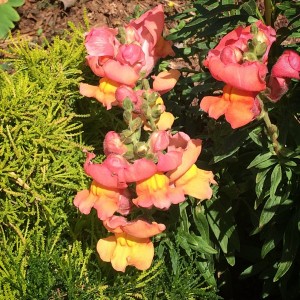
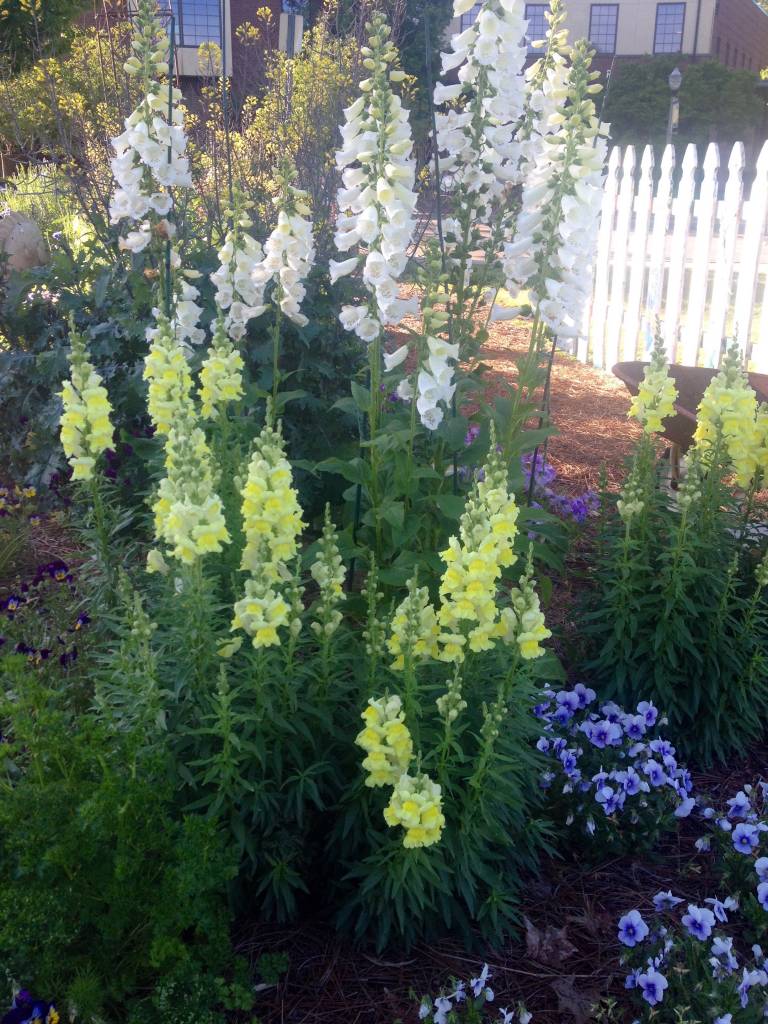
Bees love snapdragons!
I use organic soil amendments like PlantTone and Annie Haven’s Moo Poo Tea, have learned to live with a few holes in leaves, let the ladybugs eat aphids (If they really get too bad, I wash them off with some soapy water.), and practice patience, knowing that most of the time an infestation of insects doesn’t last forever. I take great joy in bopping Japanese beetles off of my roses into a bucket of soapy water early in the morning when they’re most sluggish. I know each year they’ll be back – it’s just part of the garden’s cycle.
If you feel you have a large problem and must spray, start with the least toxic form of chemical control, and understand that even products labeled organic can be harmful to good bugs as well as bad. ***Always read the label and follow directions carefully!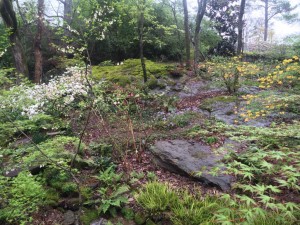
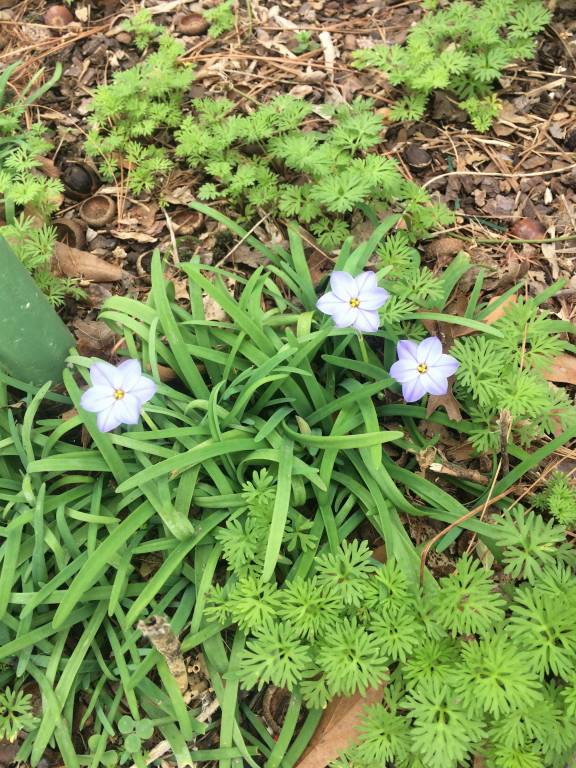
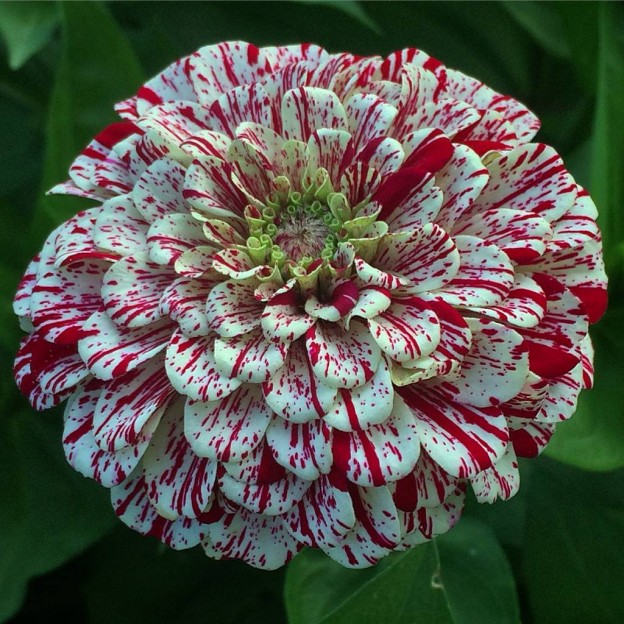
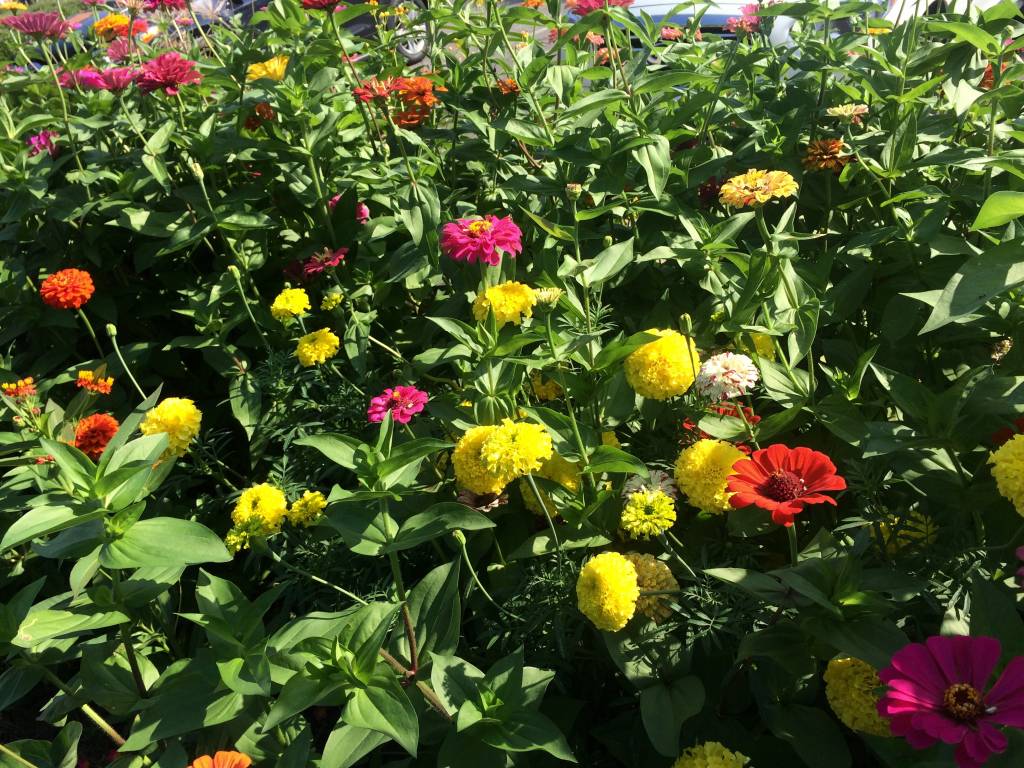
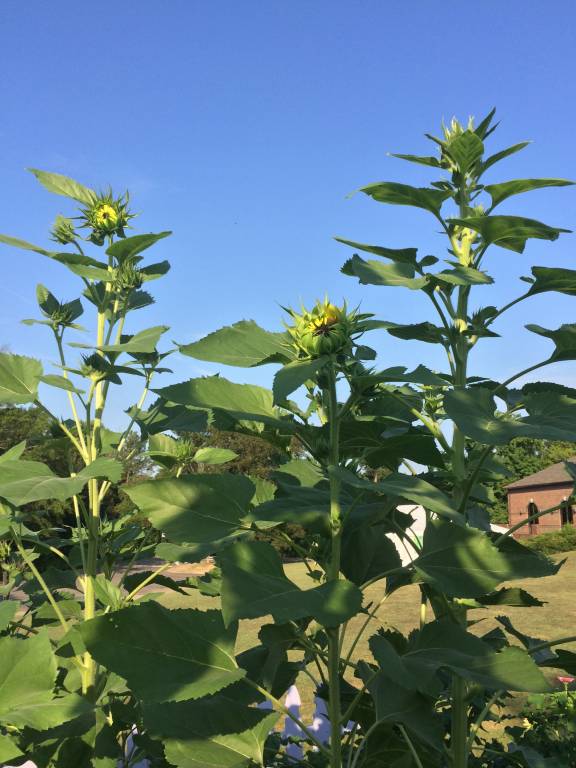
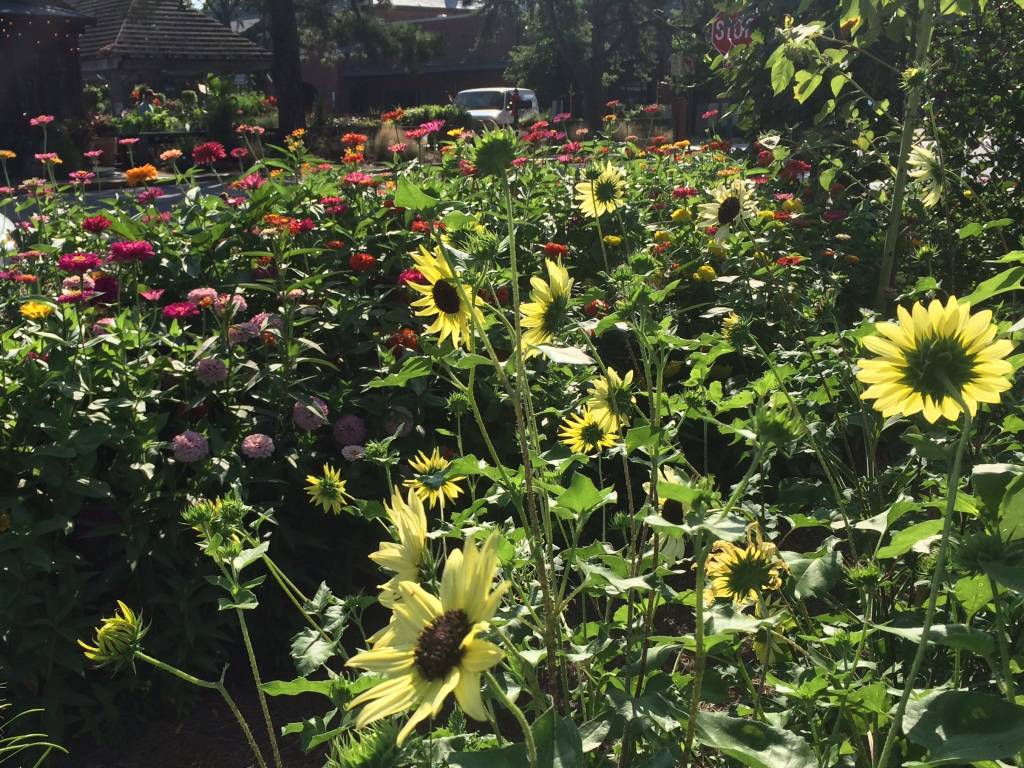
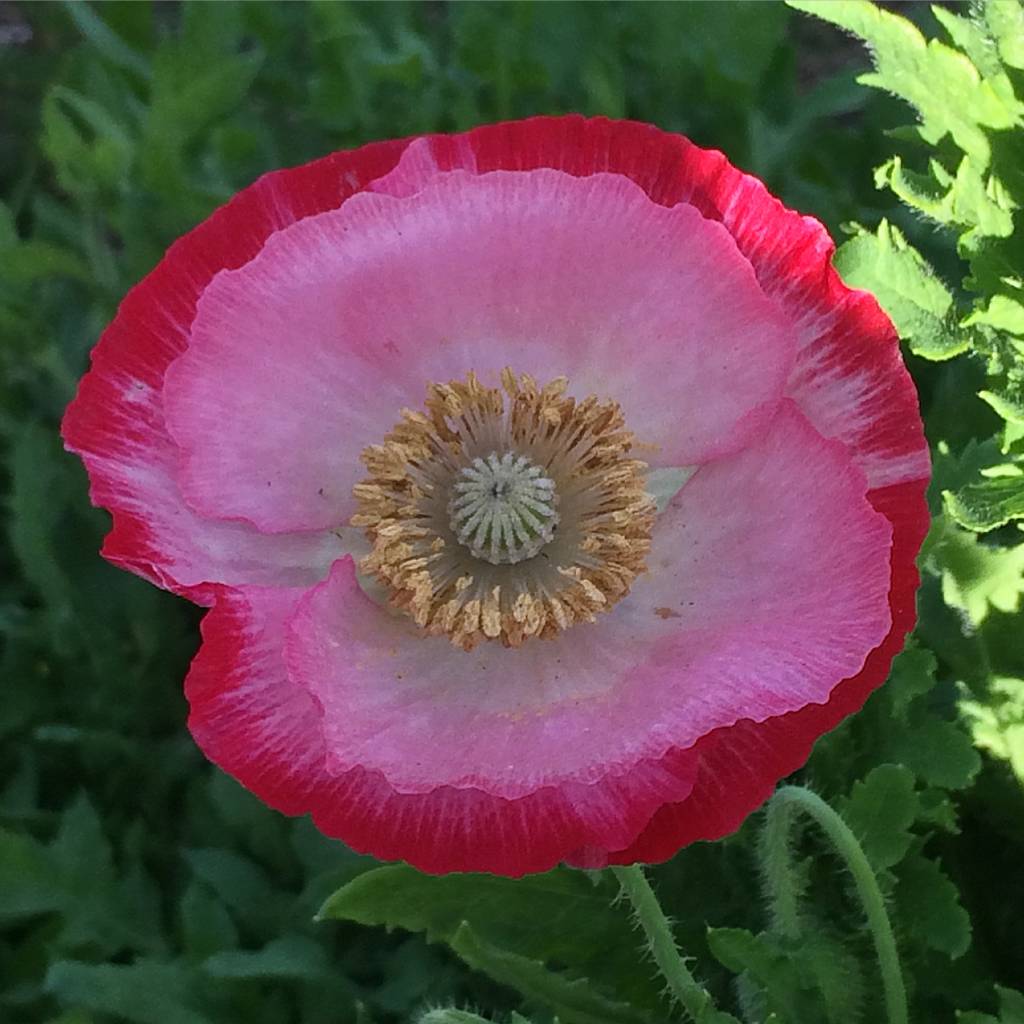
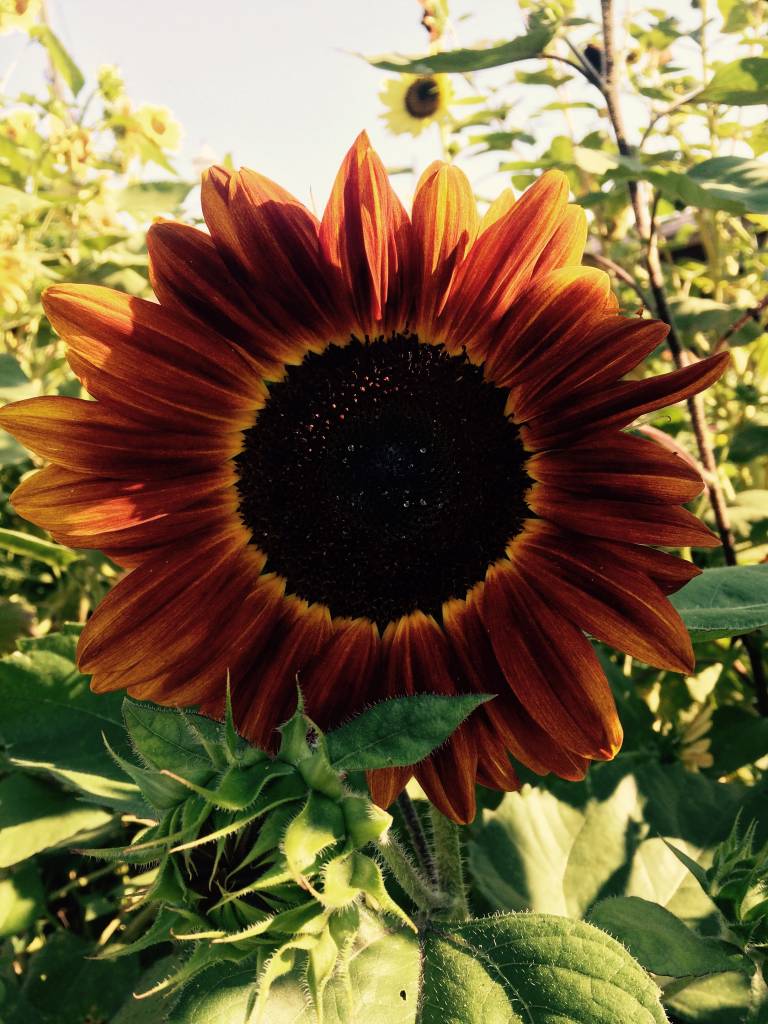
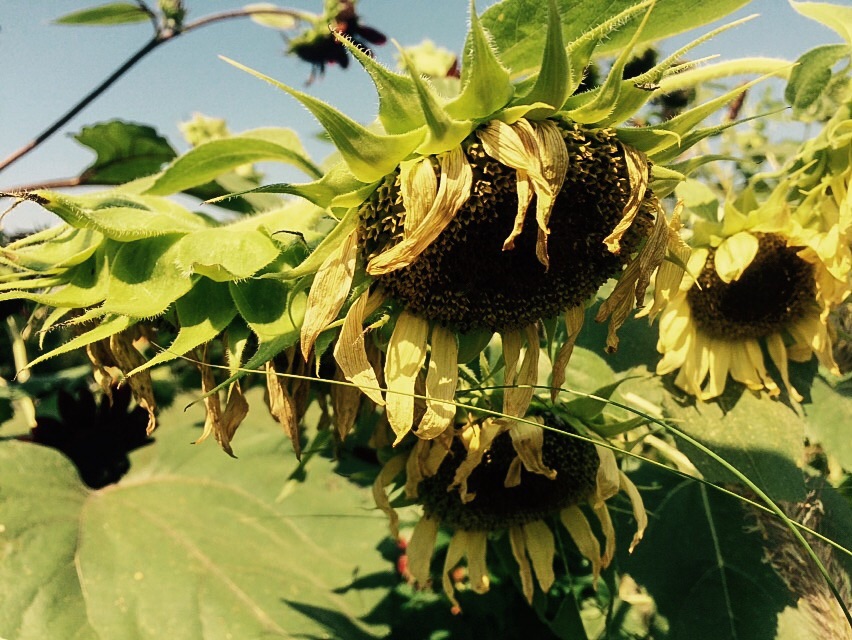
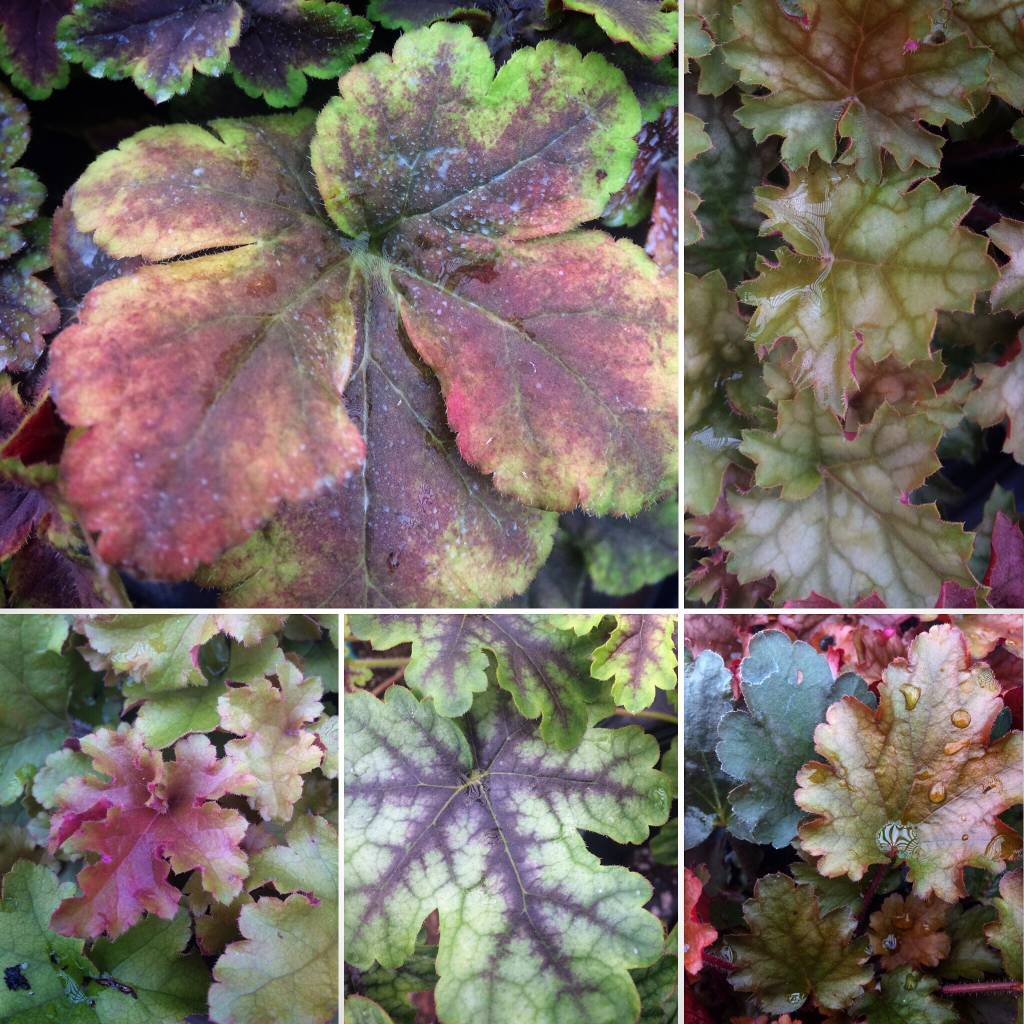
I’ve learned that planting large swaths of color will attract bees, and that they prefer blue, purple, white, and yellow. I’ve learned to grow a wide variety of plants, including plants with a scent, herbs in particular. I’ve learned that while double blooms on flowers are attractive to us, they’re not especially useful for pollinators, and that they much prefer single, simple blooms. I’ve learned that flowers that come back from seed that drops in the garden (zinnias, sunflowers, bachelor buttons, larkspur to name a few), perennials, and any of our native shrubs, trees, and wildflowers are preferable also.
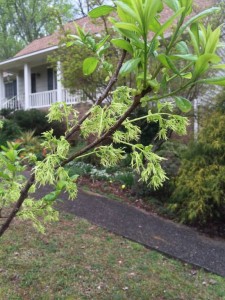
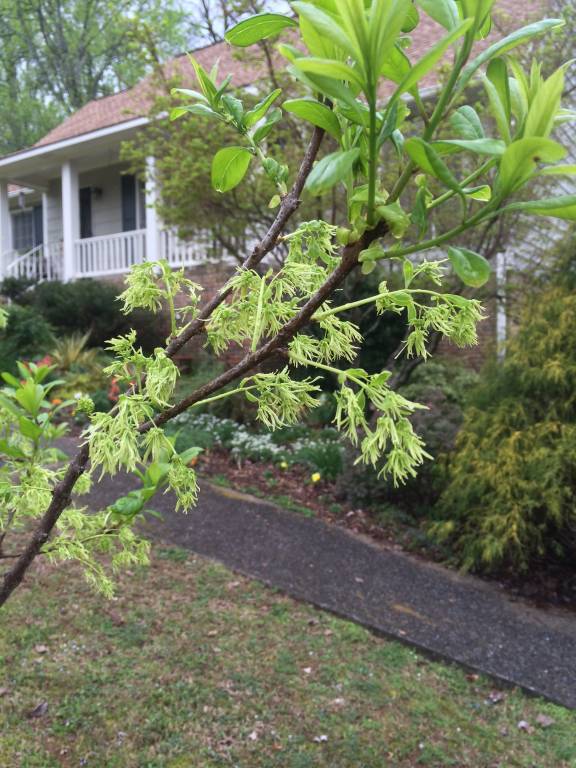
Chionanthus virginicus – Fringe Tree
Most importantly, I’ve learned that it’s not that hard, and actually quite a bit easier, to garden naturally. I have some clover in my grass. And you know what? It’s okay, because I have bees foraging it. Somewhere there’s some great honey in the making!
Our last average frost date is mid-April. In the coming weeks we’ll be stocking more and more plants for your pollinator gardens. Here are a few suggestions:
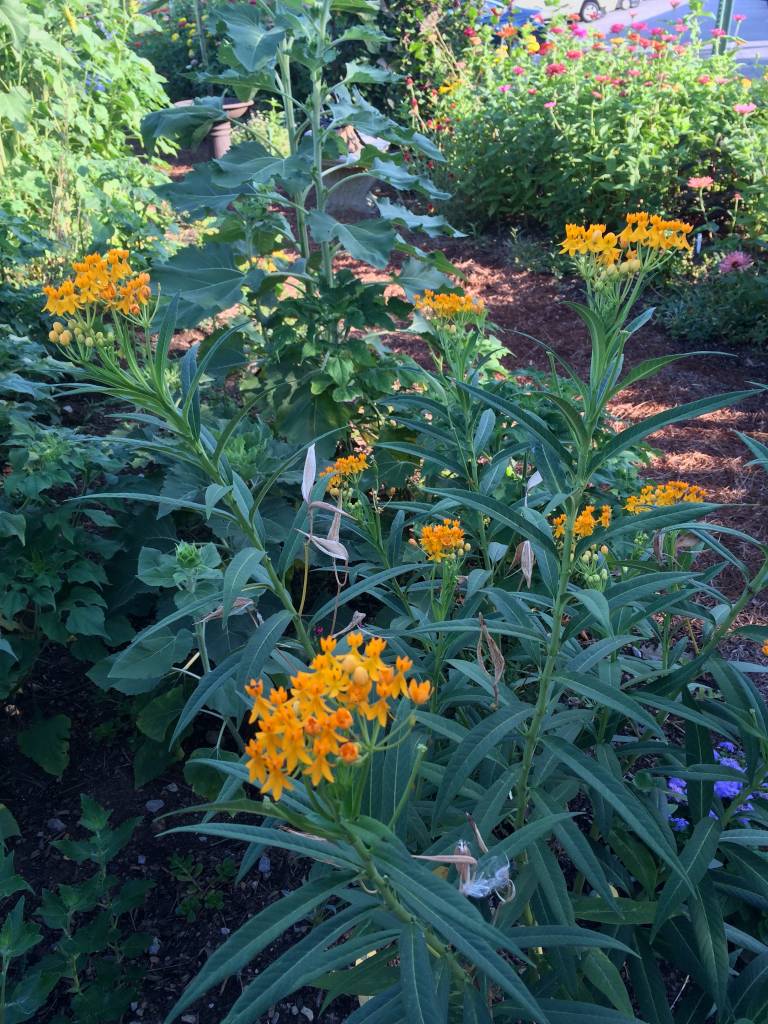
For Butterflies: Zinnias, Gomphrena, Pentas, Marigolds, Verbena, Asters, Yarrow, Butterfly Weed
For Bees: Purslane, Mexican Heather, Pentas, Sweet allysum, Bee Balm, Asters, Rudbeckia, Coneflower, Zinnia, Snapdragon, Sage, Basil, Rosemary, Agastache
For Hummingbirds: Cigar Plant, Salvias, Heat tolerant Fuschias, Agastache, Petunia, Hamelia, Lobelia, Bee Balm, Penstemon, Nasturtiums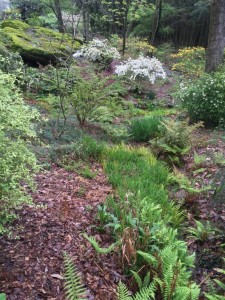
Host Plants For Caterpillars: Fennel, Parsley, Dill, Carrots, Zinnias, Viburnum, Oak Trees, Cosmos, Milkweed, hollyhocks
These lists are by no means exhaustive, but are meant to be a starting point for your pollinator garden. Some of these plants are best planted in the fall, while others are more heat tolerant.
*** Alabama’s watersheds, rich in animal and plant life, absorb the brunt of chemical and fertilizer runoff from homeowner and commercial pesticide and fertilizer application. Be mindful that what you (and your neighbors) put in the landscape can adversely affect these areas and the life in them.
By Kris Blevons


 2. Watering: Keep Plants Happy Before Planting
 4. Mulch to Protect Roots


 I read a piece that Tony Avent of Plant Delights Nursery wrote a few years ago about some people being “controlling” gardeners while others are “gambling” gardeners. I really thought it was spot on, and I can say I’ve worked with both types.
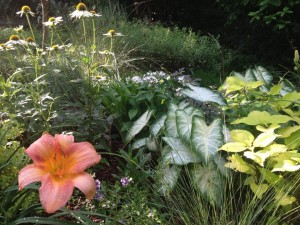
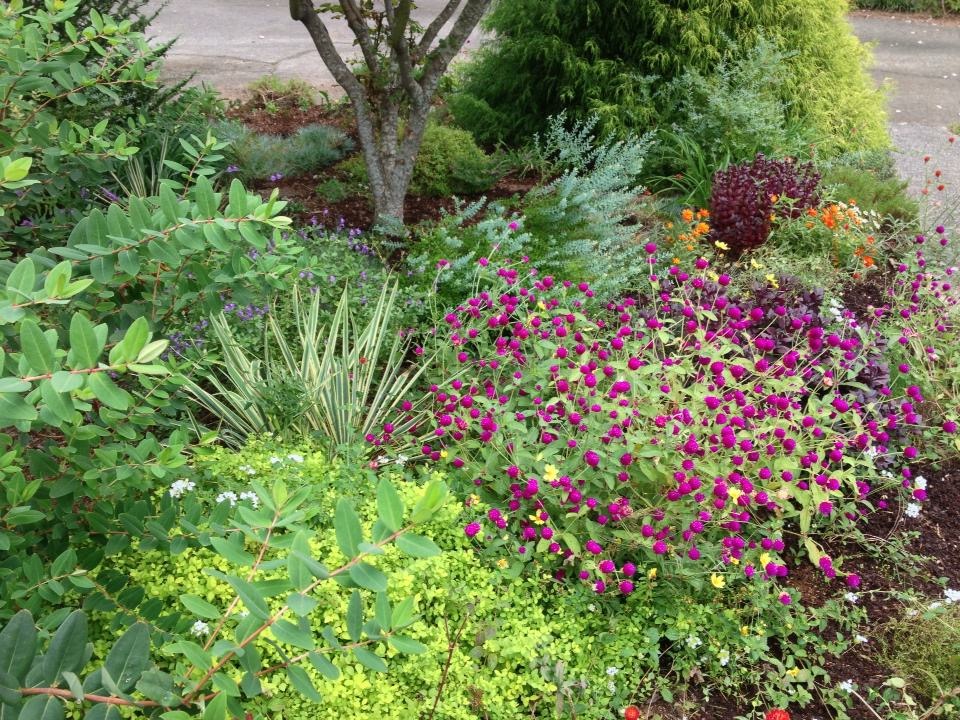
 With the beginning of a new planting season, my personal outlook is going to be that of looking on my gardening efforts as a joy and an opportunity to not only beautify my landscape and surroundings but to nourish my soul as well; and, if there are failures, that will be part and parcel of the process. Some of my best plant combinations have been happy accidents!
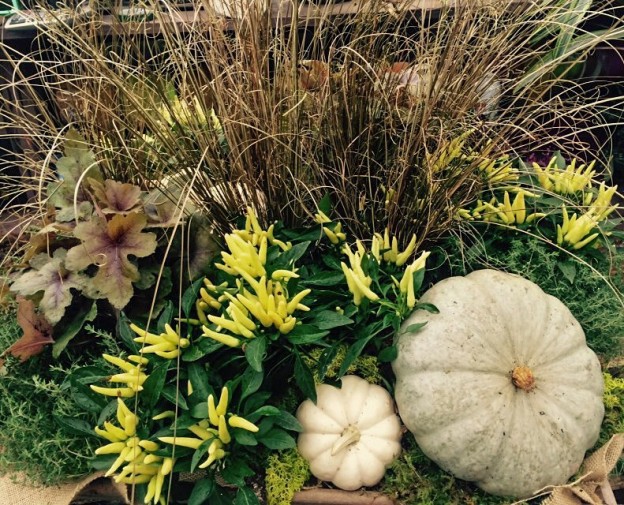
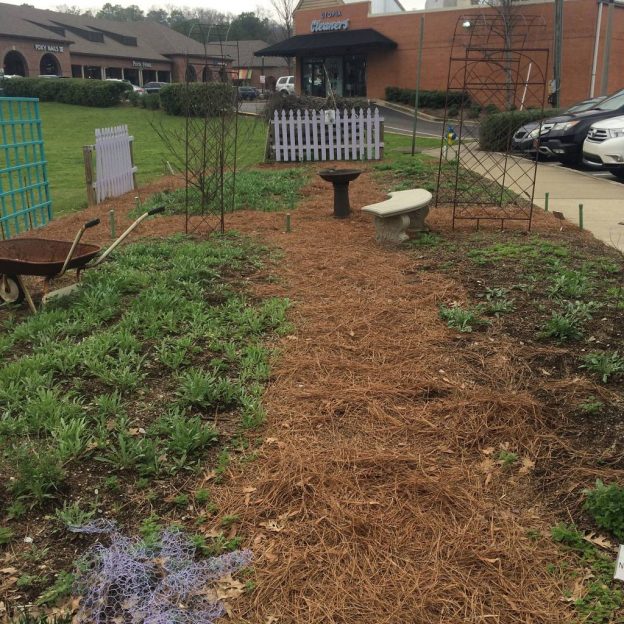
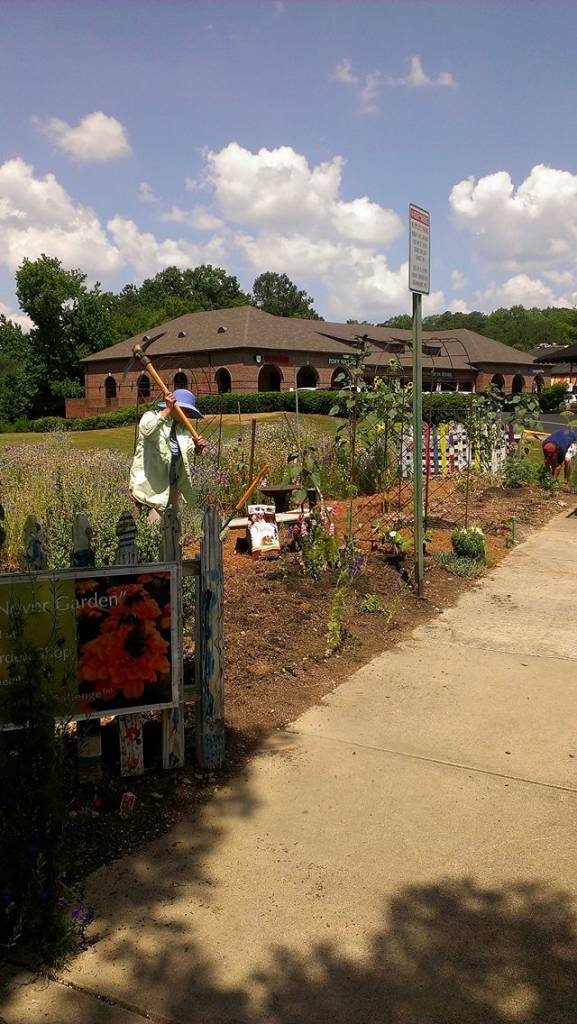
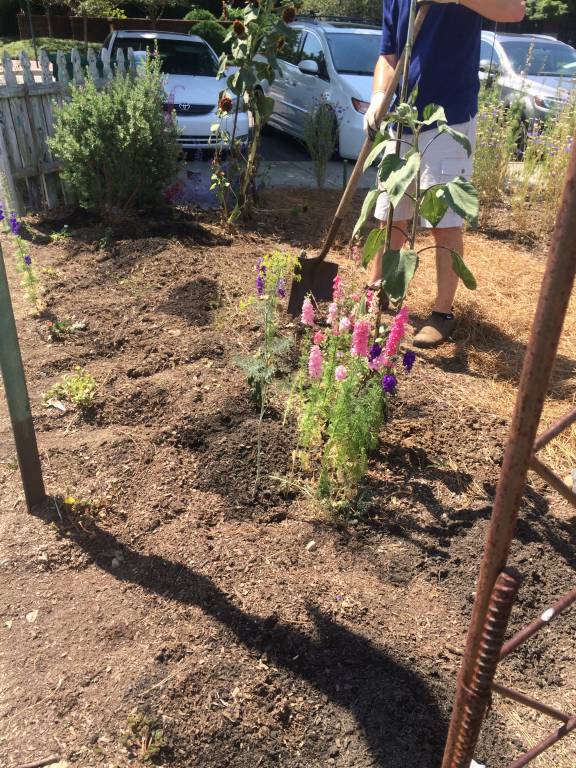
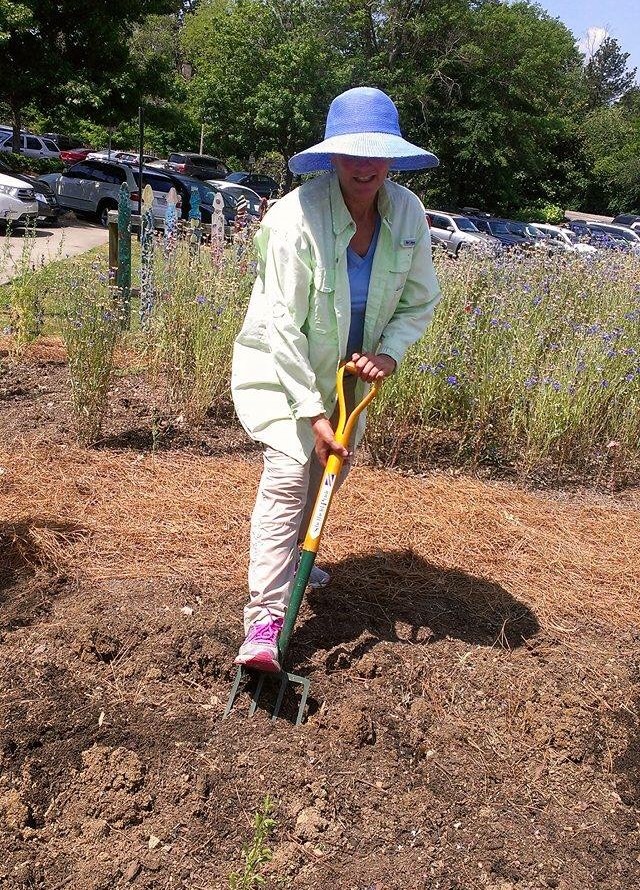
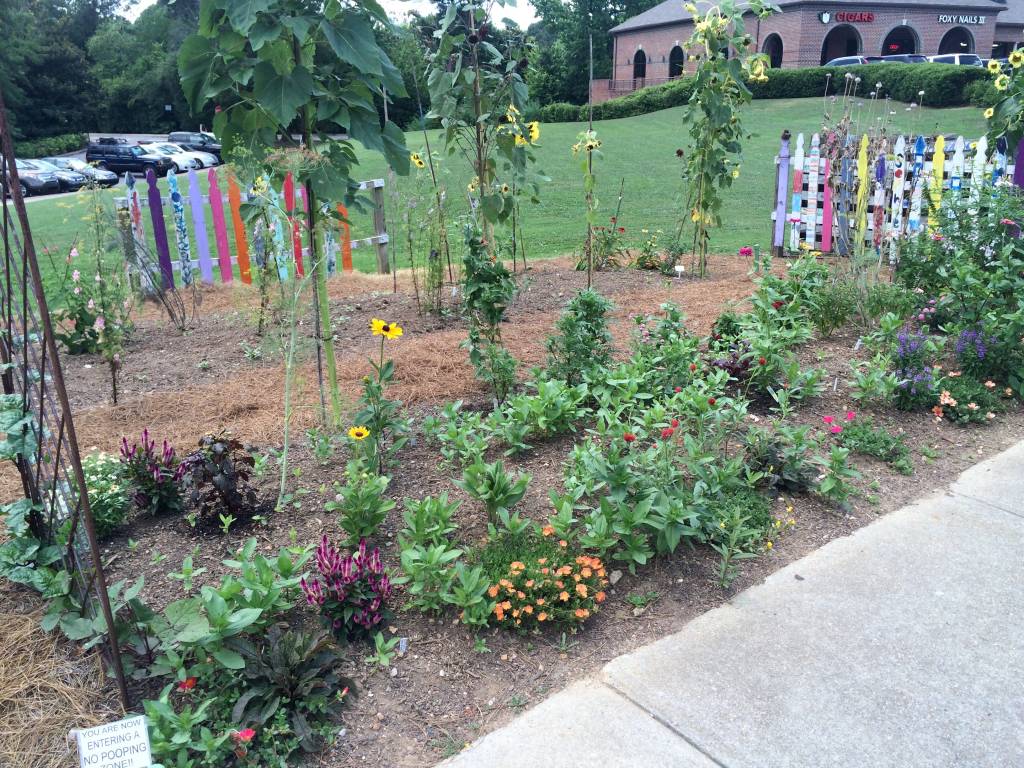
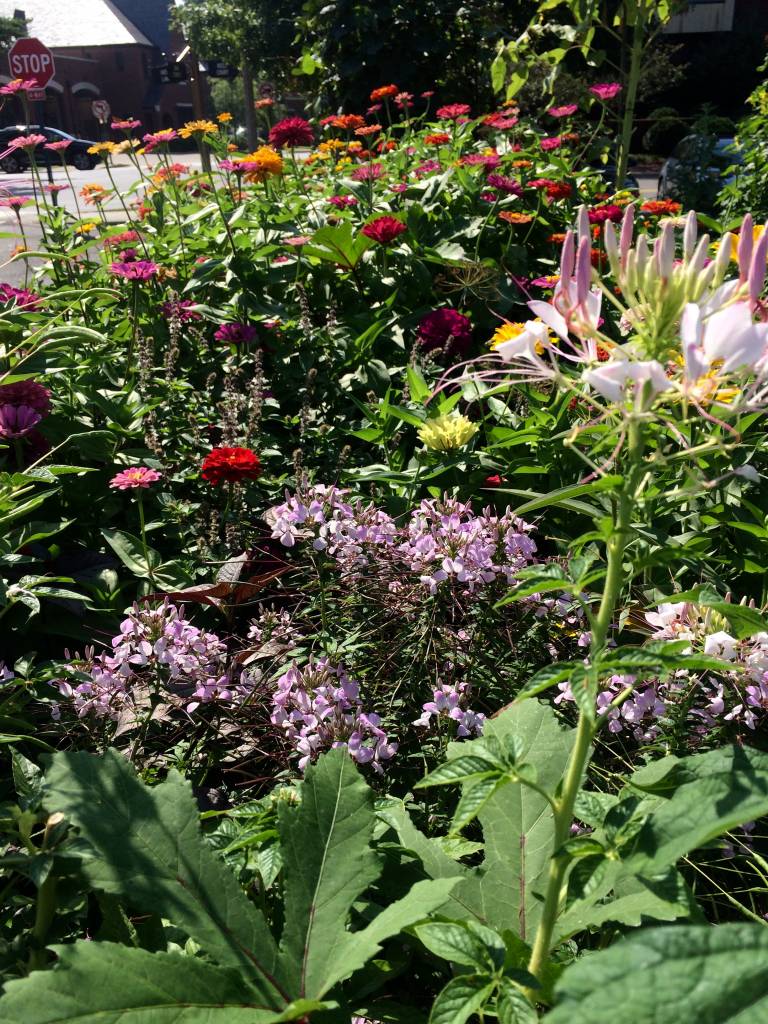
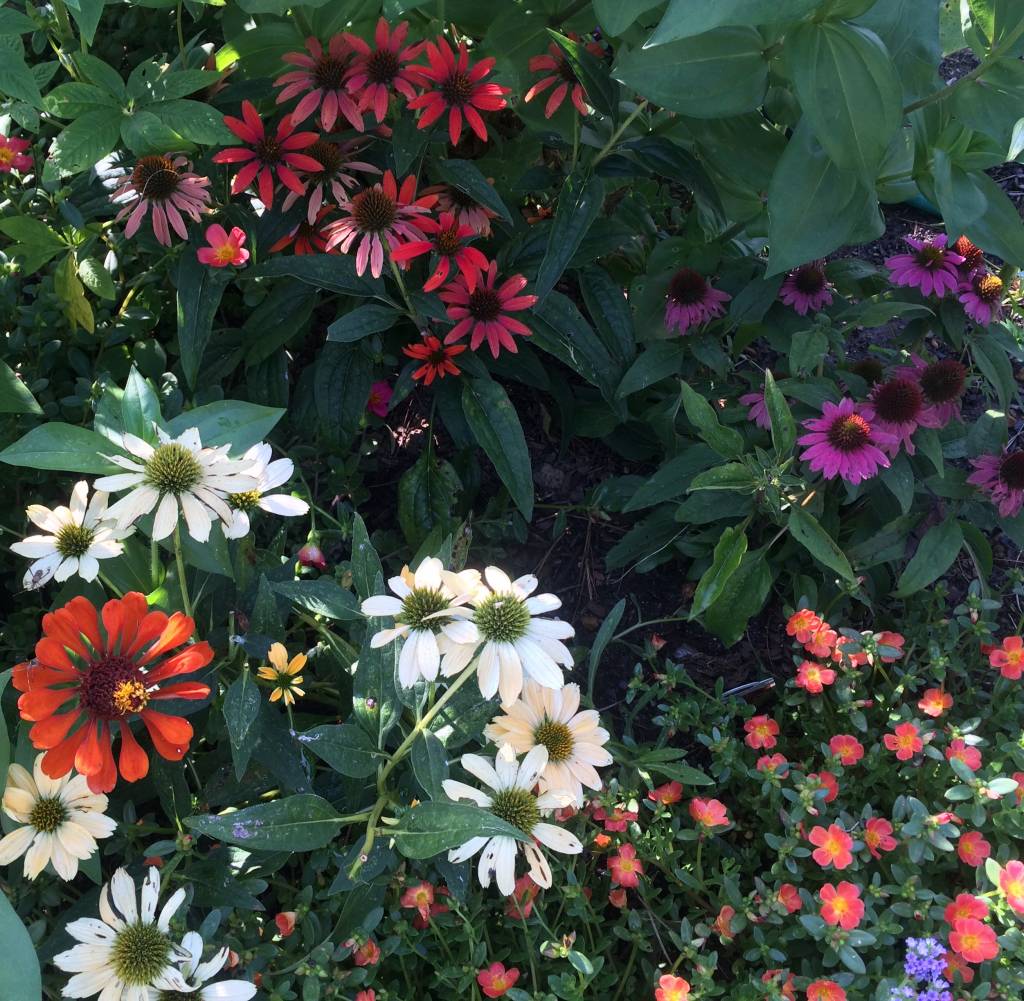
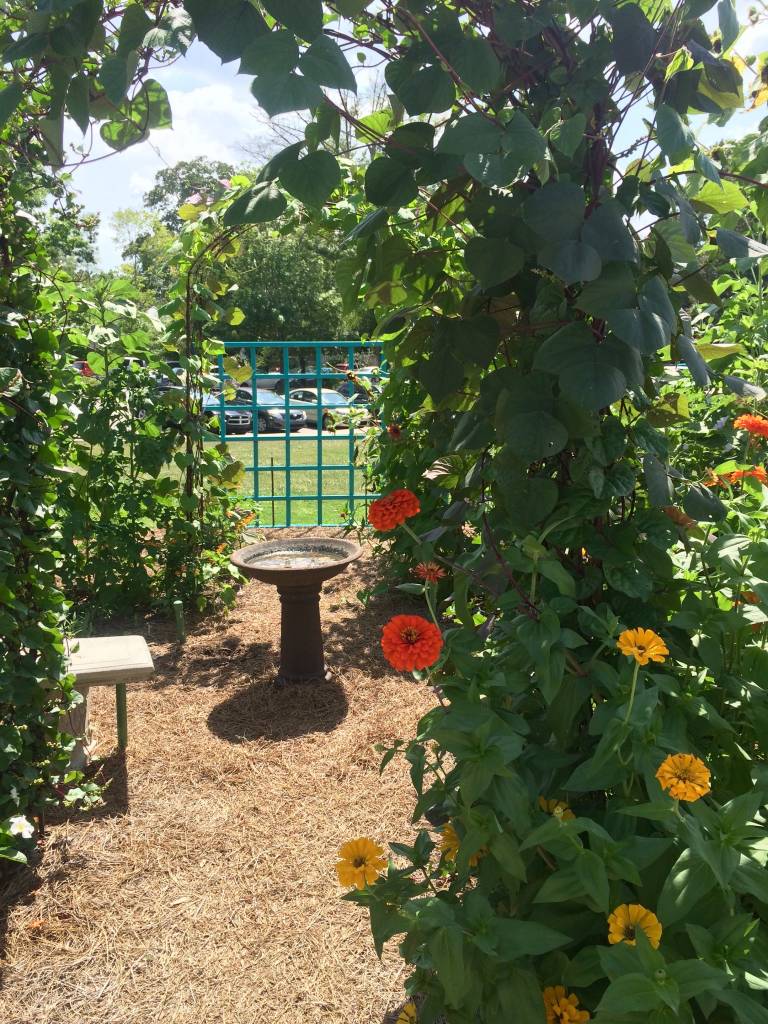
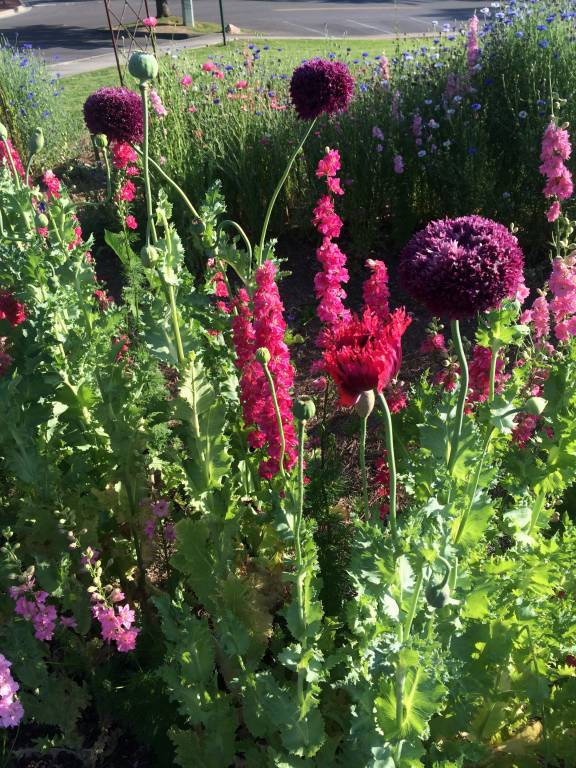
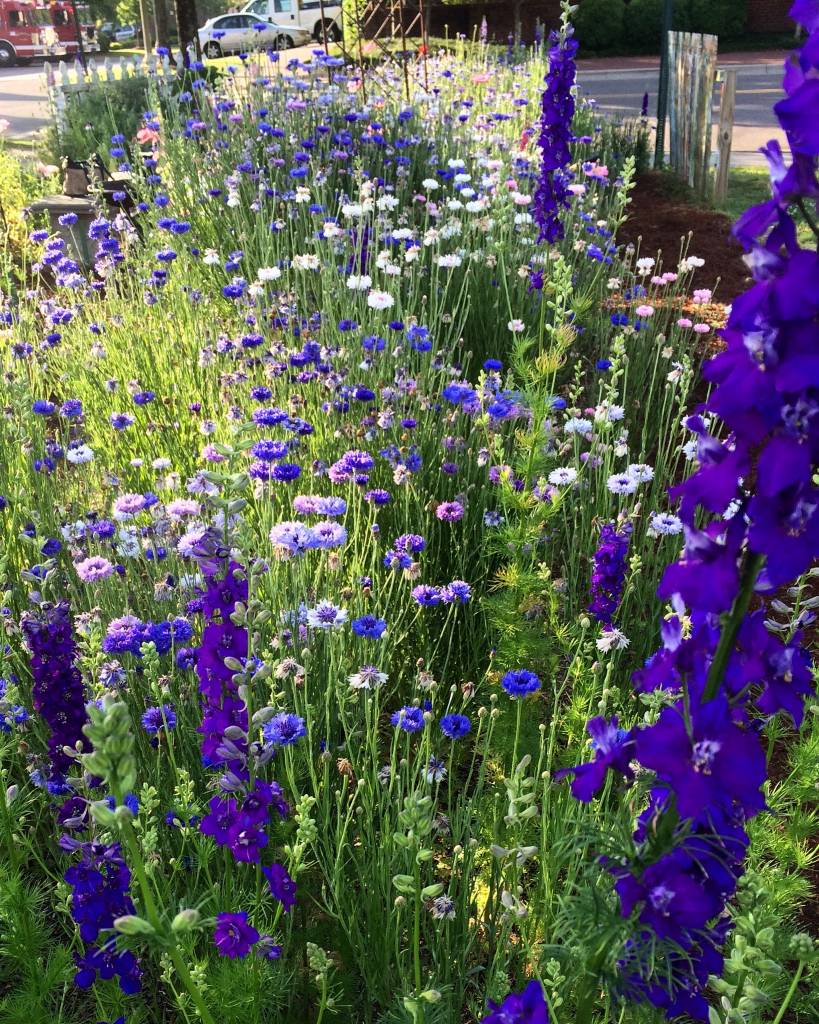
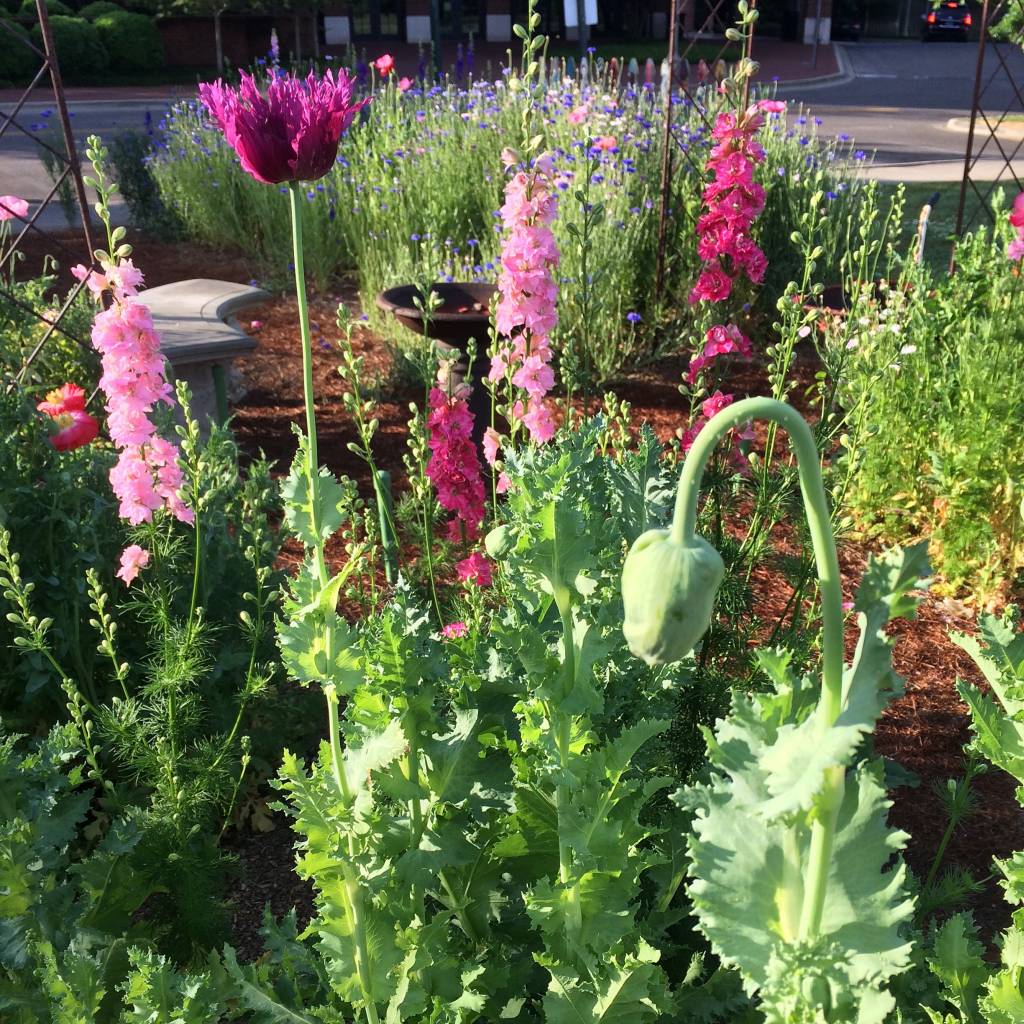
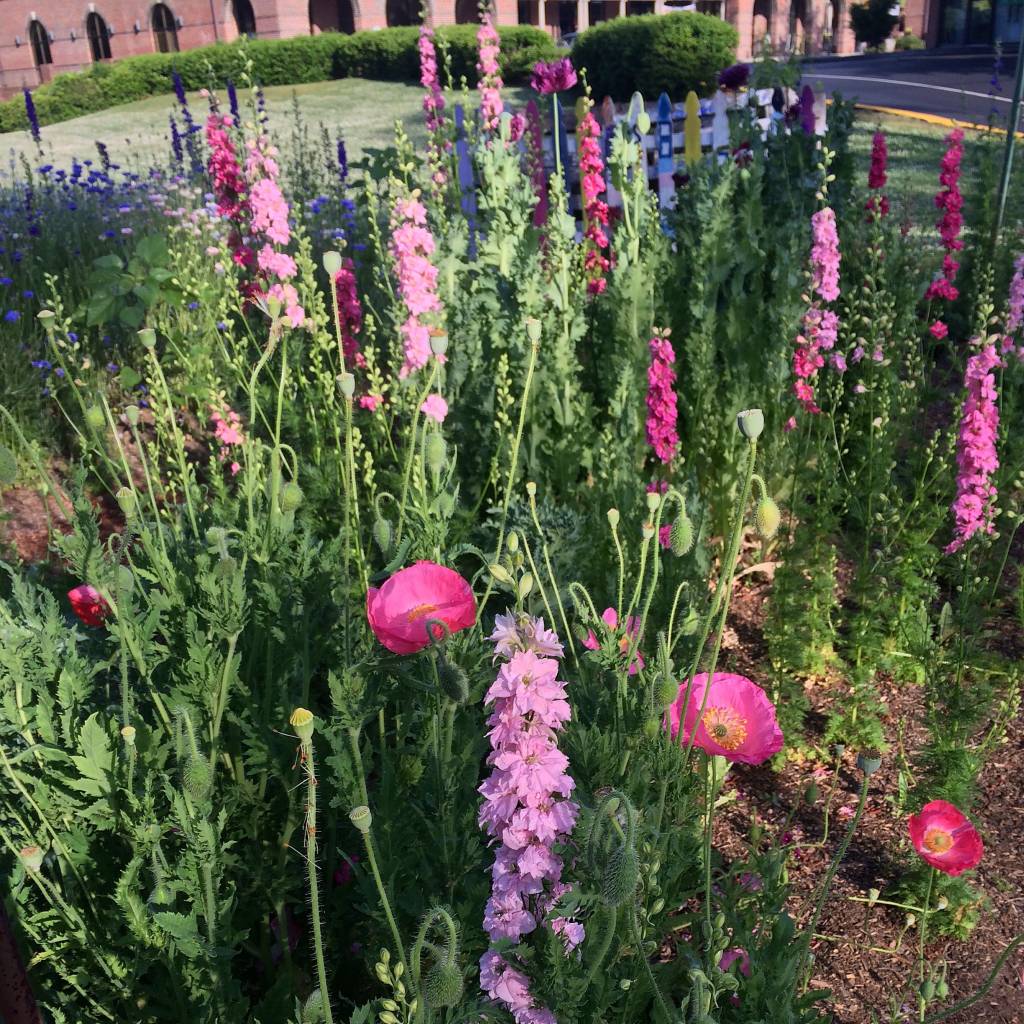
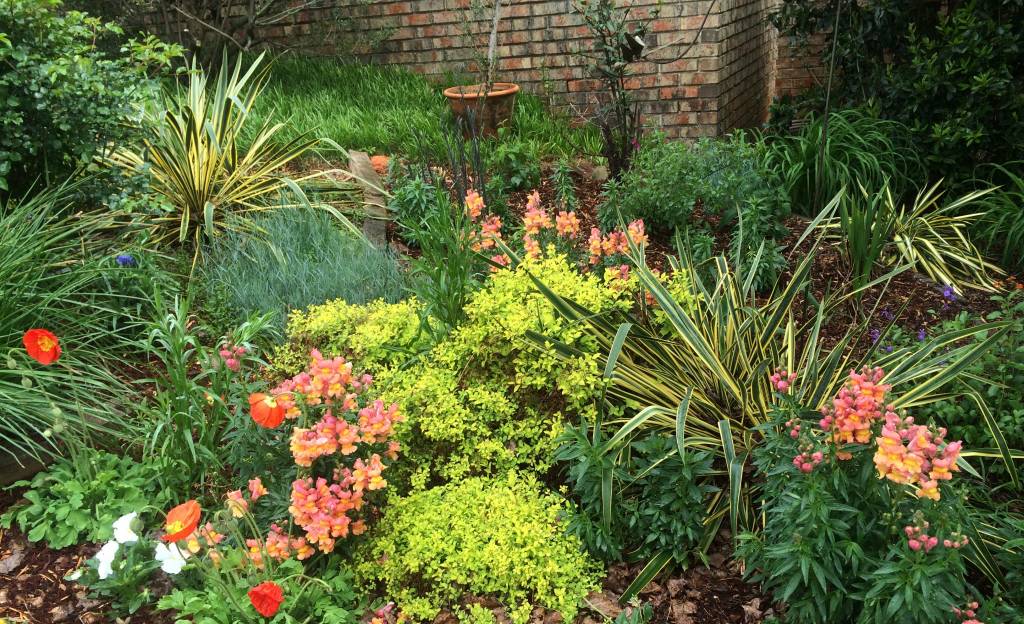
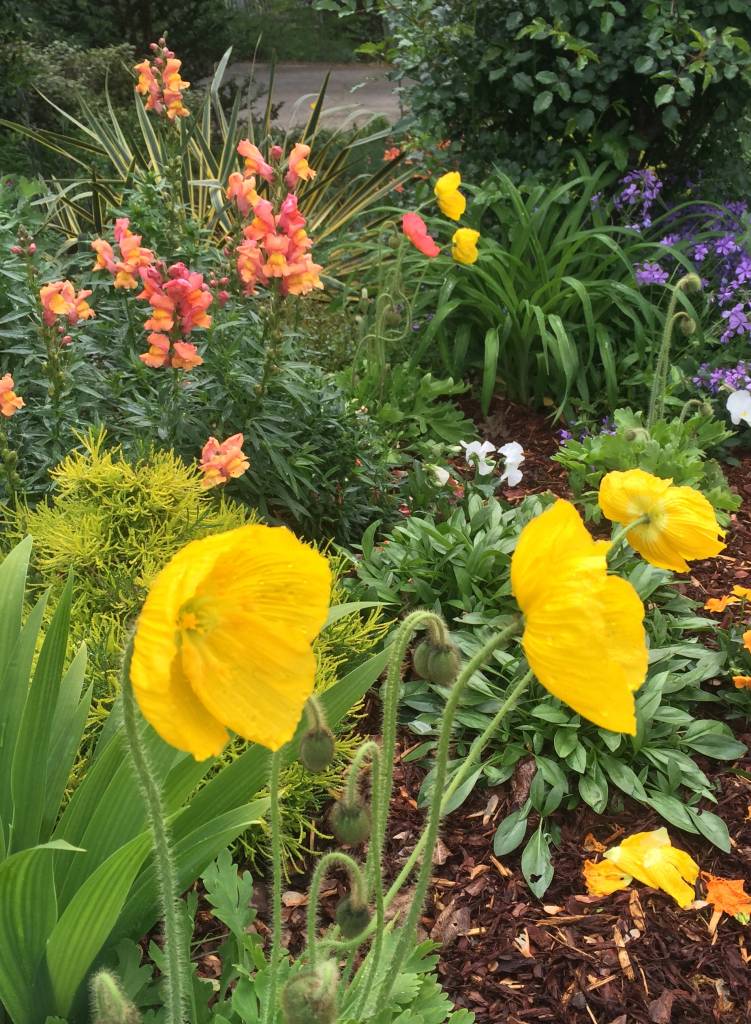
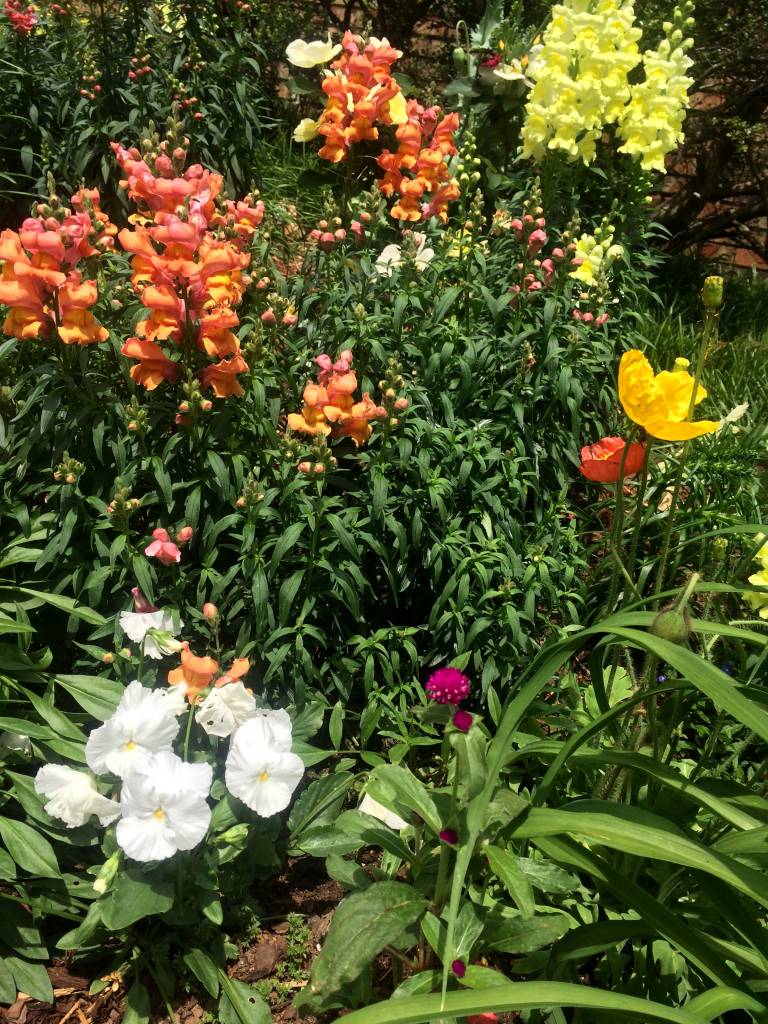
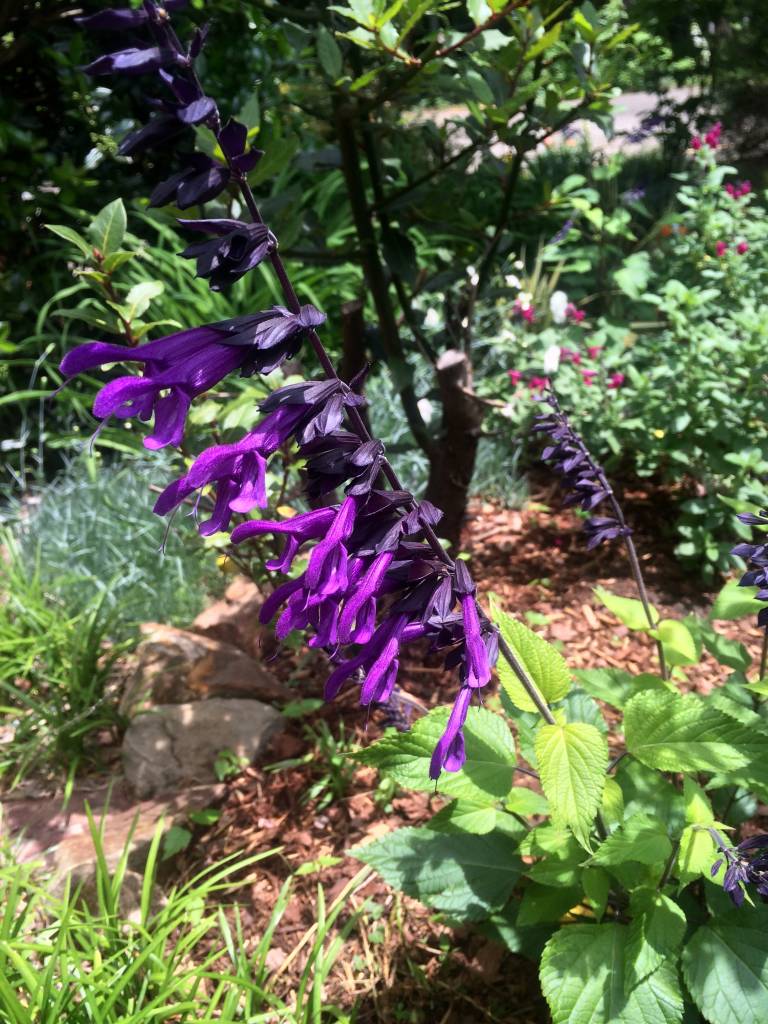
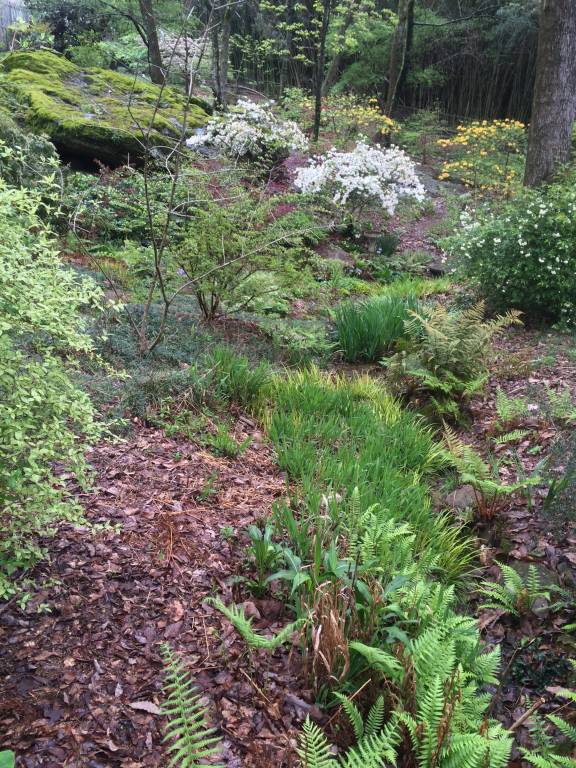
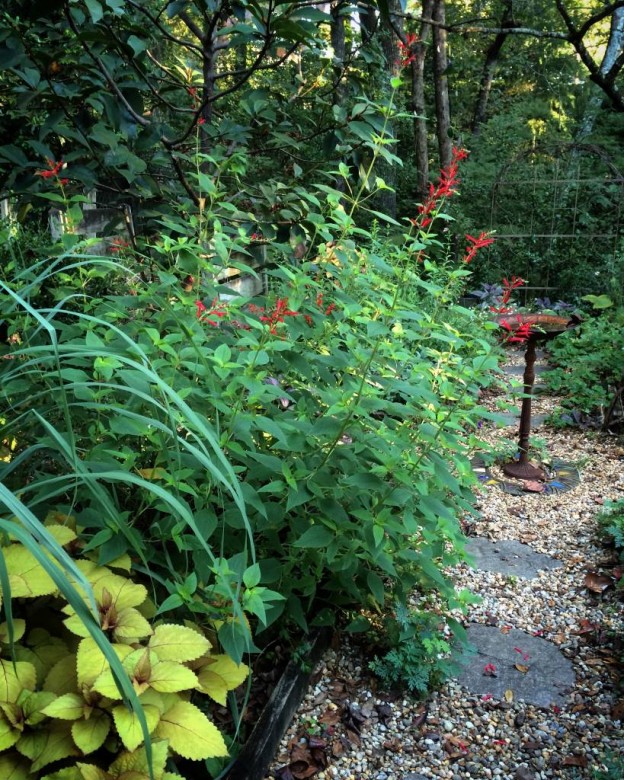
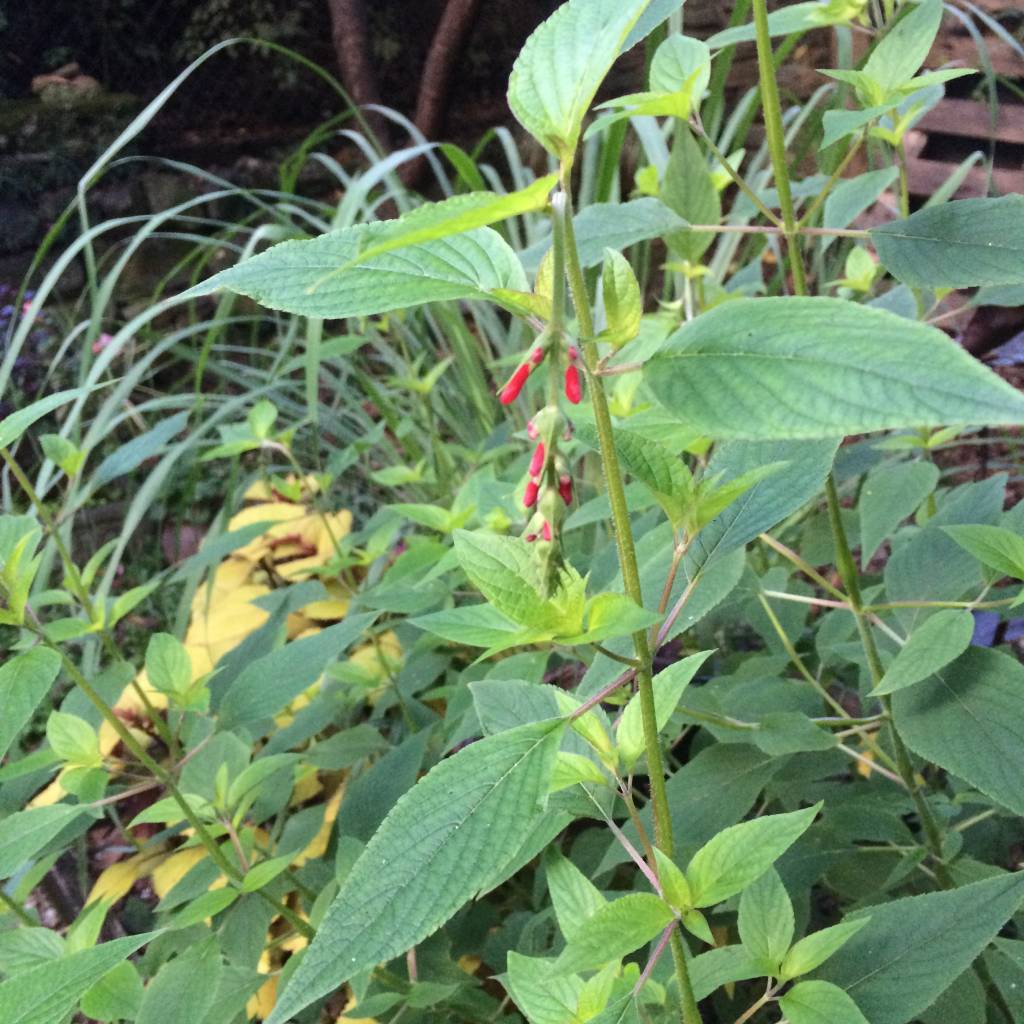
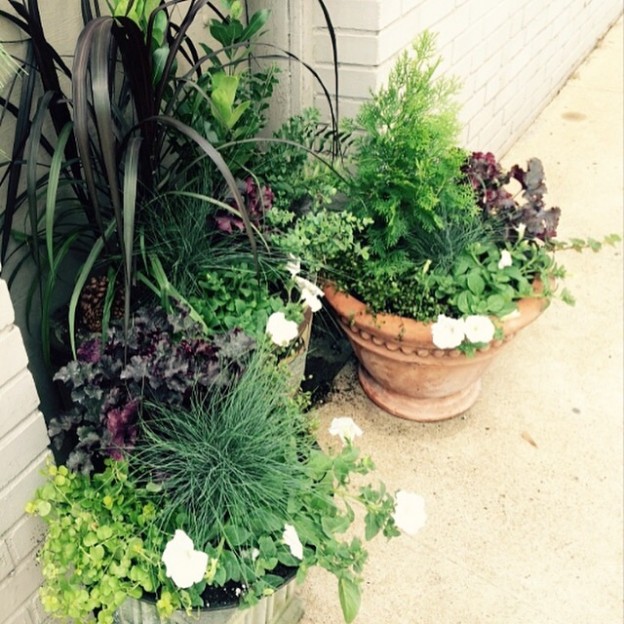
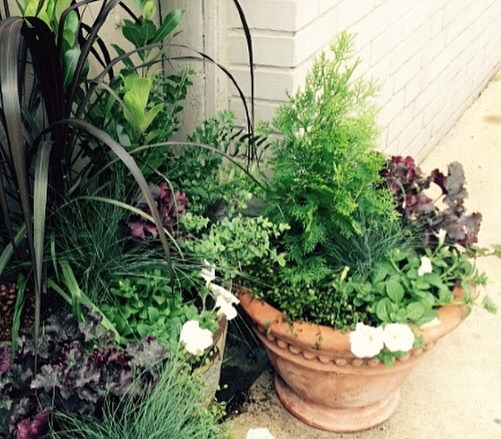
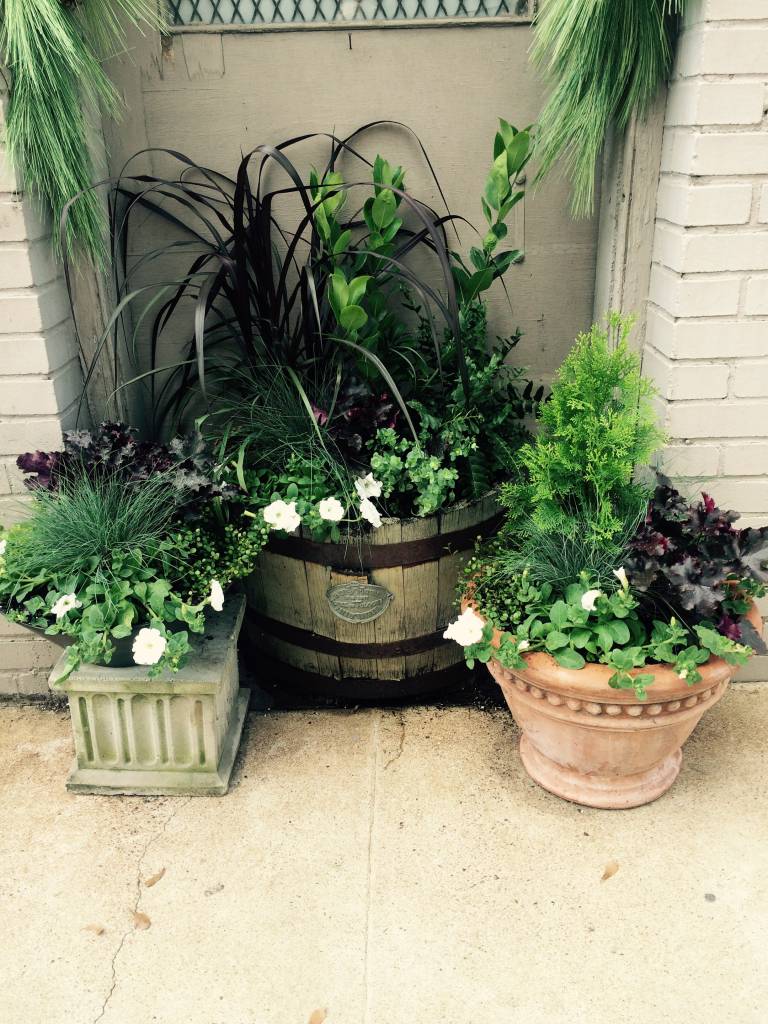
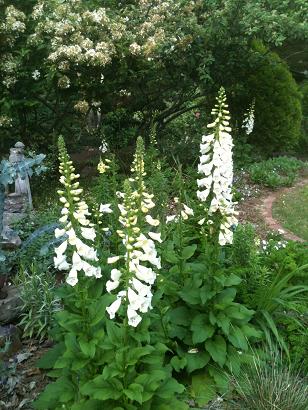
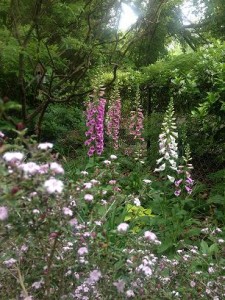
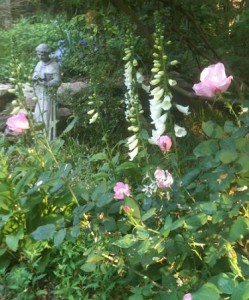
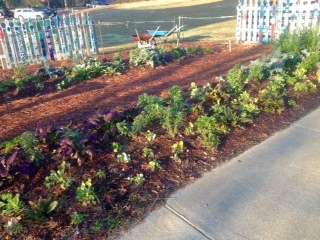
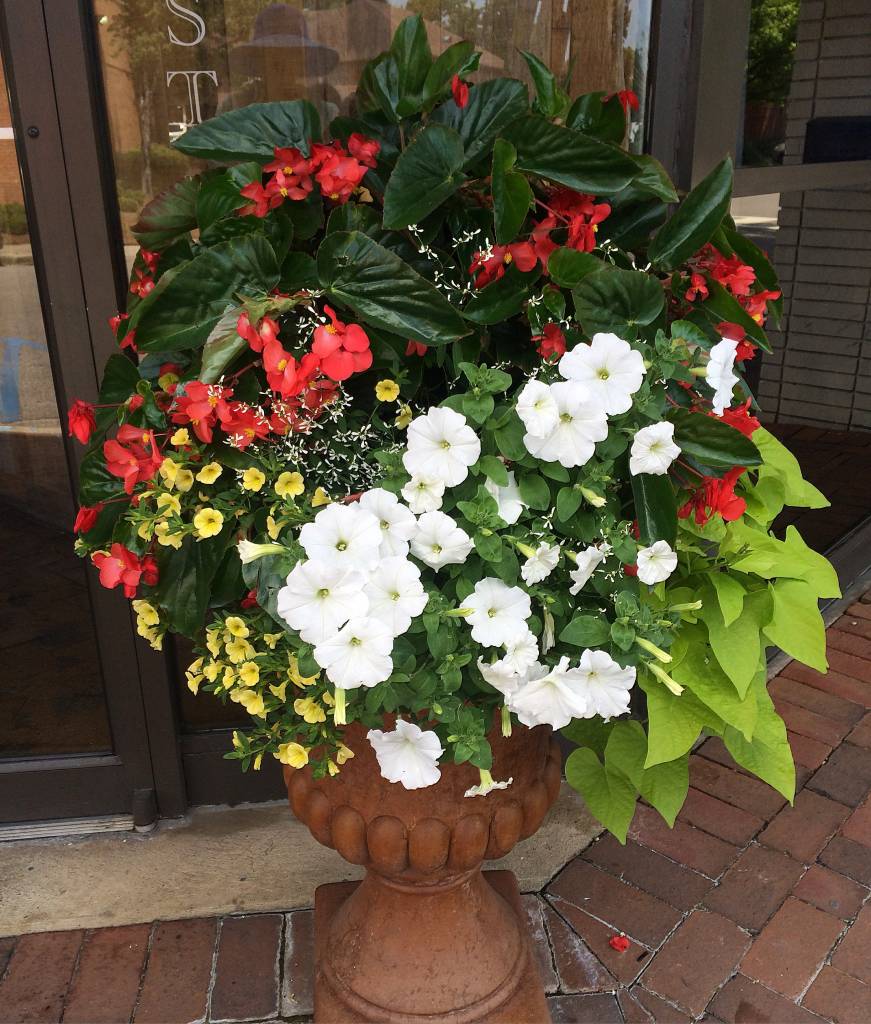
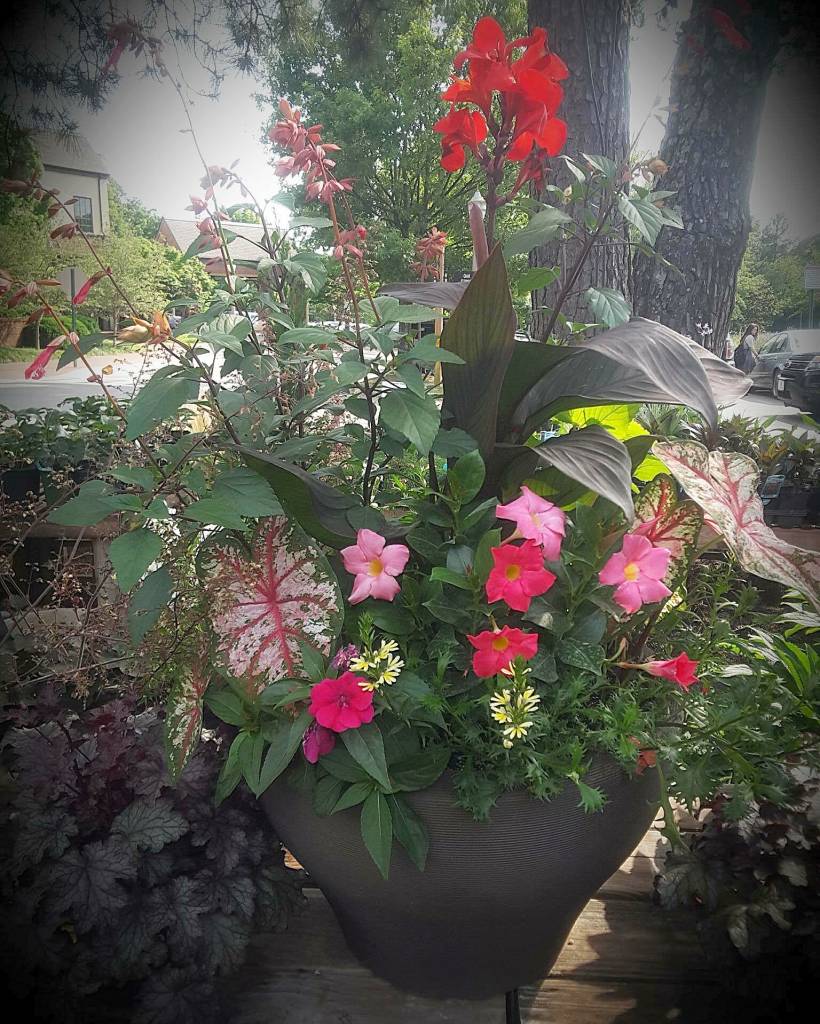
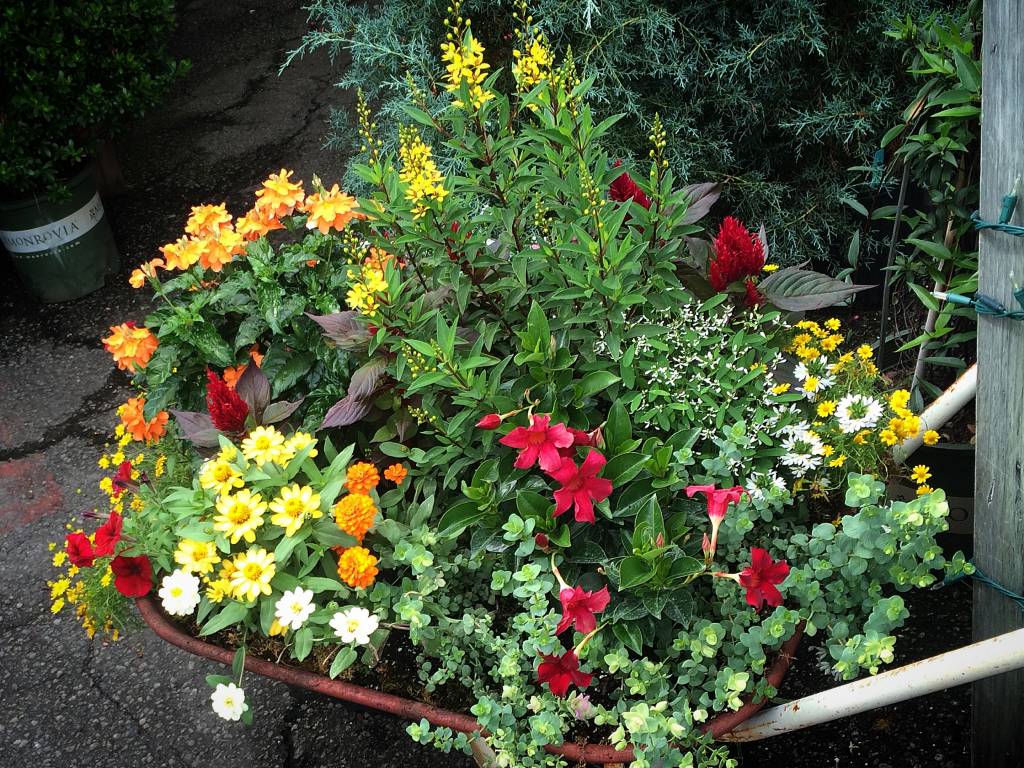
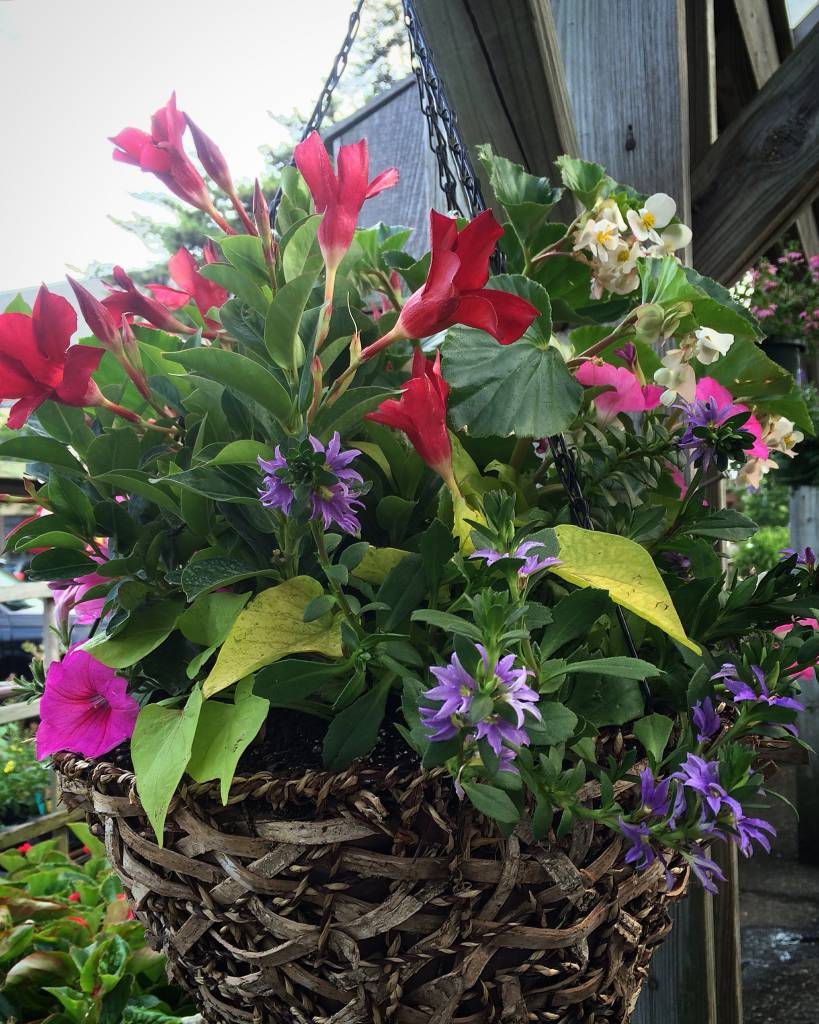
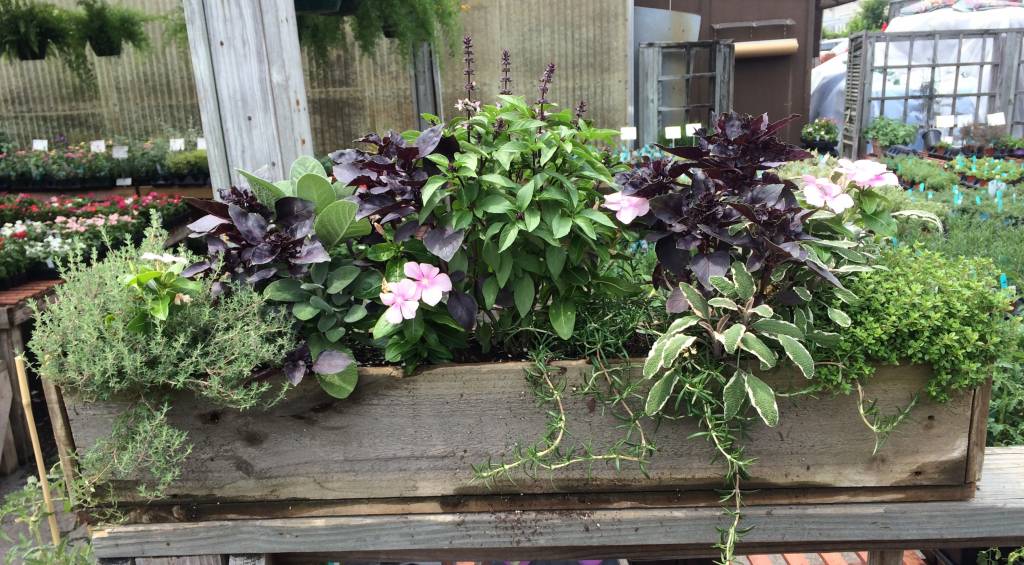
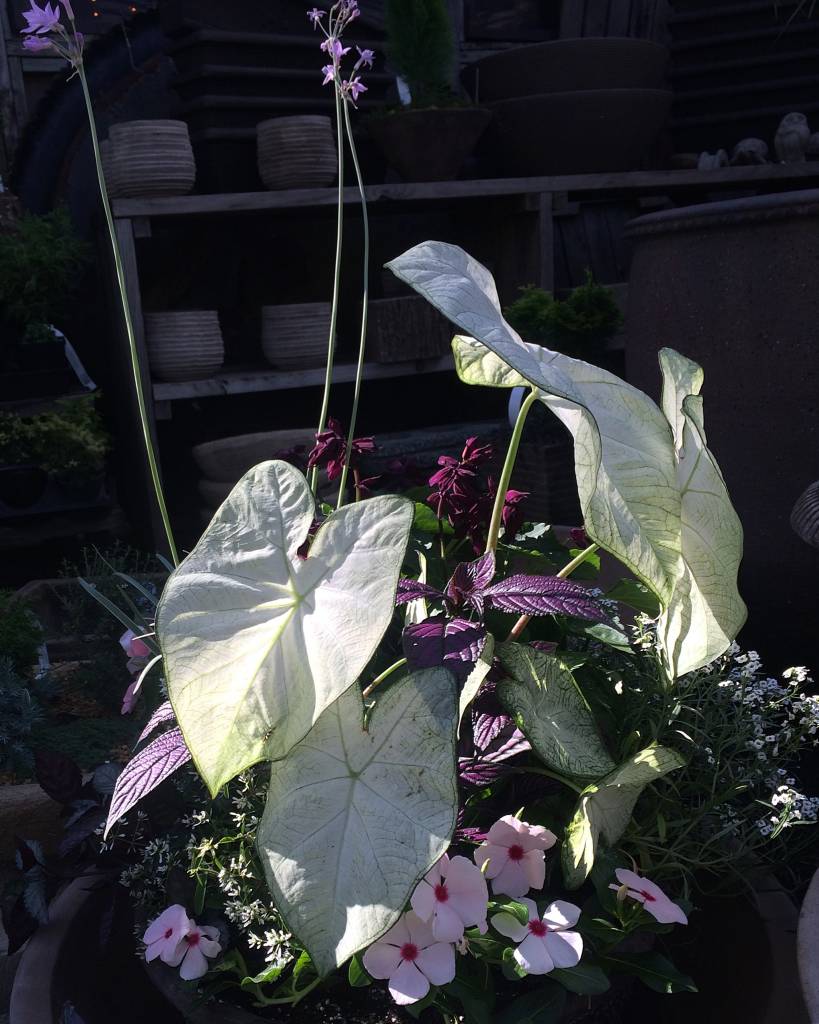
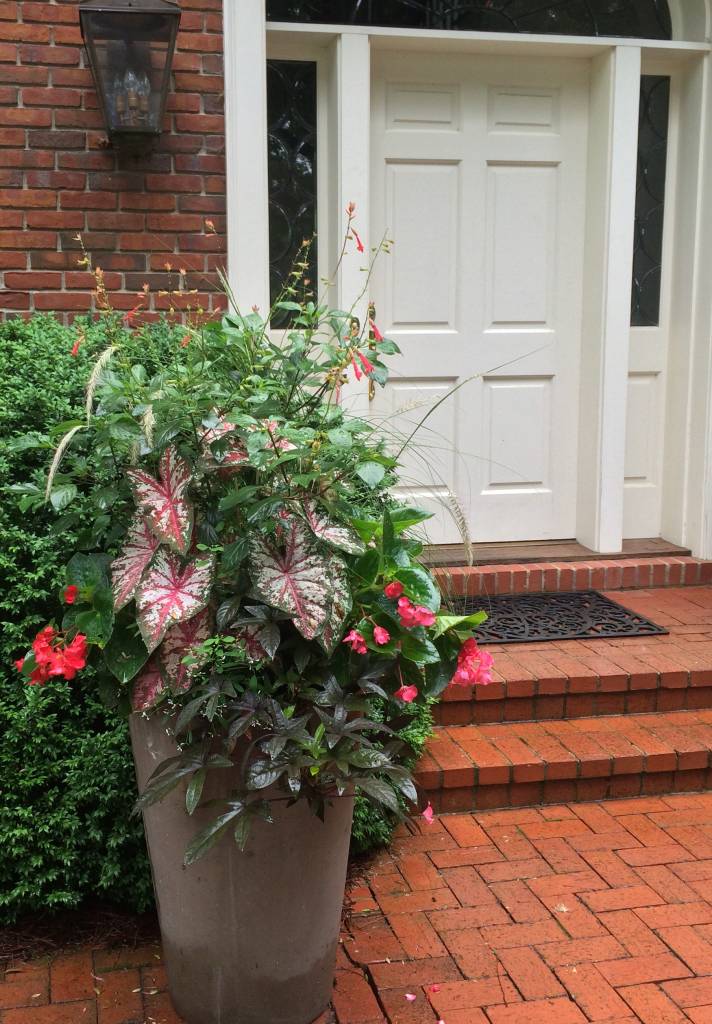
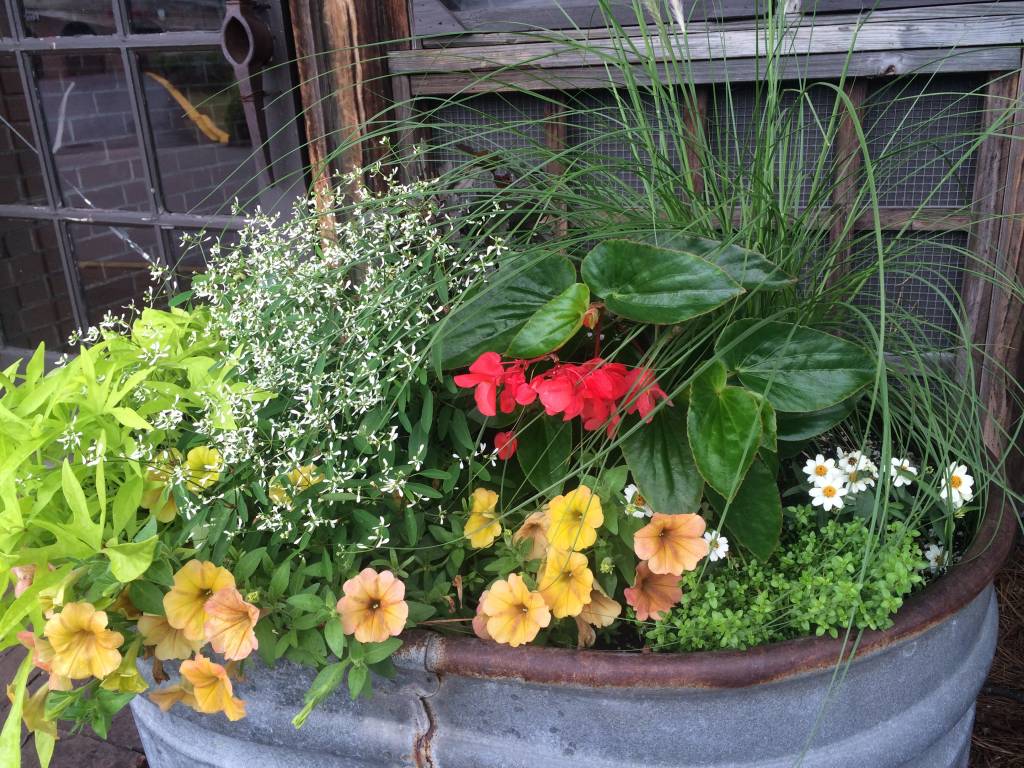
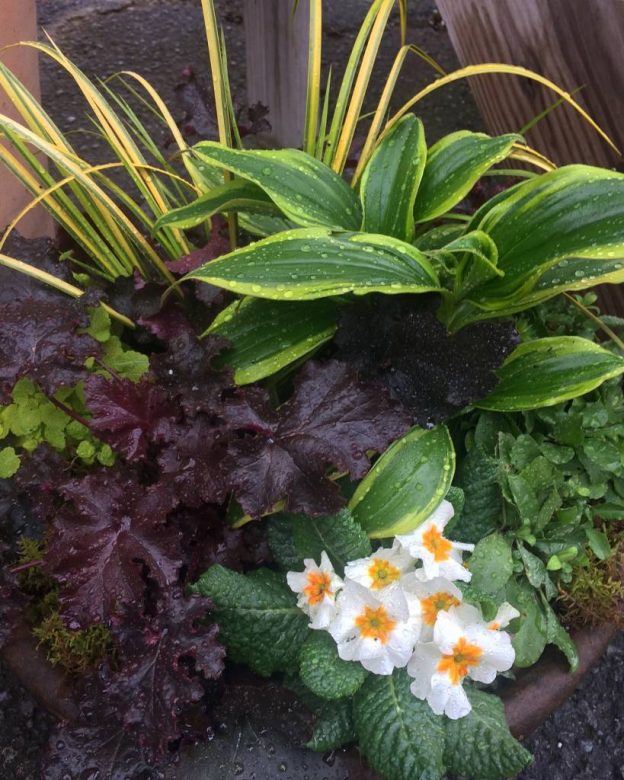
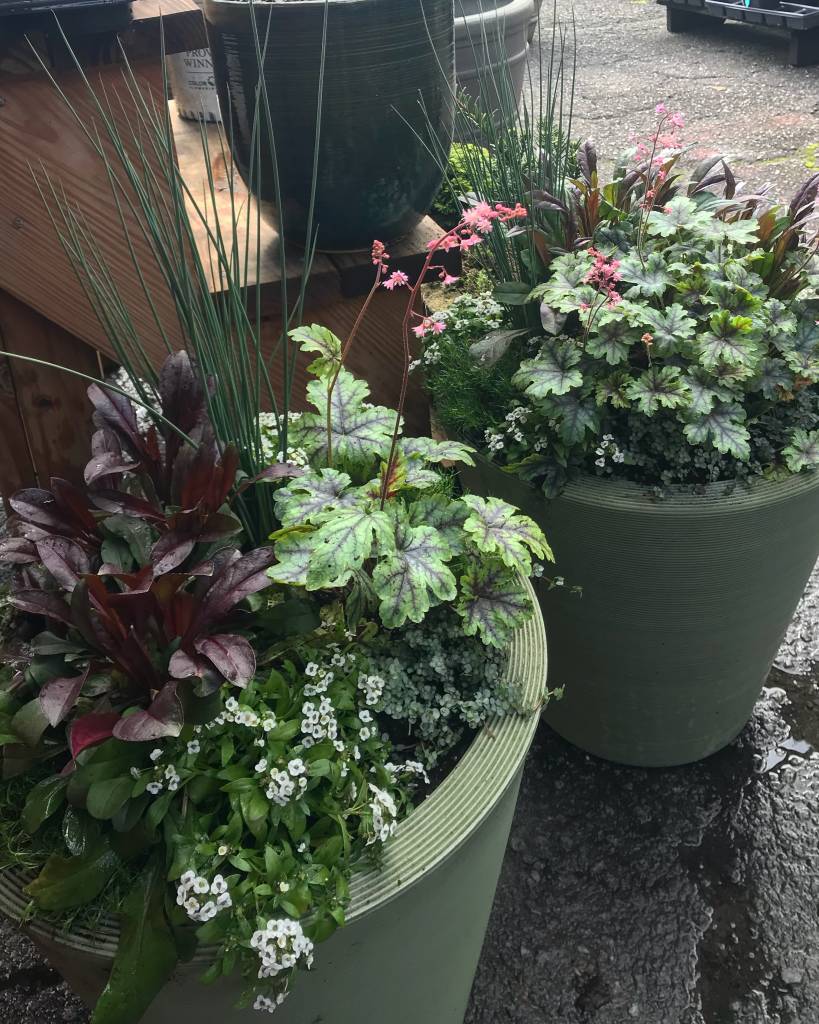
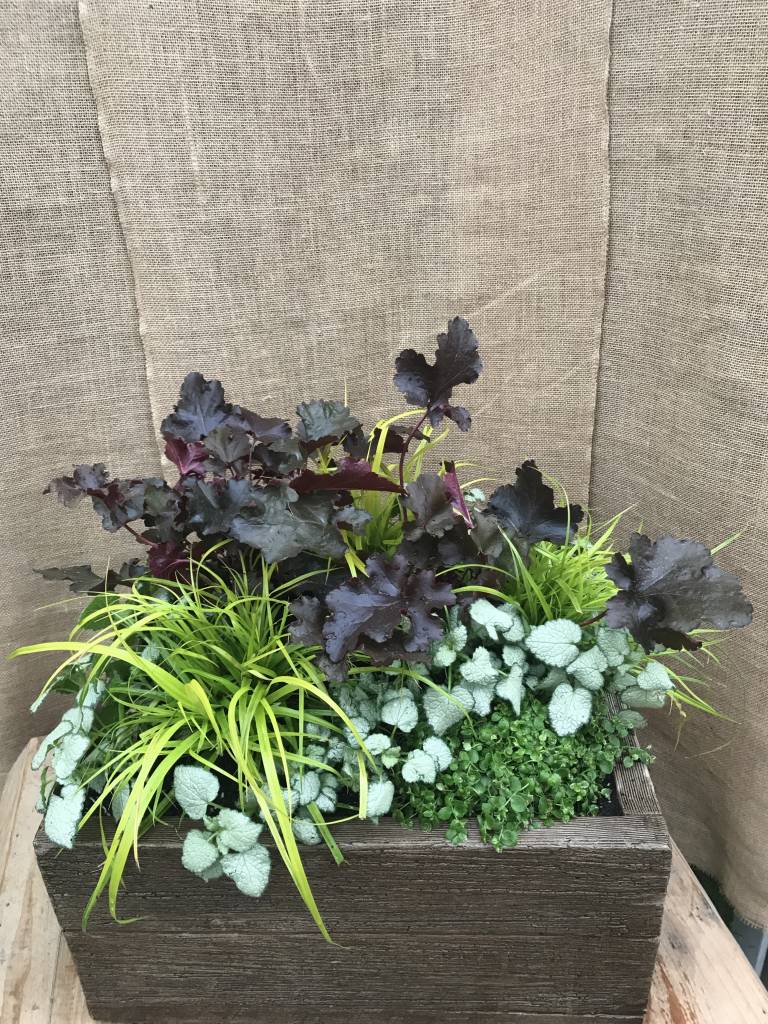
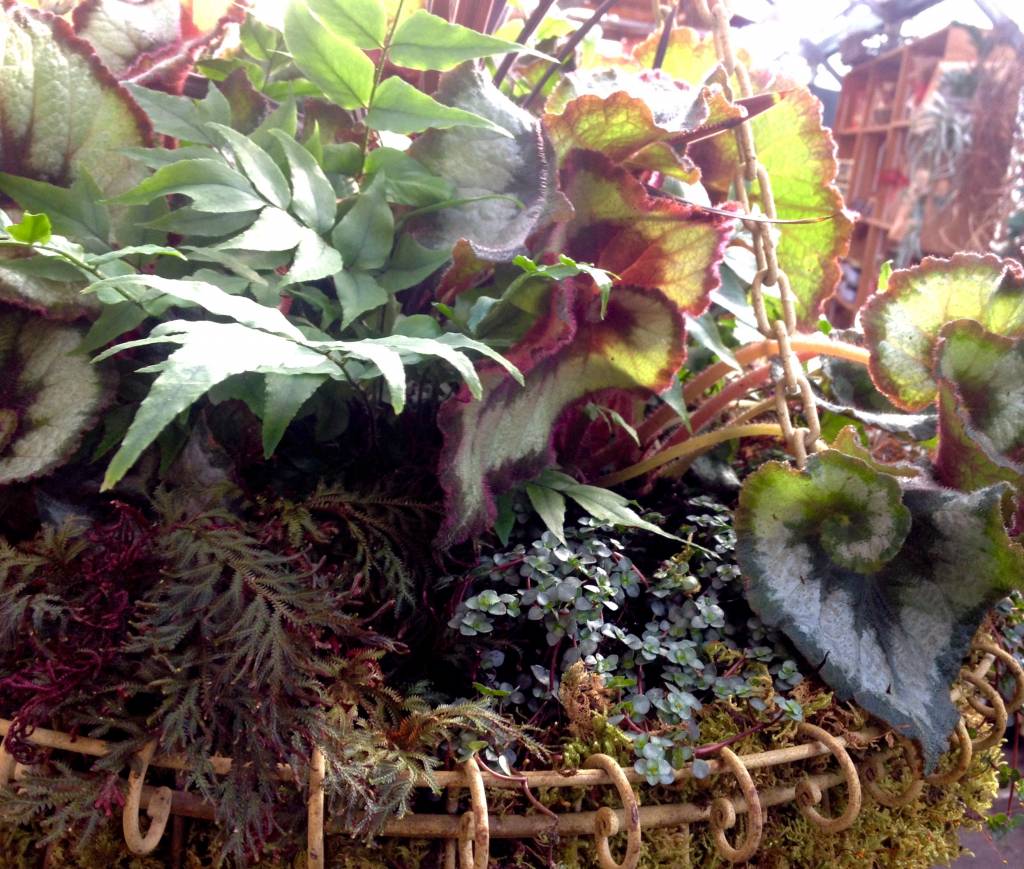
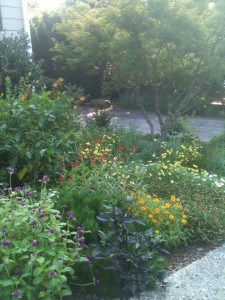
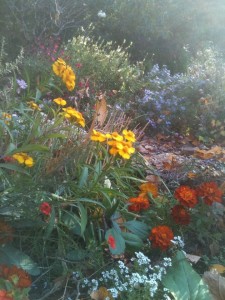
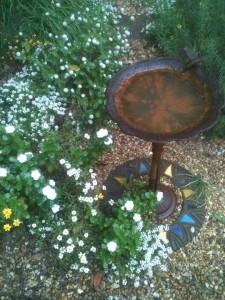 The pictures here are of my garden – plants are allowed to self seed, failures are yanked out, and plants that strike my fancy are tucked in here and there where I think they might look good. It wouldn’t make anyone’s list of a perfectly designed space, but it’s mine and that’s how you should treat yours too.
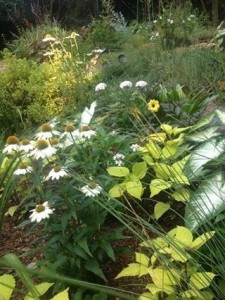 My ultimate hope is that many of you adopt the gambler attitude. It doesn’t have to be the high roller, high stakes approach, but try to roll with the plant punches, knowing they’ll come, and treat your gardening efforts as what they should be – a relaxing, and therapeutic addition to your daily schedule rather than a chore that’s only done on the weekends.