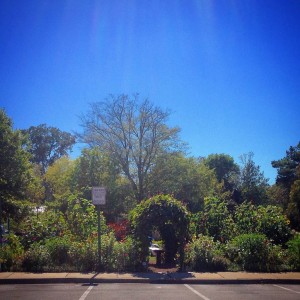
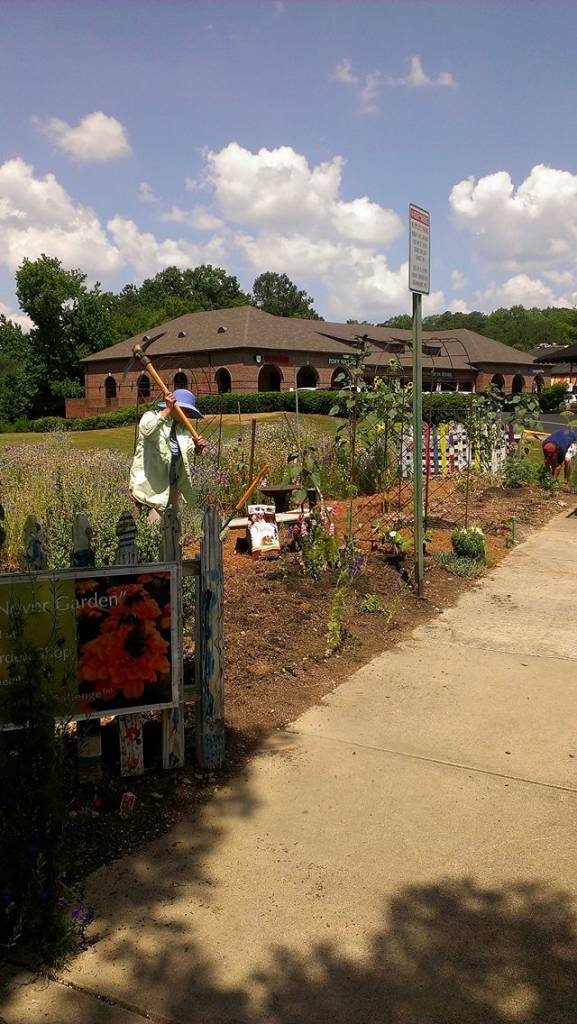
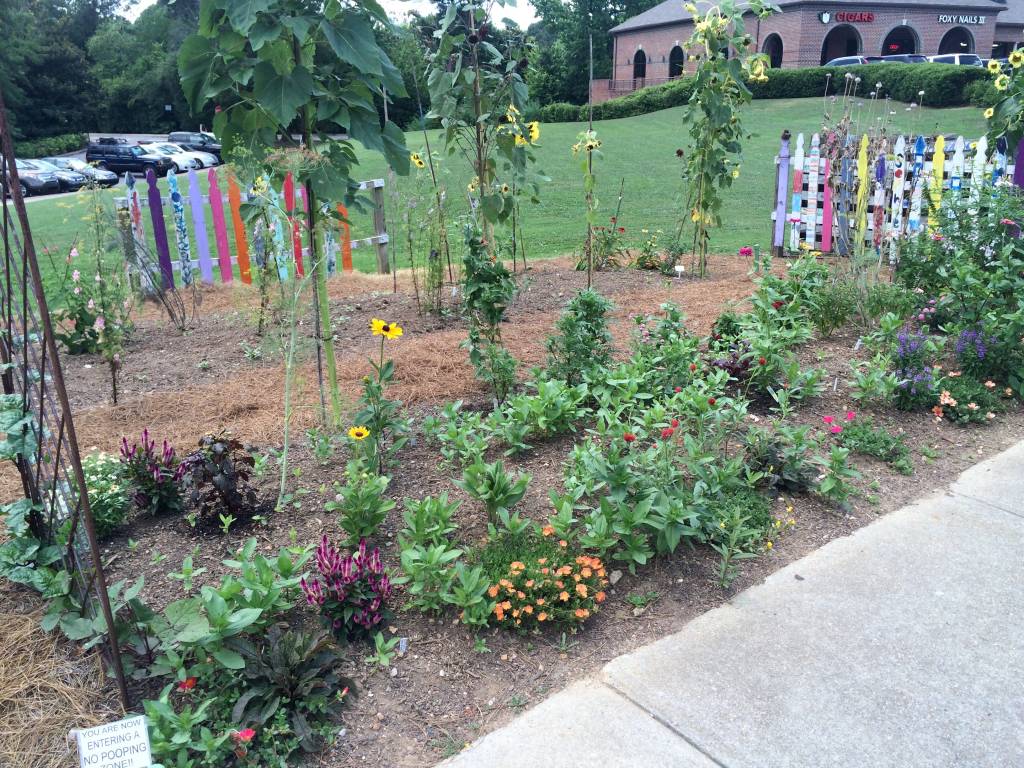
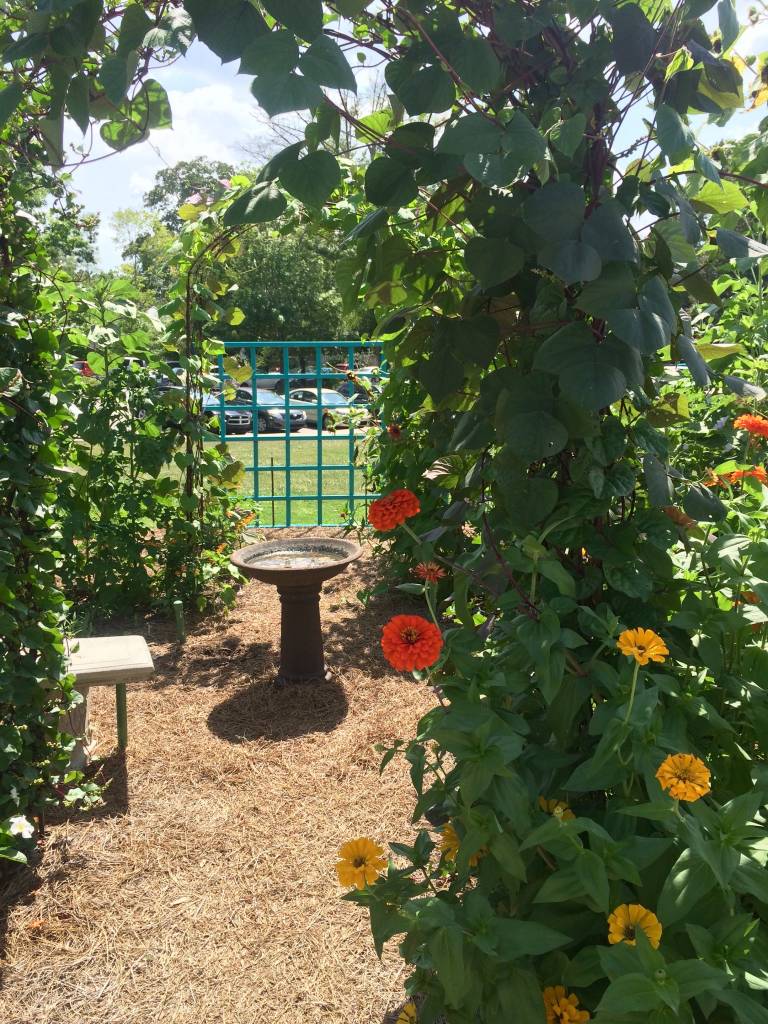
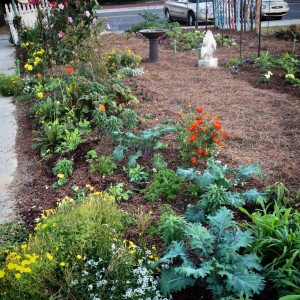
View From the street…Hyacinth Bean Vine on the Arbor
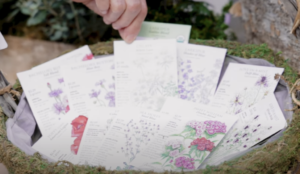
So many folks have stopped me, asking for a plant list of flowers in the “Better Late Than Never” garden, that I decided it was high time I posted this for those of you who’d like to have something similar next year. Obviously our garden is sited in full, daylong sun, so plants were chosen with this in mind. You’ll need to provide at least 4-6 hours of sun, with regular watering and deadheading, to maintain your flower garden next year too.
Rudbeckia ‘Indian Summer’ foreground. On arbor, moonvine and red mandevilla…
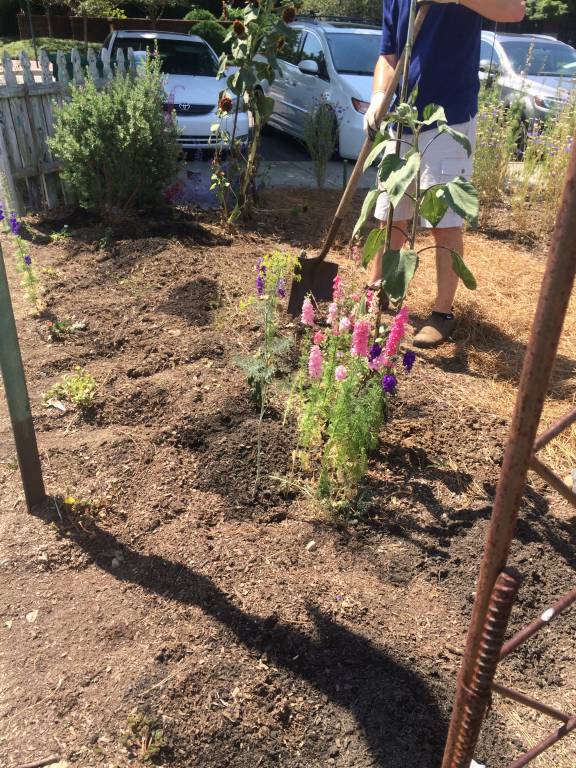
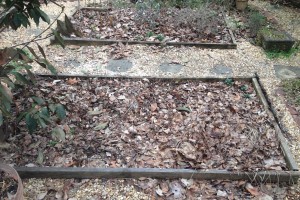
Any good garden begins with good soil, and, with previous vegetable garden plantings, ours had been amended with soil conditioner, compost and added topsoil. This past season we also added bags of PlantTone as well, raking it in lightly. No tilling was done since that tends to turn up weed seeds, and, once they hit the light, they all sprout, turning the garden into a weedy mess!
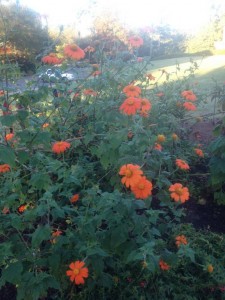
The tithonia came on strong, late summer…
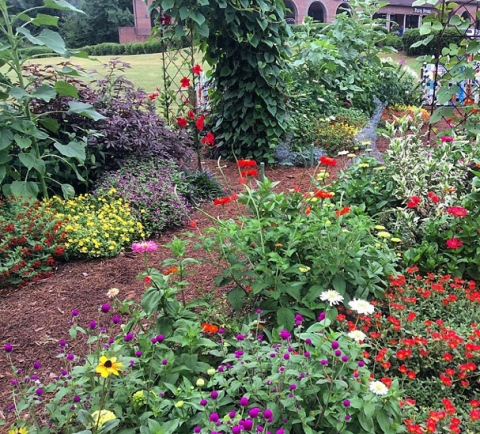
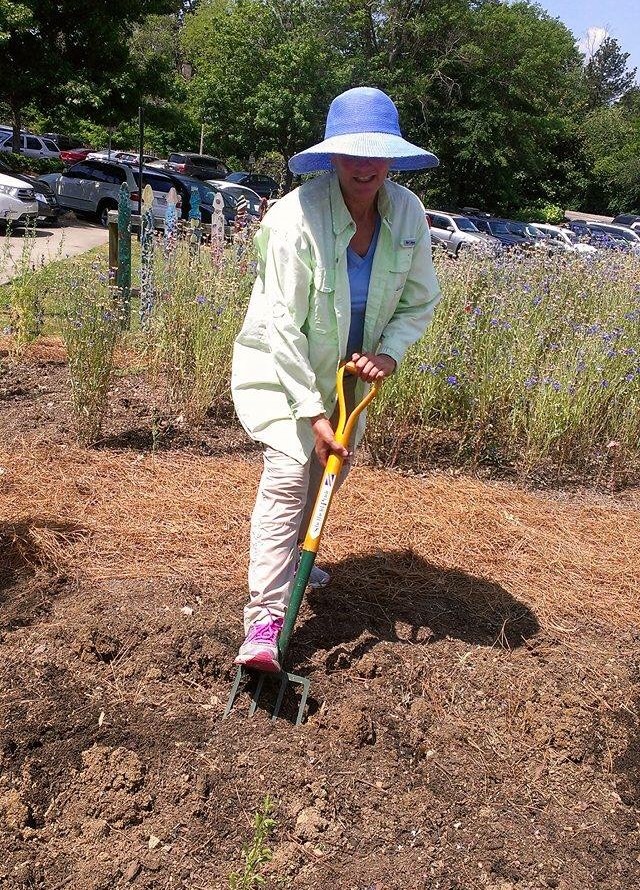
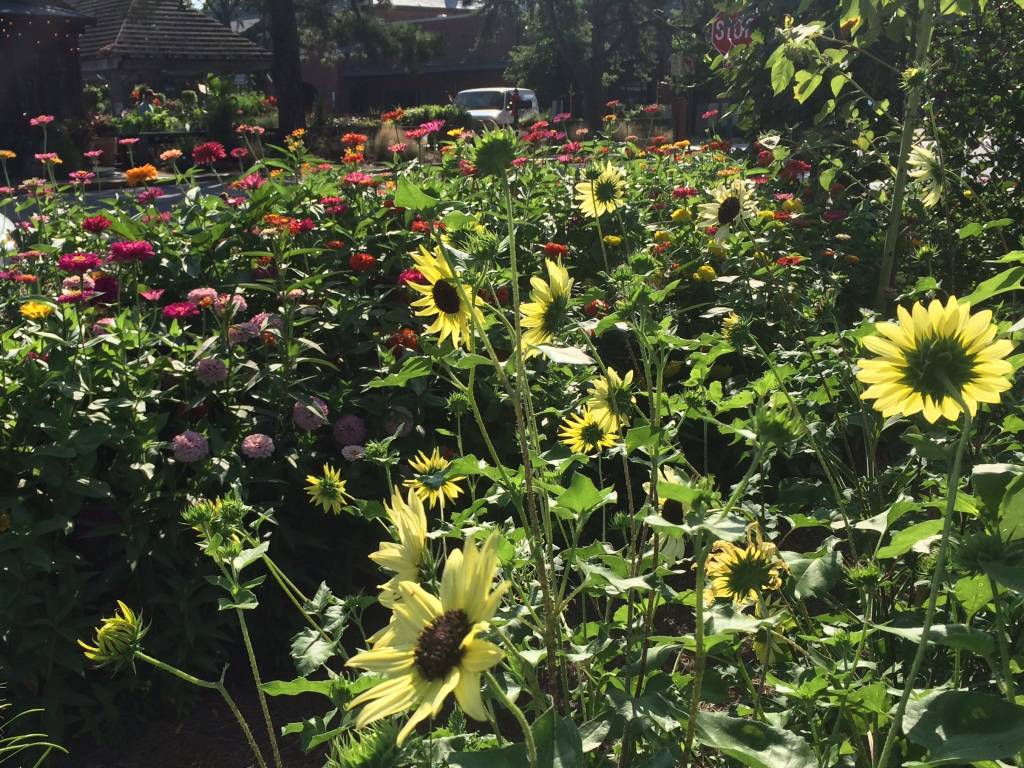
In a previous post I mentioned how late the garden was planted (not until the end of June!), so it was incredibly hot when the sunflowers and zinnias were planted by seed. This is actually very good, since they need very warm soil to germinate and grow happily and consistent watering as well. I know many of you thought we were a little crazy to be planting in the incredible summer heat, though. (This is a good time to remind all of you to wear a hat if you’re out in the heat and sun and be sure to provide water for yourself too!) Here’s a post highlighting how much the garden had grown by late summer. So many of you talk about how it seemed to explode overnight. Actually, it was steadily growing each day!
Here, then, is the plant list for a flower garden to attract bees, butterflies and hummingbirds in Birmingham, Alabama, and surrounding areas with tips on planting and maintenance:
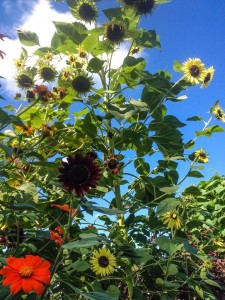
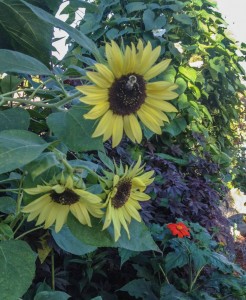
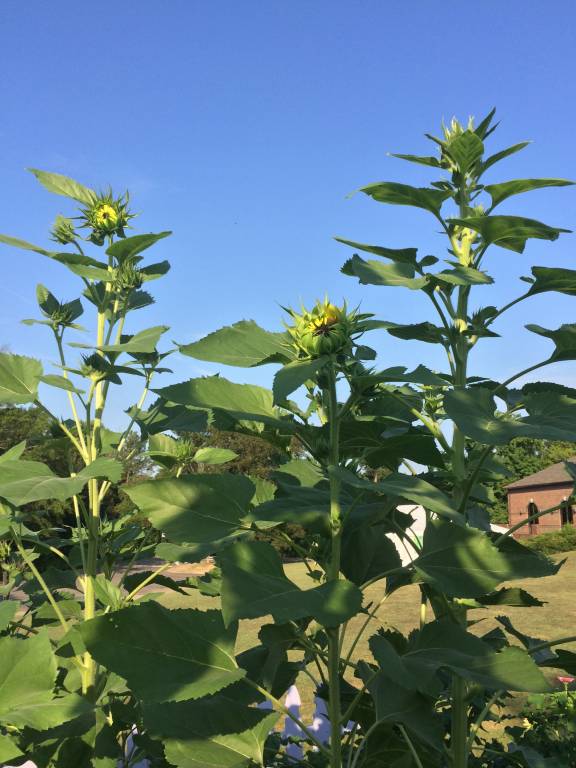
The sunflowers, planted from seed, towered over the garden…
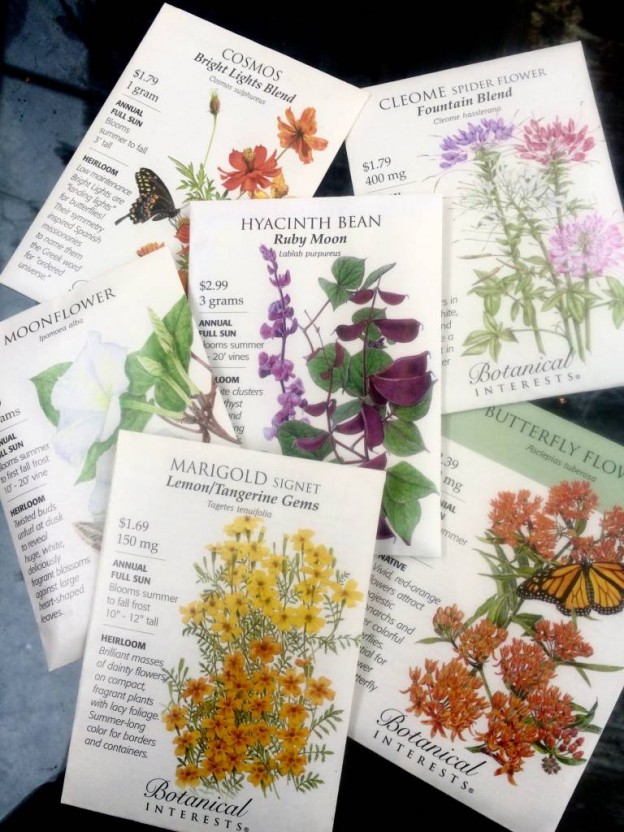
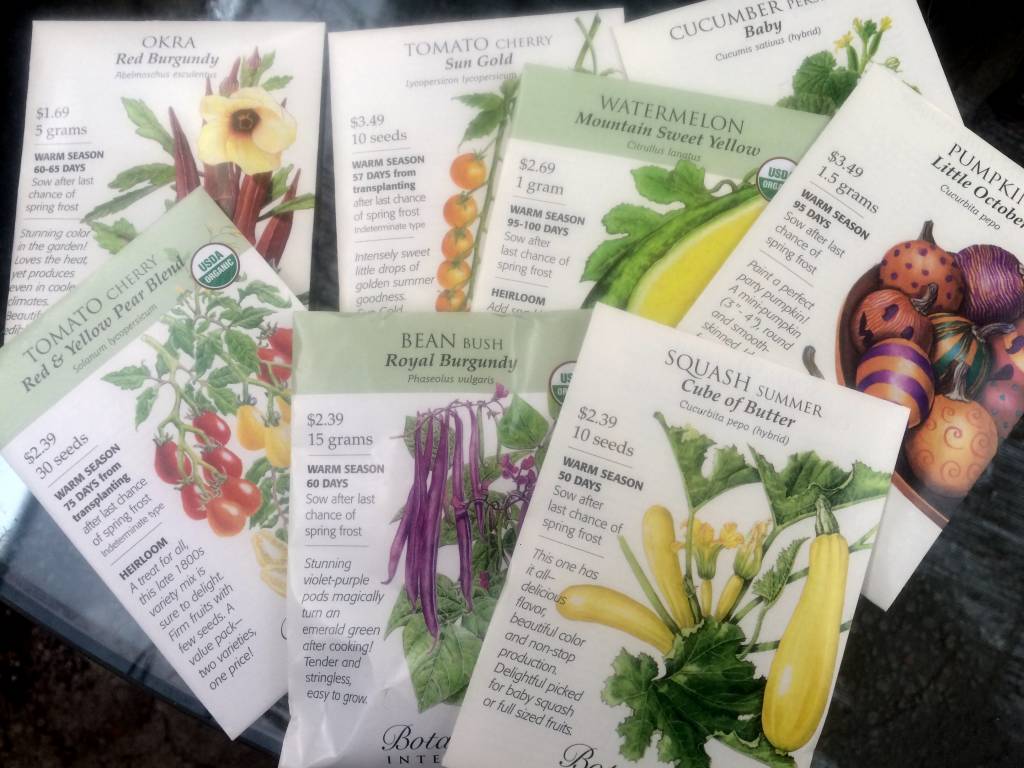
Sunflowers – We raided our Botanical Interests seed rack and planted a mix of sunflowers from Lemon Queen, mixed packs, and solid reds and yellows directly into the ground, then waited, impatiently, checking them every day – and watering each day – until they sprouted. Watching them grow and seeing folks taking pictures made all the effort worthwhile for these towering beauties.
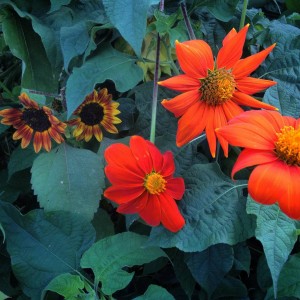
Tithonia…
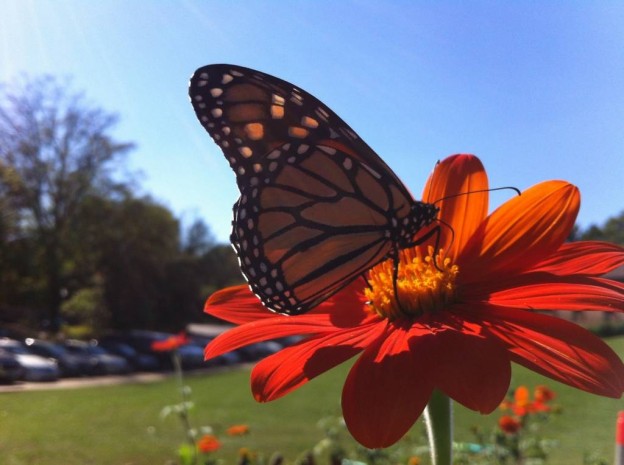
Tithonia, Mexican Sunflower ‘Torch’ – These also were planted from seed at the same time as the sunflowers. At first the sunflowers eclipsed them, but, by the very end of summer after the sunflowers had played out, the Tithonia took over, and everyone was asking about it. It boasts never-ending orange flowers that attract yellow sulphur, skipper, painted lady, and, finally, at the end of the season, monarch butterflies. A must for any sunny flower garden. I kept it deadheaded and staked but left some to lean and sprawl since the stems got quite large.
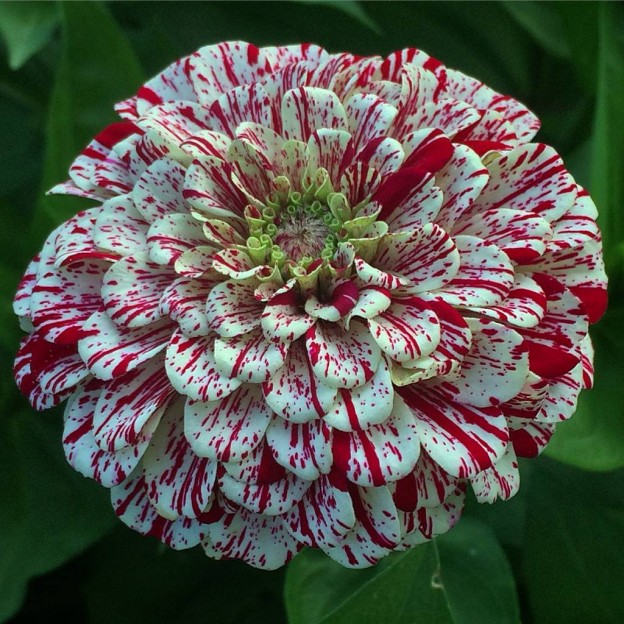
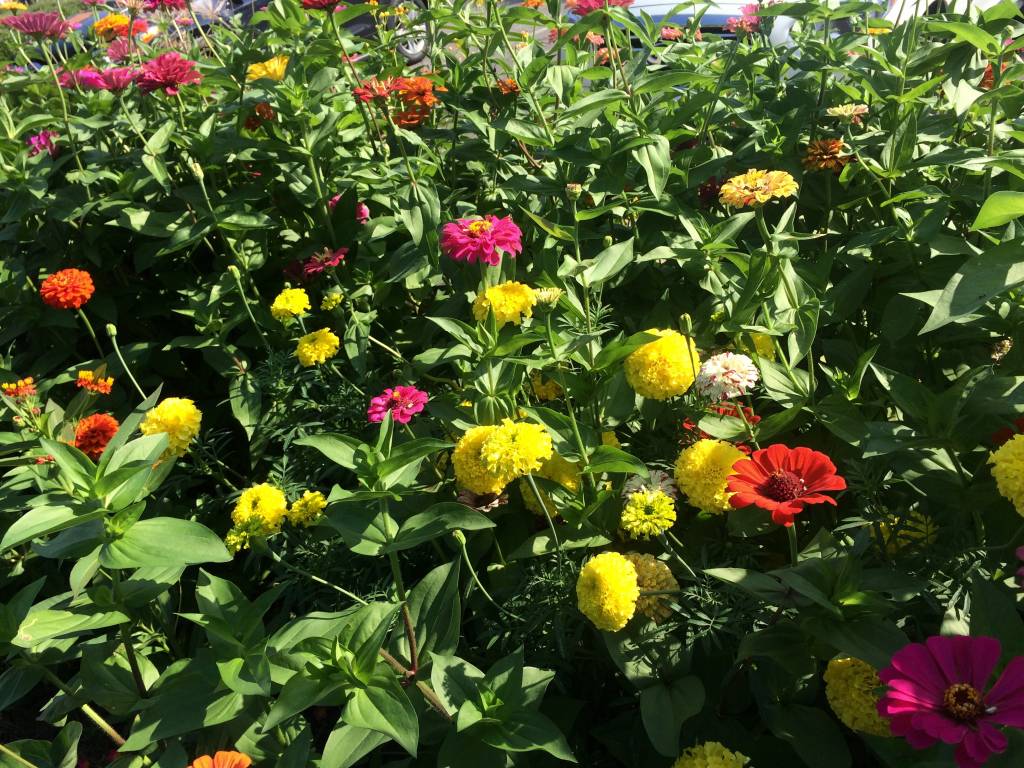
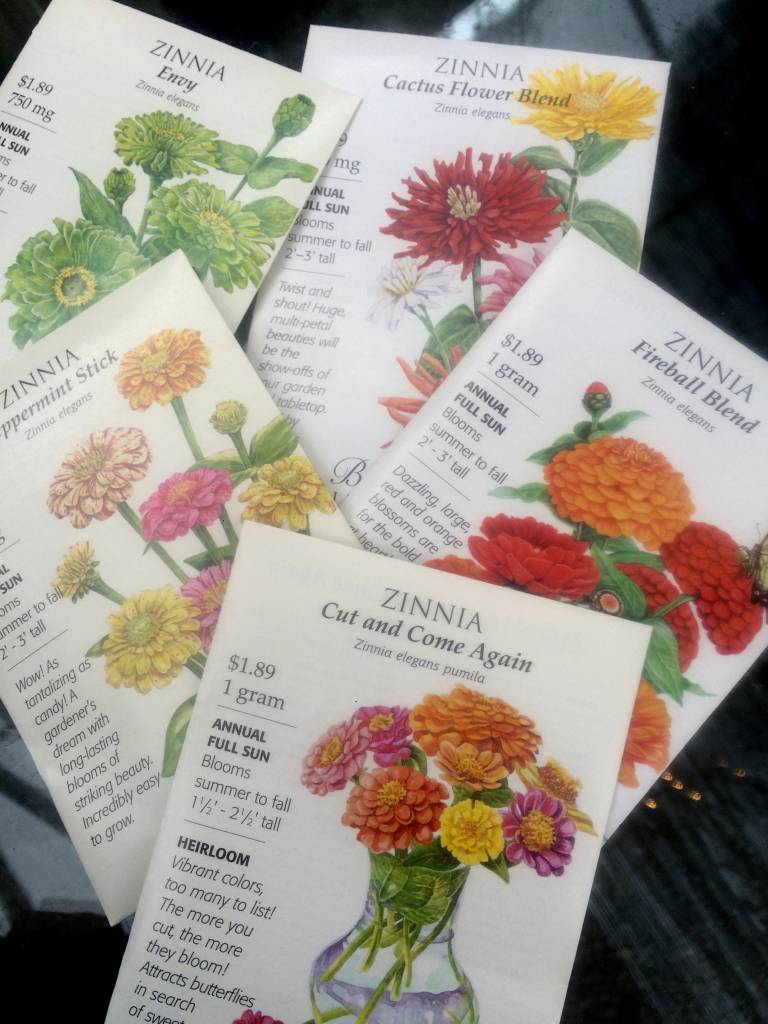
Tall cutting zinnias – The zinnias were also planted at the same time as the sunflowers and Tithonia. Again, we used Botanical Interests seed leftovers on the seed rack – all mixes of tall varieties. We also had a few green ‘Envy’ zinnia plants in cell packs left over from spring. These I cut back by half and planted in the front two beds while we waited for the zinnia seeds to come up. As seedlings came up I pinched them back to promote branching, and they were kept deadheaded to promote more blooms so everyone could enjoy the flower display.
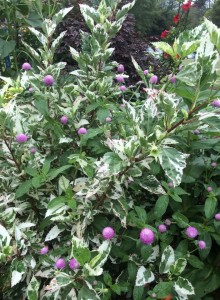
Variegated hibiscus with the tall pink gomphrena growing through it…
Hibiscus – There were two hibiscus varieties planted in the garden. Unlike fancy big-blooming hibiscus you may be more familiar with, these were planted for their foliage appeal, with blooms being secondary. The first is an ornamental red leaf hibiscus, and one of these was planted on each side of the back arbor. By the middle of October, they had each grown to enormous proportions, adding another depth of color to the garden, growing up through the tithonia and moonvine.
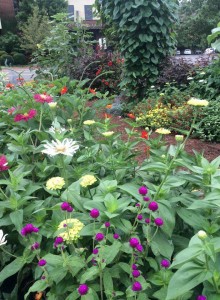
Zinnias and gomphrena…moonvine and red leaf hibiscus…
I kept them clipped periodically to keep them in check and in proportion to the rest of the surrounding plants. The second was a variegated ornamental hibiscus. One of these was planted on each side of the front arbor and had pink gomphrena and tall cutting zinnias growing through it. They were not as vigorous as the red leaf but still added another leaf variation in the garden.
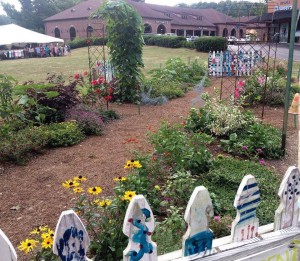
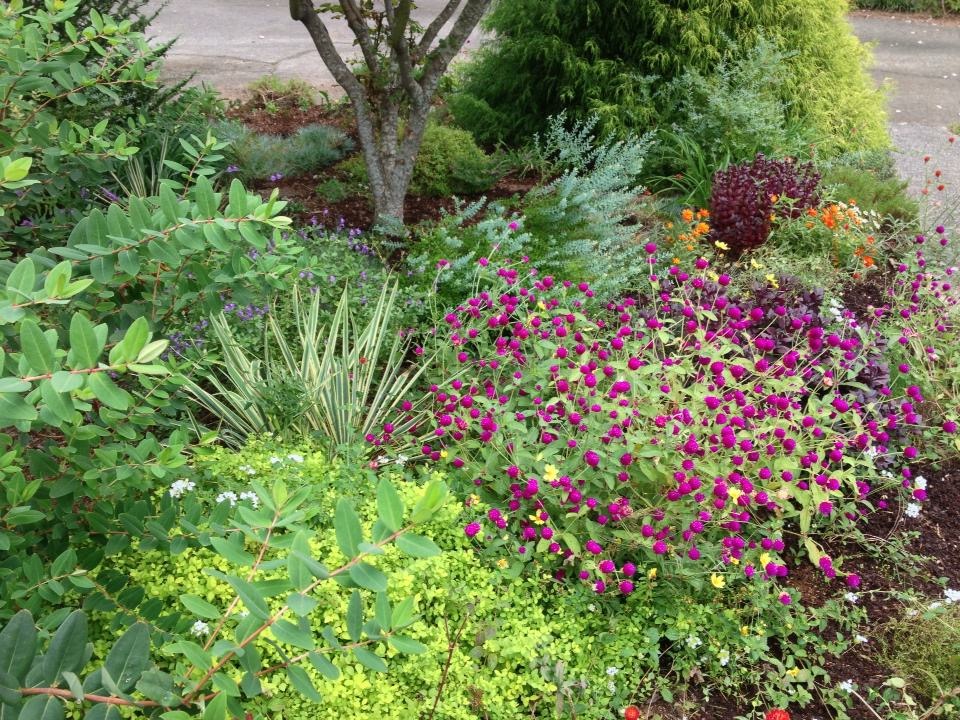
Gomphrena – A plant I wouldn’t be without in the flower garden. It never looks like much in a pot, but in the garden its globe-like flowers add a completely different silhouette among all the daisy-like blooms. And it is tough! We planted transplants of tall purple, red, and pink gomphrena and also added a short variety in all four beds. Here’s another post that features gomphrena.
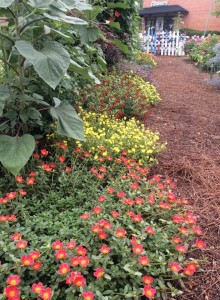
Purslane, red bat face Cuphea and purple gomphrena edge the beds…
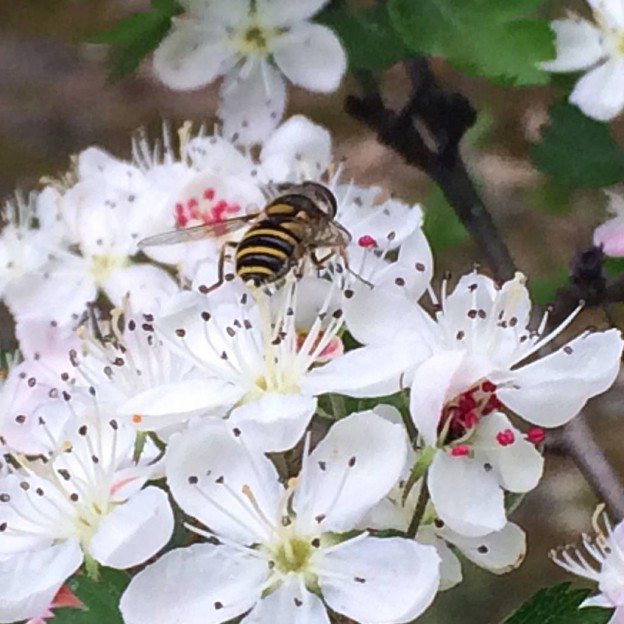
Purslane – This low-growing, succulent-like annual is an amazing bee magnet. We had literally hundreds of honeybees each morning on the bright yellow, orange, and red blooming plants. They are best planted along the edge of hot, sunny beds. The flowers close late in the day, but that’s hardly noticeable if you provide other flowers to look at! Be sure to take a look at the video of the honeybees on our YouTube page.
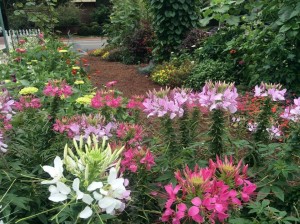
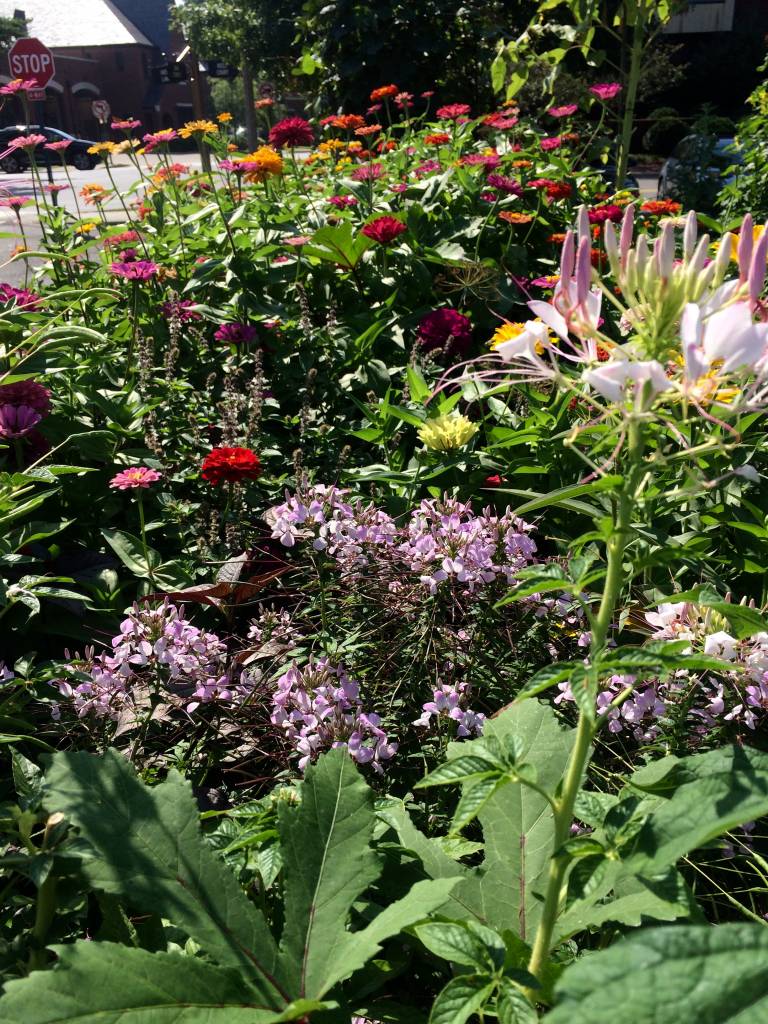
Cleome – Spider Flower…
Cleome (Spider Flower) – We had a flat of scraggly looking cleome left over from spring that needed a home…and what a home it got! I cut them back by half so they would branch and be fuller, and were they ever! Don’t hesitate to cut back stems of these flowers through the summer. When you see numerous seed pods hanging down the length of the bloom, it’s time to cut them back. Don’t worry; they’ll continue to bloom and will probably reseed next year for you. Old fashioned flowers, they attract butterflies and bees too.
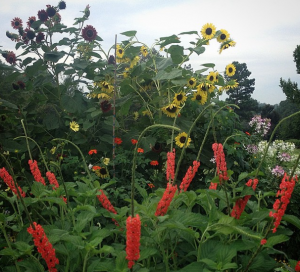
Porterweed and Sunflowers…
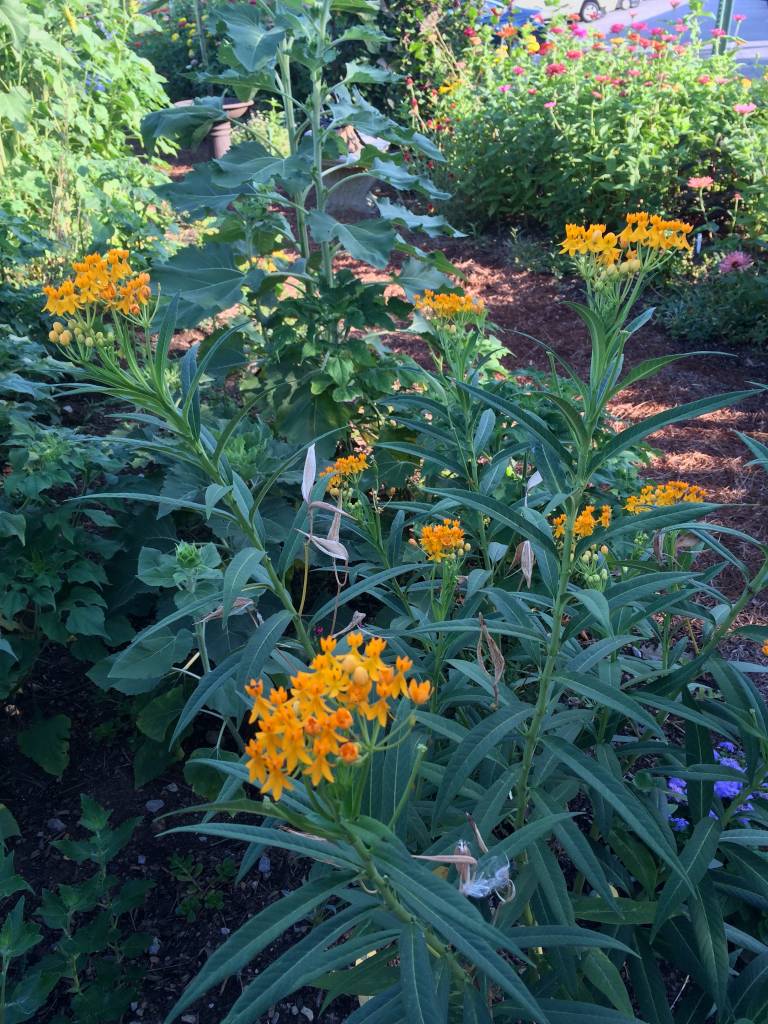
Porterweed – An interesting plant that sends out long bloom spikes with blossoms the hummingbirds and sulphur butterflies adore. I would plant it again for that reason alone! I was also impressed that it never seemed to be bothered by insect pests.
Cuphea llavea, Red bat face cuphea – You may not have noticed this plant right away, but the hummingbirds sure did! Planted along the front of the sunflowers and under the tithonia, it added a shot of red along the ground. Extremely tough and virtually carefree, it flourished with less than optimal sun, as it eventually was shaded out by the towering sunflowers. Even so, it was one of the last things removed at the end of October.
Cuphea ignea, cigar plant – Another planted for the hummingbirds. This one sports orangey tubular flowers on a rangy plant that I put right in the middle of the zinnias. This post tells you more about this unusual plant.
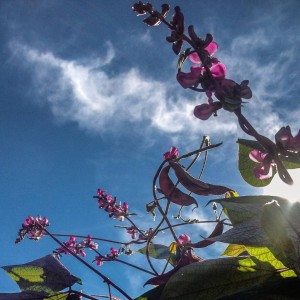
Hyacinth bean vine, sillouhetted against a blue sky…
Hyacinth Bean Vine – We started the hyacinth bean vine from seed, planting them all along one side of the front arbor, then waited and waited for it to come up. It finally did, but the leaves were being chewed to pieces and it didn’t look happy at all. Since the garden is pesticide free, the offending leaves were removed and it was given liberal doses of Annie Haven’s Authentic Brand Manure Tea. Gradually it grew stronger, whatever was chewing it moved on, and buds began to form. By September everyone was asking what the beautiful purple flowering vine was.
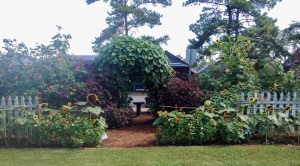
The back side – Moonvine on the arbor with the red leaf hibiscus on either side…
Moon Vine – The moonvine was planted on the back arbor and was the last one we had in stock from spring (They’re easily grown from seed too.). For the longest time, it seemed to be all leaves until buds began to form late in the summer. Just about the time it threatened to engulf the arbor and everything around it, the fragrant nighttime blooms began to open each evening and were still open each morning.
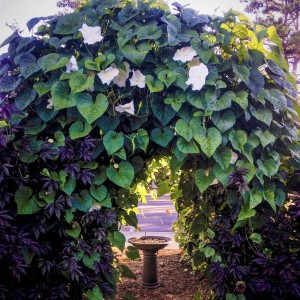
Late summer – the moonvine and red leaf hibiscus have grown together…
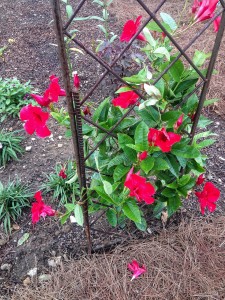
Mandevilla Vine – A red mandevilla was planted on one arbor on the other side of the moonvine, and a pink mandevilla was planted on the arbor on the other side of the hyacinth bean vine. The pink mandevilla was still growing strong at the end of October. The red mandevilla was swallowed up by the moonvine! Both are heat-loving vines and quite beautiful and carefree.
Cuphea hyssopifolia, Mexican heather – Yes, yet another Cuphea and one for the bees. This one is a mounding annual that’s just right for filling in spots toward the front of a flower bed. Bees love it, and it’s virtually maintenance free.
Otomeria – A plant I’ve never grown before this summer but that was very impressive in the garden! There were only two, and you may not have noticed them. They love our heat and hopefully will be available for you to try next summer. The two in the garden were planted in August and bloomed until the end of October, when they were finally pulled out. They offered clean white blooms on sturdy mounding plants.
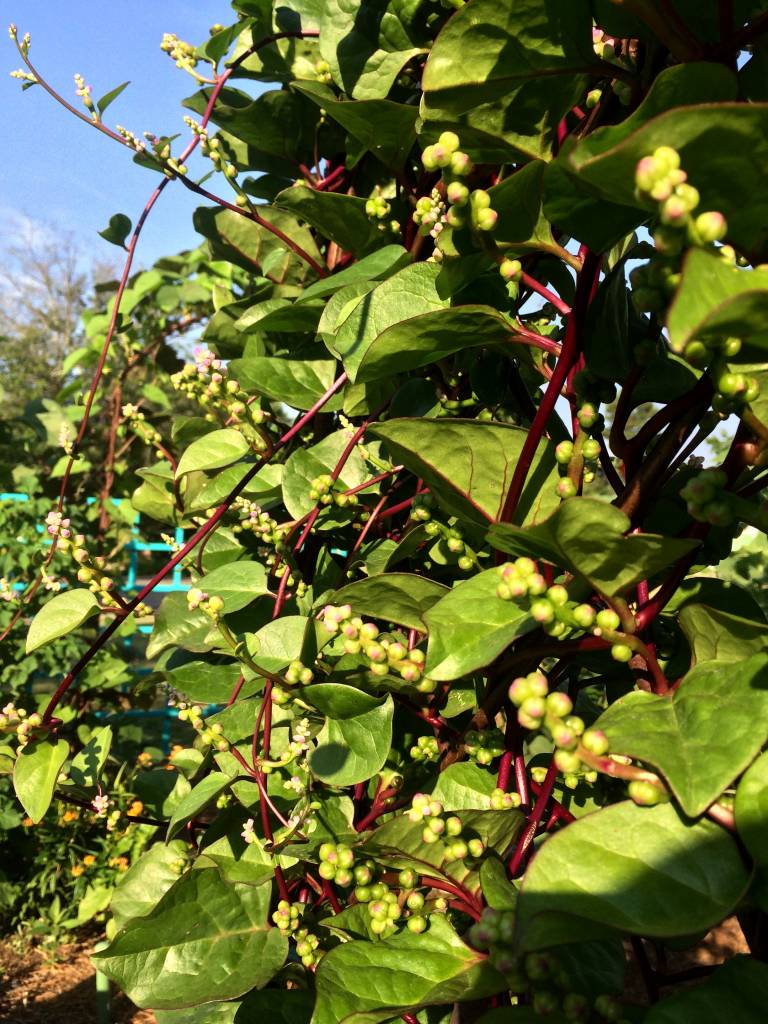
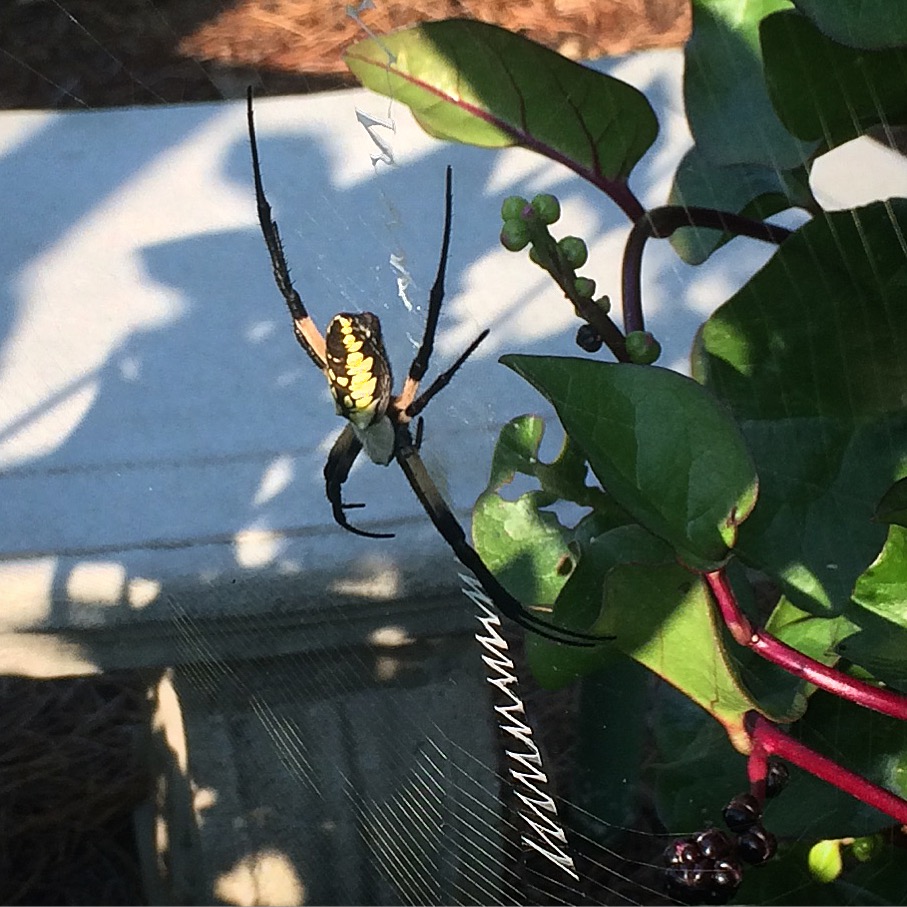
Malabar spinach vine
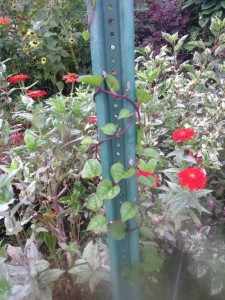
Malabar Spinach – Not spinach at all, but an edible and heat loving vine with pretty purple flowers. Like the otomeria, this was another fun plant to try that was also new to me. It did extremely well, planted late, growing up each arbor and up the very ugly 2 hour parking sign. If you’d like to learn more about this fascinating plant, click HERE.
One of the many sunflowers in the garden…
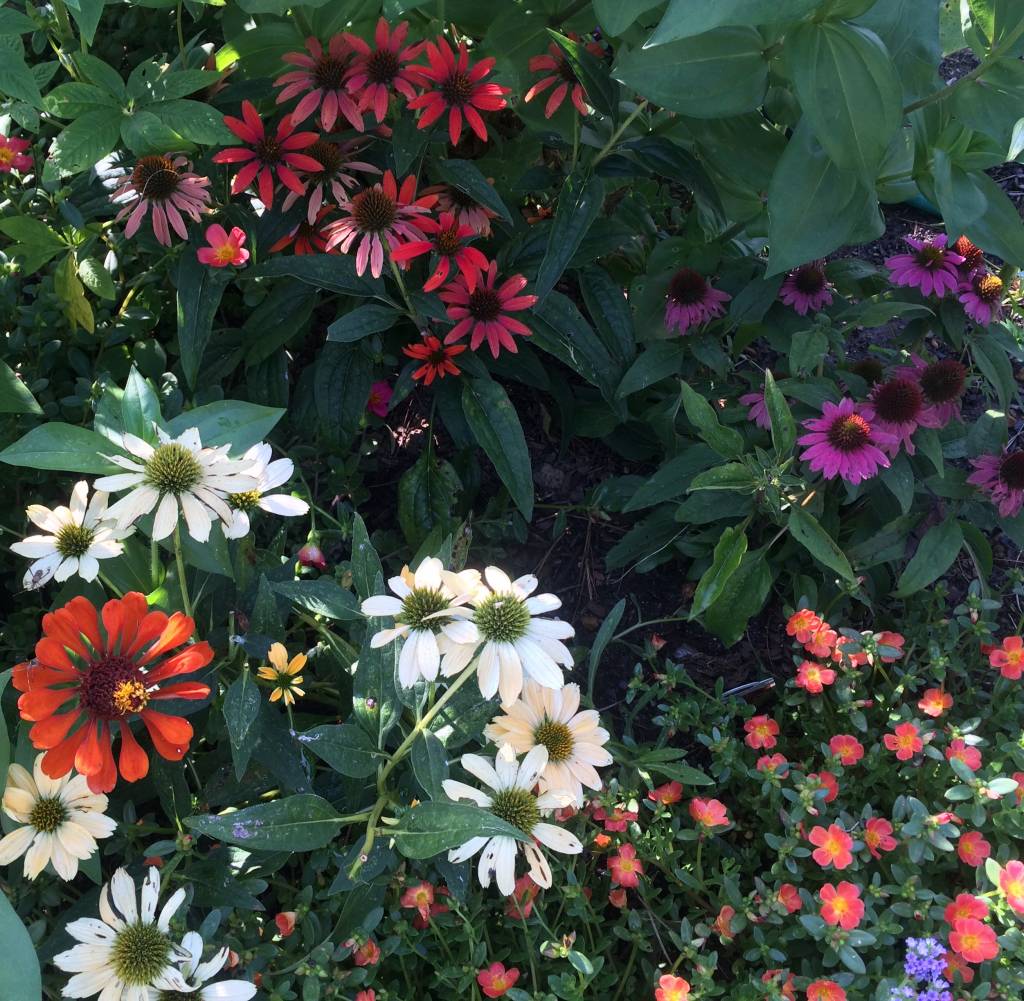
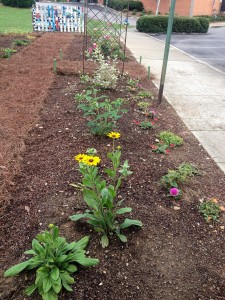
Rudbeckia ‘Indian Summer‘ – A sturdy annual Black-eyed Susan with large blooms, I’m going to leave these in the ground in hope that they’ll come back next year. We shall see!
Lantana – A couple of lantana were placed at the back of the sunflowers where they’d get the most sun. They were planted quite late (August) so didn’t have much time to develop. I’m going to leave them in those spots to see if they’ll return next year. They might if the winter is mild enough.
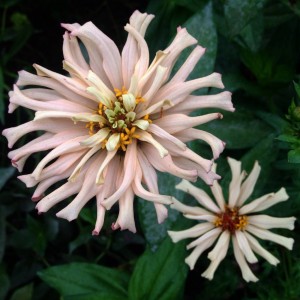
Cactus zinnia…
And the rest….
Assorted tip cuttings of succulents were placed at the front corner by the sign and began to really take hold by the end of the summer. A rosemary plant was left in from the previous garden and a perennial Cardoon was placed on the end of one bed for its spiny, silvery foliage. A few dwarf purple ruellia, Mexican petunia, were added by the back rose arbor. Finally, a couple of shade-loving torenia were planted under the sunflowers (They were just right to see from a child’s perspective!).

Dwarfed by the sunflowers…
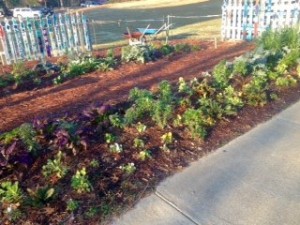
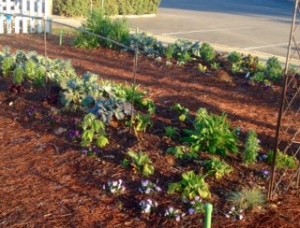
So, there’s your plant list if you’d like to have a similar summer garden next year. Please don’t feel tied to just these plants, though. So much of the joy of gardening involves trying new things and discovering how they work in your landscape. Meanwhile, for now, our winter garden is being planted gradually and offers an entirely different set of possibilities, again some from seed, others from transplants. I hope you enjoy the view!
By Kris Blevons


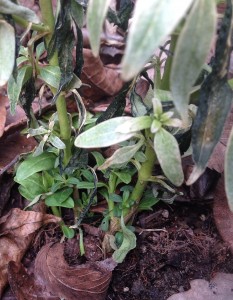
 2. Watering: Keep Plants Happy Before Planting
 4. Mulch to Protect Roots
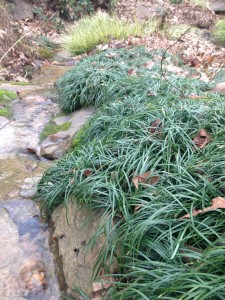


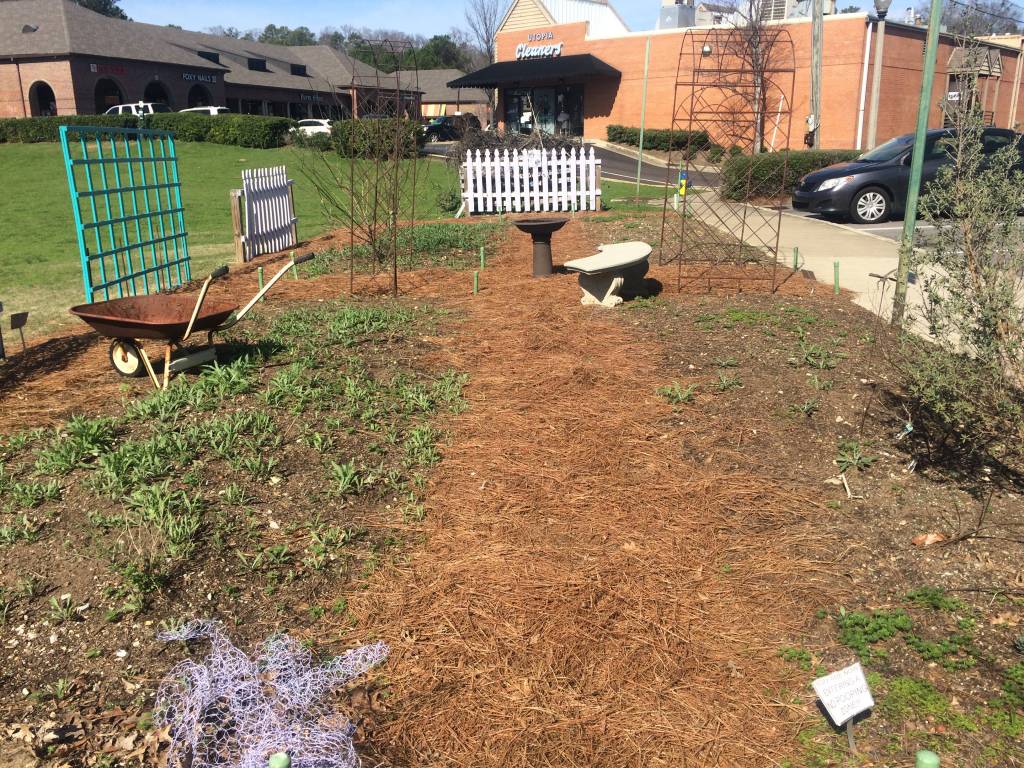


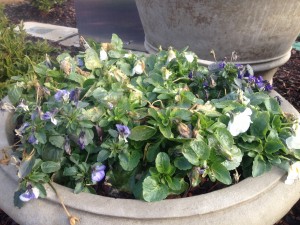
 Now is the time also to cut back dead foliage from perennials and get on top of any winter weeds in your garden beds that may be coming up between pansys. Resolve to take a walk through your landscape once a week to do this – it’s good exercise! While you’re out, do take time to enjoy the little things – a new bloom on a pansy, the swelling buds of spring blooming shrubs, the foliage of an emerging daffodil – we promise you’ll feel better after a “tour” around the yard if you stop to enjoy it once in a while too!