The other day I received an email from a long time customer asking if I’d consider writing a post on creating a garden bed from scratch. He went on to tell me he has a spot he’d like to turn into a garden like our ‘Better Late Than Never’ garden and wanted to do it right.
Following are two ways to create a garden bed. I’ll describe each method and let you decide which you would prefer. Each one was created in an area where there had been grass.
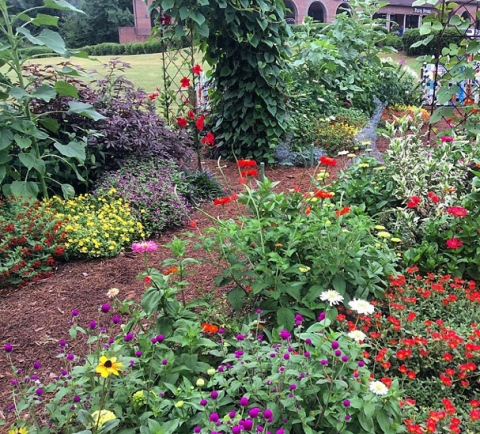
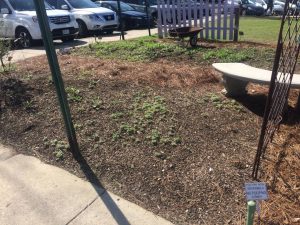
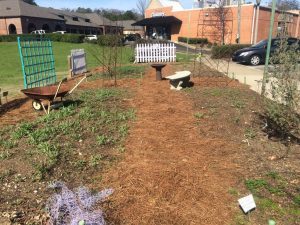
When Oak Street Garden Shop owner Billy Angell created the four garden beds across from the shop, the first thing he decided was the size of each quadrant and how wide the paths between them would be. He was very precise in his measurements, but, since I’ve taken over the garden beds, the sizes have shifted to accommodate self-sown plants.
First he killed all the grass in the area by spraying it with the non-selective herbicide, Round-Up. After waiting a week, he spot sprayed again to be sure all the grass was killed. When this was completed, the entire area was lightly tilled and then leveled to make it even. If you’re creating a bed where there are utility lines, always have them located before digging.
At this point the actual beds were measured and marked off. There would be 4 of them, each 6′ wide and 20′ long with 3′ wide pathways between each bed. Next, each of these beds was deep tilled, using a bobcat equipped with a tiller attachment on loan from a local landscaper.
Now it was time for the final amendments. A truckload of 1/2 compost from the city of Mountain Brook and 1/2 coarse builder’s sand was unloaded on the sidewalk in front of the soon-to-be garden. Wheelbarrow by wheelbarrow the compost and sand was spread evenly over each bed. It was tilled one more time, then graded so each bed sloped slightly toward the walkways.
Billy sent a soil sample to Auburn, and about a week later they had the results. We were prepared to adjust the soil depending on what the findings were. Amazingly, they said the soil was near perfect and no other adjustments were necessary. You can obtain these soil test kits from the Birmingham Botanical Gardens Extension Service office.
Each season the beds are top dressed with soil conditioner and PlantTone and regraded. Weeding is done by hand, and no chemicals are applied, in keeping with its designation as a pollinator garden. In addition to plants that reseed each season (zinnias and sunflowers in the summer, bachelor buttons and larkspur in the winter), transplants from the garden shop are also added. For more on plants in the summer garden look HERE.
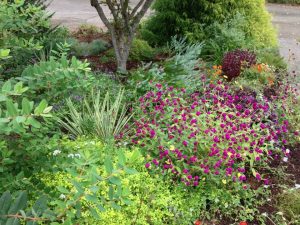
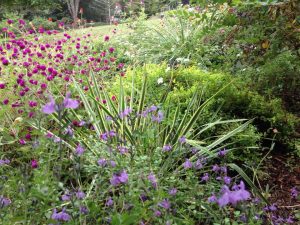
At home, my husband and I have created many beds, the largest one in front of our house that had been weedy grass. In our beds my husband first dug out all the grass by hand, working in one small area at a time, shaking all the loose soil off and discarding the grass.
Rather than tilling the soil, he took a large pick-ax to break it up, loosening it and then removing any remaining roots and weeds by hand. The cleared area was then raked smooth.
Following this, he applied layers of newspaper, wetting each area down, then covered the paper with soil conditioner purchased in bags from the shop, and home made compost. We left these areas through the summer, hoping to kill any remaining rootlets of grass and weed seeds. I began planting a few things that fall but waited until the following spring to begin planting in earnest. I continue to pull weeds that appear and keep it well mulched as well. Each season we add more shredded leaves and compost, and the soil has become looser each season.
Whichever method you use, remember that creating a garden bed doesn’t end when the initial work is done. Good gardening practice is to continue to add nutrients to the soil as our hot temperatures break soil amendments down very quickly. The easiest amendment makes use of our fallen leaves each autumn. Run over them with your lawn mower and add them to your beds.
If you are beginning a pollinator garden with summer annuals and would like to sow seeds, be sure to wait until any danger of frost is past, then sow heat lovers like tall cutting zinnias directly in the ground. Be sure to keep seeded areas moistened until the seedlings show, then water as necessary as plants become larger.
Creating a garden bed by either method requires a good bit of initial labor, but the end result is worth the effort!
By Kris Blevons

