
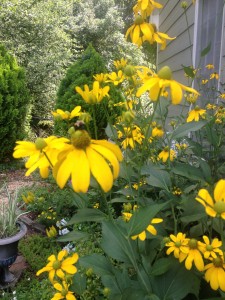
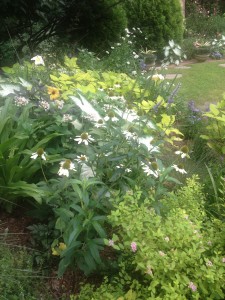
Rudbeckia ‘Herbstonne’
It’s July in Birmingham, time for weekends at the lake and trips to the beach or mountains (and aren’t we lucky to be so close to both?) So I promise not to make you work too hard in the garden… but remember, a little work now will mean less later – and a prettier garden too!
So, here are a few things to be thinking about – and you don’t even have to do them all at once! Simply walk through your garden at least every week and try to do at least a couple of the following tasks each time:
Pull weeds that may be coming up and dispose of them. Never put weeds on your compost pile unless you want more! Pulling weeds a bit at a time is so much easier than ignoring them and doing a marathon weed pull later. Trust me on this; I’ve been there. Did you see the post on mulberry weed? It’s one you need to keep out of your garden!
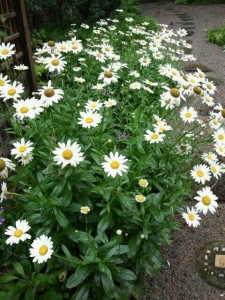
‘Becky’ daisies
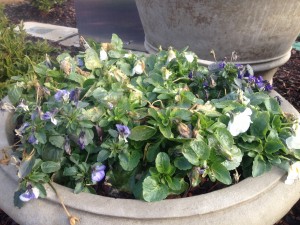
Deadhead (cut off dead “heads” of blooms) any flowers that have passed their prime.
Along the same vein as deadheading is cutting back. Planters benefit greatly from being cut back when they are geting “out of control” in size (usually around this time of year if you planted them in the early spring). It’s a difficult thing to do for folks, but try it. Cut back those weedy looking zinnias. That coleus that’s gotten enormous? Cut it back! Those trailing plants that are looking a little worse for wear? Cut them back by at least half.
There, you did it! Now give those plants a bit of fertilizer, keep them watered, and then stand back while they flush back out. You can thank me later!
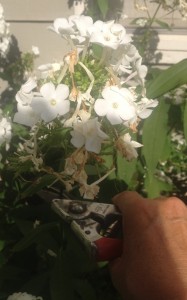
Deadheading a phlox bloom…
Perennials in your garden will also appreciate a little attention here and there. When your phlox has pretty much bloomed out, trim the spent flower head off. It will usually rebloom a second time. Once they’re completely done blooming, cut them back by half to neaten things up a bit. Rudbeckias, daisies and coneflowers will also continue to bloom longer if you pay attention and deadhead them just as you do your annuals.
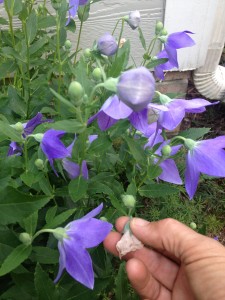
Deadhead individual blooms on balloon flower
Balloon flower is one perennial that you should never cut back while it’s blooming or you’ll lose out on a lot of flowers. Simply pinch off old blooms – this is best done daily. Confused about annuals and perennials? Refresh yourself by reading this post on them.
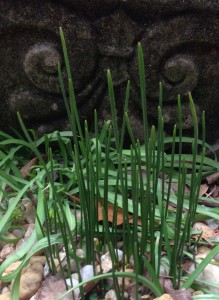
Do you see yellowing leaves on perennials or annuals? It only takes a few minute to “groom” a plant – simply remove the yellow leaves; after all, they’re not going to turn green again! Daylilys definitely look better if you pay attention to this after you’ve cut back the faded bloom stem. You can even cut their foliage back by half to neaten the plant up after it’s bloom period is completely over.
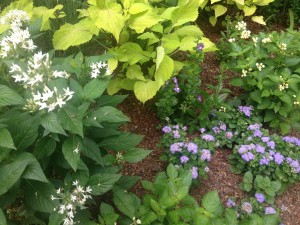
midsummer…perennials and annual share this bed.
Some late blooming perennials should be getting taller…inserting wide border supports keep them in line (They are one of my favorite support systems.). Take a look HERE if you missed the post on late blooming perennials and what to do with them early in the season. The Rudbeckia ‘Herbstonne’ shown in the picture at the beginning of this post is an example of a perennial I cut back in the spring to control it’s height and bloom time. They are in full bloom around town now.
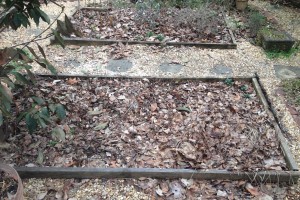
See the mulch?
If you need to refresh mulch in beds, now is a good time to get this necessary task done. Not the most fun job, but it keeps the soil temperatures at the root zone of plants at an even temperature – especially important in our hot climate! Mulch conserves moisture, smothers weeds, and eventually will break down, contributing to the health of the soil too. Pretty good stuff all the way around.
Okay, that wasn’t so bad was it? Now you can pour yourself a glass of wine, pat yourself on the back and enjoy your beautiful, cared for landscape!
By Kris Blevons
 Plants are like people; they need food to grow…and nutritious food for best health. I would take that one step further and say that, not only should you feed the plant, you need to add organic amendments and nutrients to create healthy soil that your plants will thrive in.
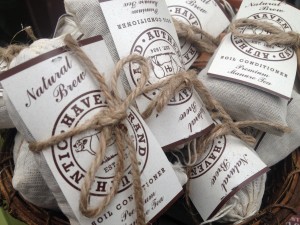
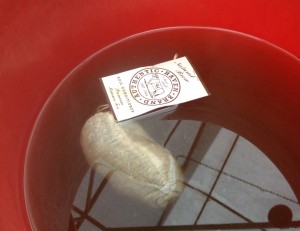
 This is a portion of Bradford Horticulture’s newsletter. Dave Bradford is a former Birmingham area extension agent. His newsletter would be a good one to sign up for if you’d like timely information for our area! (Now between Oak Street Garden Shop and the Boxwood Doctor, you should be covered!)