 If you’re of a certain age, you well remember when houseplants were a mainstay in most houses. The home I grew up in in the 1970’s was filled with plants.
My mother tended them, each week working her way through the house with her watering can and sometimes a sponge to wipe dusty leaves.
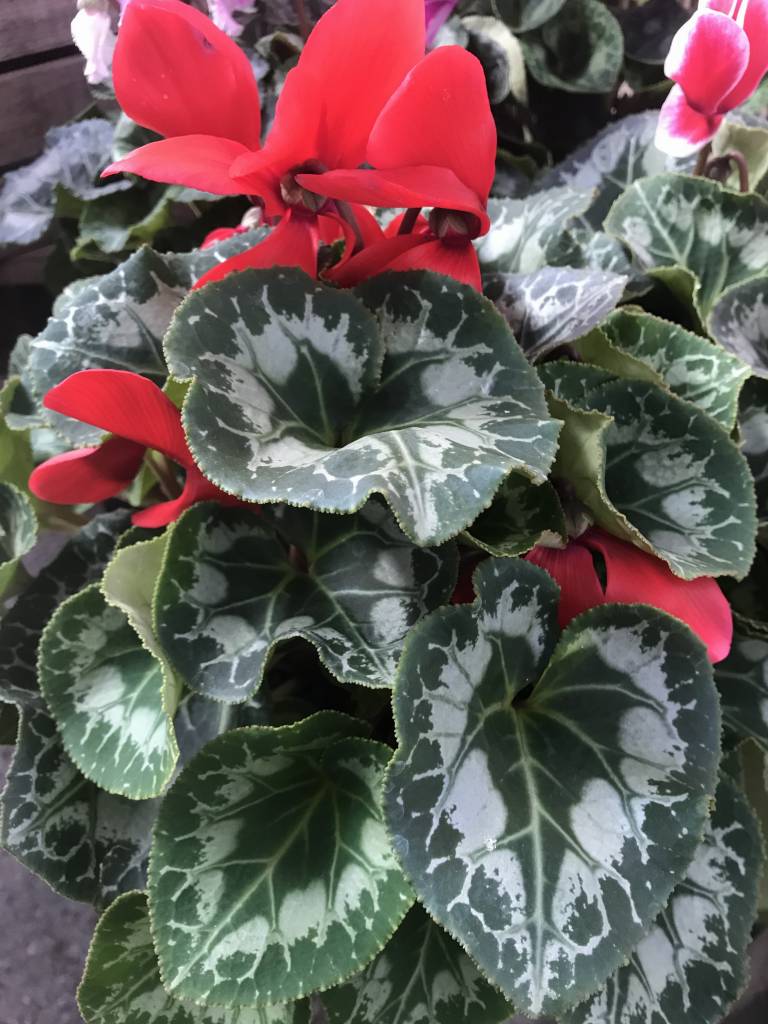
I remember floor-size planters and smaller pots grouped together on end tables and beautiful green and variegated leaves of varied shapes and sizes. If you looked up, macrame hangers supported pretty pots filled with hoyas, pothos, creeping fig, and ivy, the trailing vines winding their way here and there.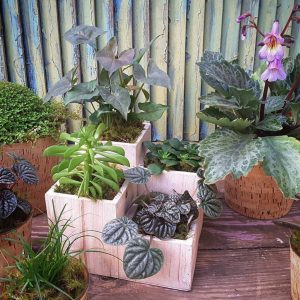
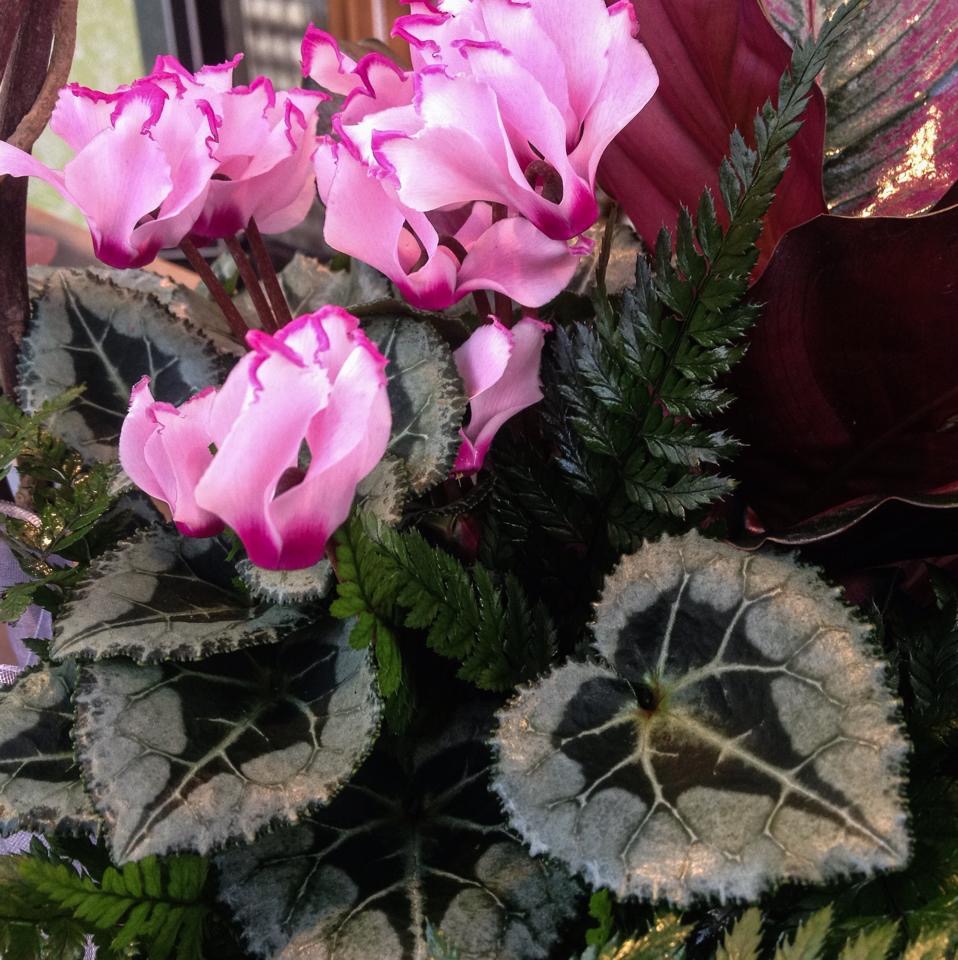
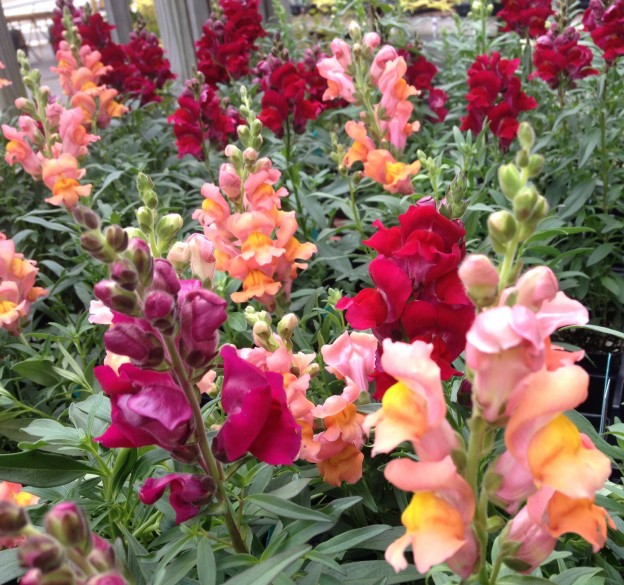
Today you can Google houseplants or look on Instagram and many similar images appear. Houseplants are making a comeback. Hallelujah, it’s about time! Whether you’re a novice with a few small pots on a windowsill in your first apartment or live in a downtown loft and need something bigger, there really is a houseplant for everyone.
 Theories abound as to why houseplants are making such a comeback. Some say it’s that younger people need something to nurture. Others say it’s cyclical, and it was just time for them to reappear. Still others say it’s because the world is in such turmoil that people are turning to their homes for comfort. Whatever the case, plants are a warm and lovely addition to any indoor space.
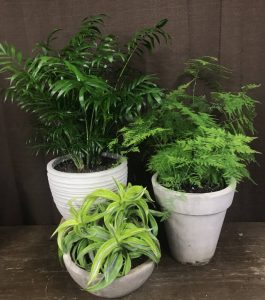
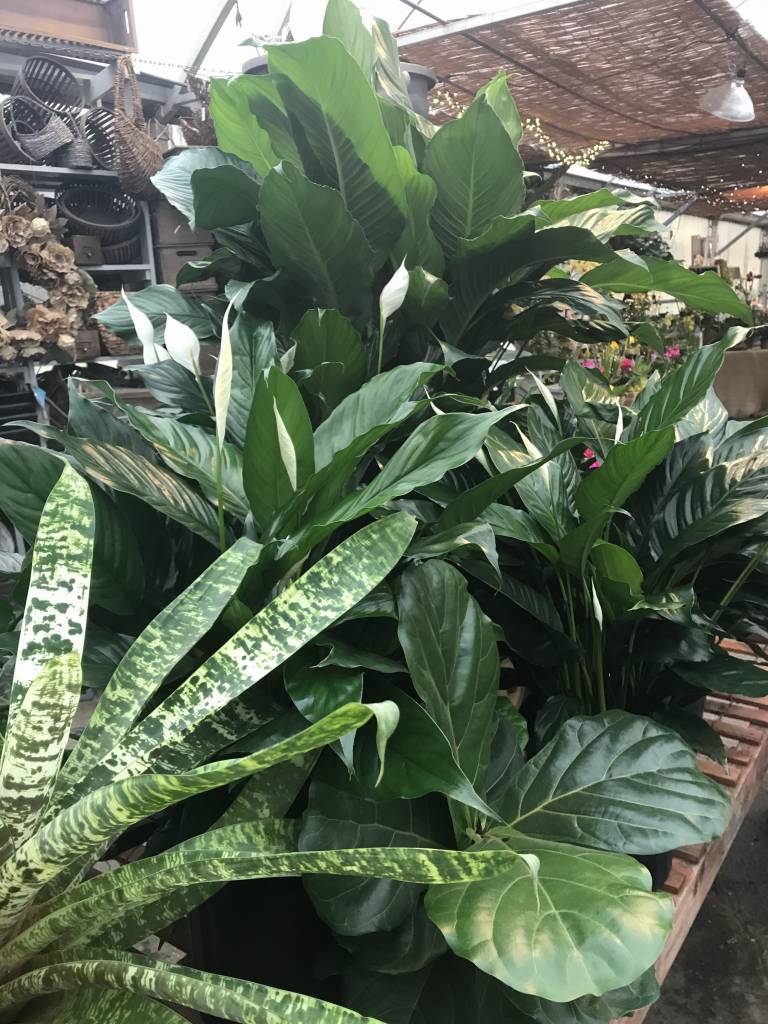
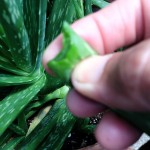
Plants help purify the air too. There are lists of those that researchers have deemed the most helpful for this. They include many old favorites like spider plants (Chlorophytum comosum), snake plant (sanseveria), pothos (Epipremnum), peace lily (Spathiphyllum), ivy (Hedera), parlor palm (Chamaedorea elegans), aloe, dracaena, Chinese evergreen (Aglaonema), rubber plant (ficus robusta), and nephthytis (Syngonium).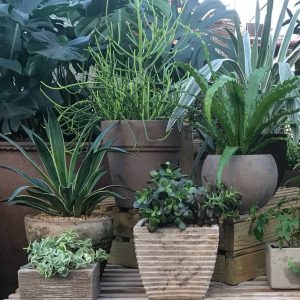
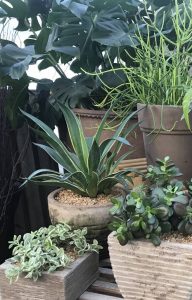
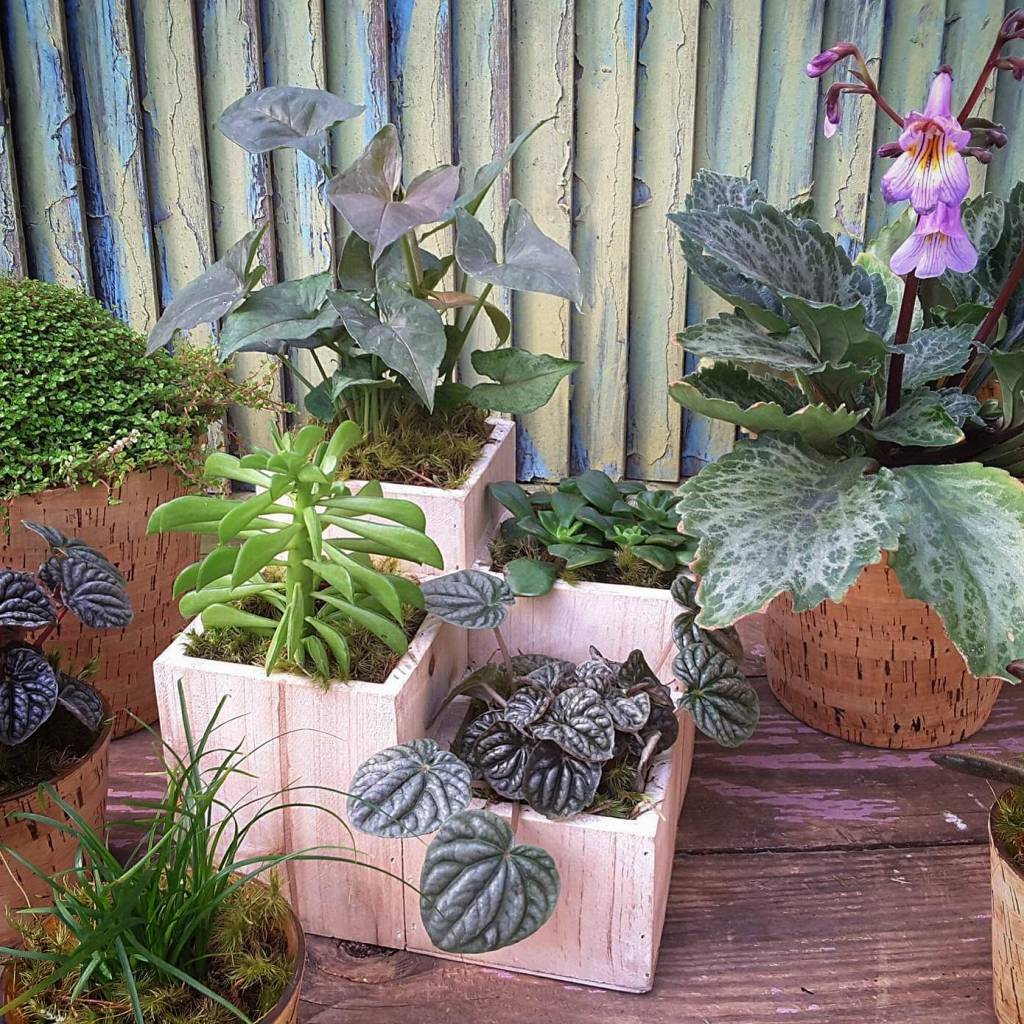
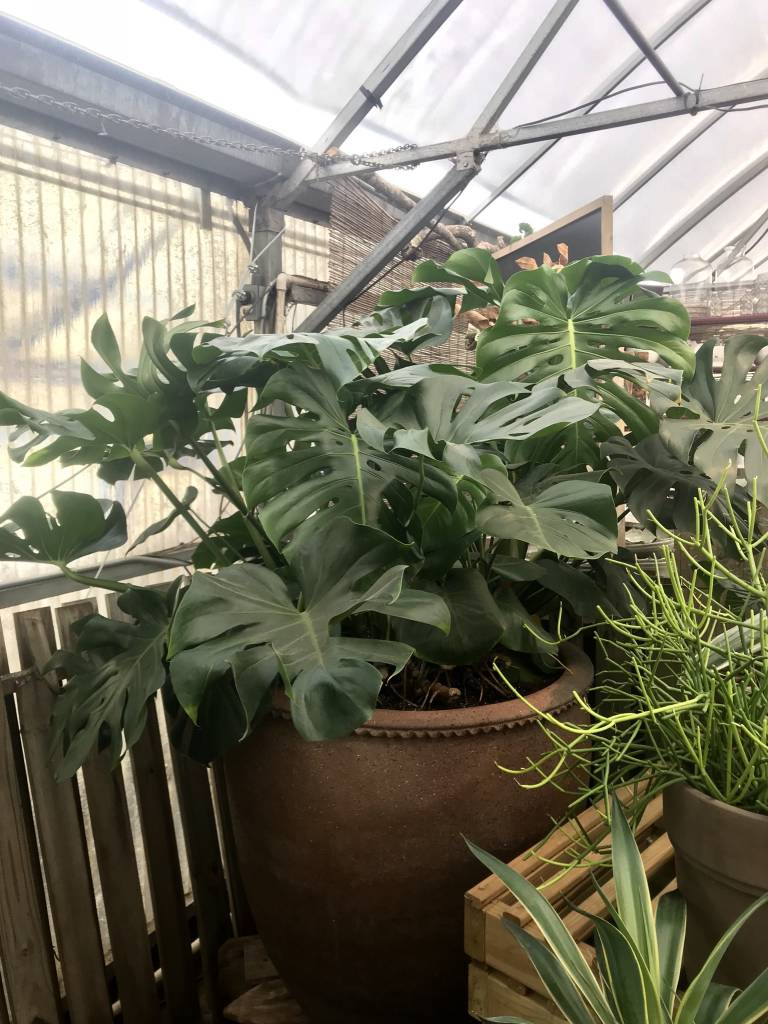
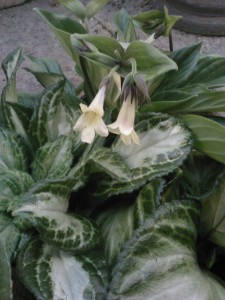
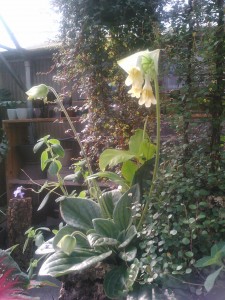
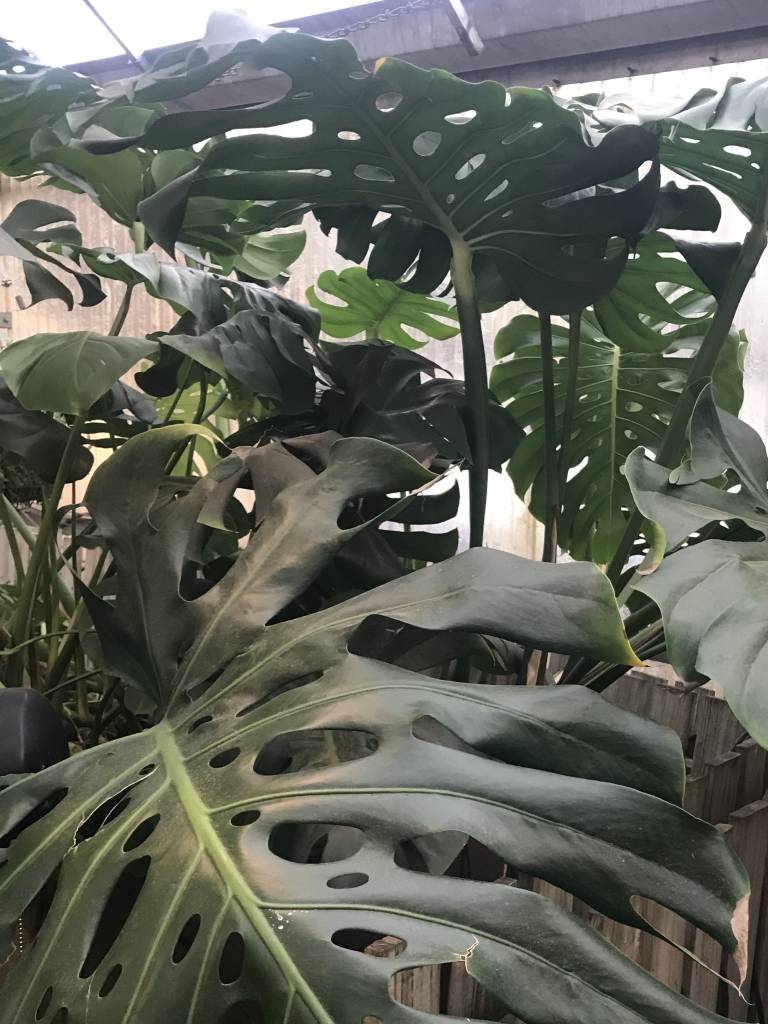
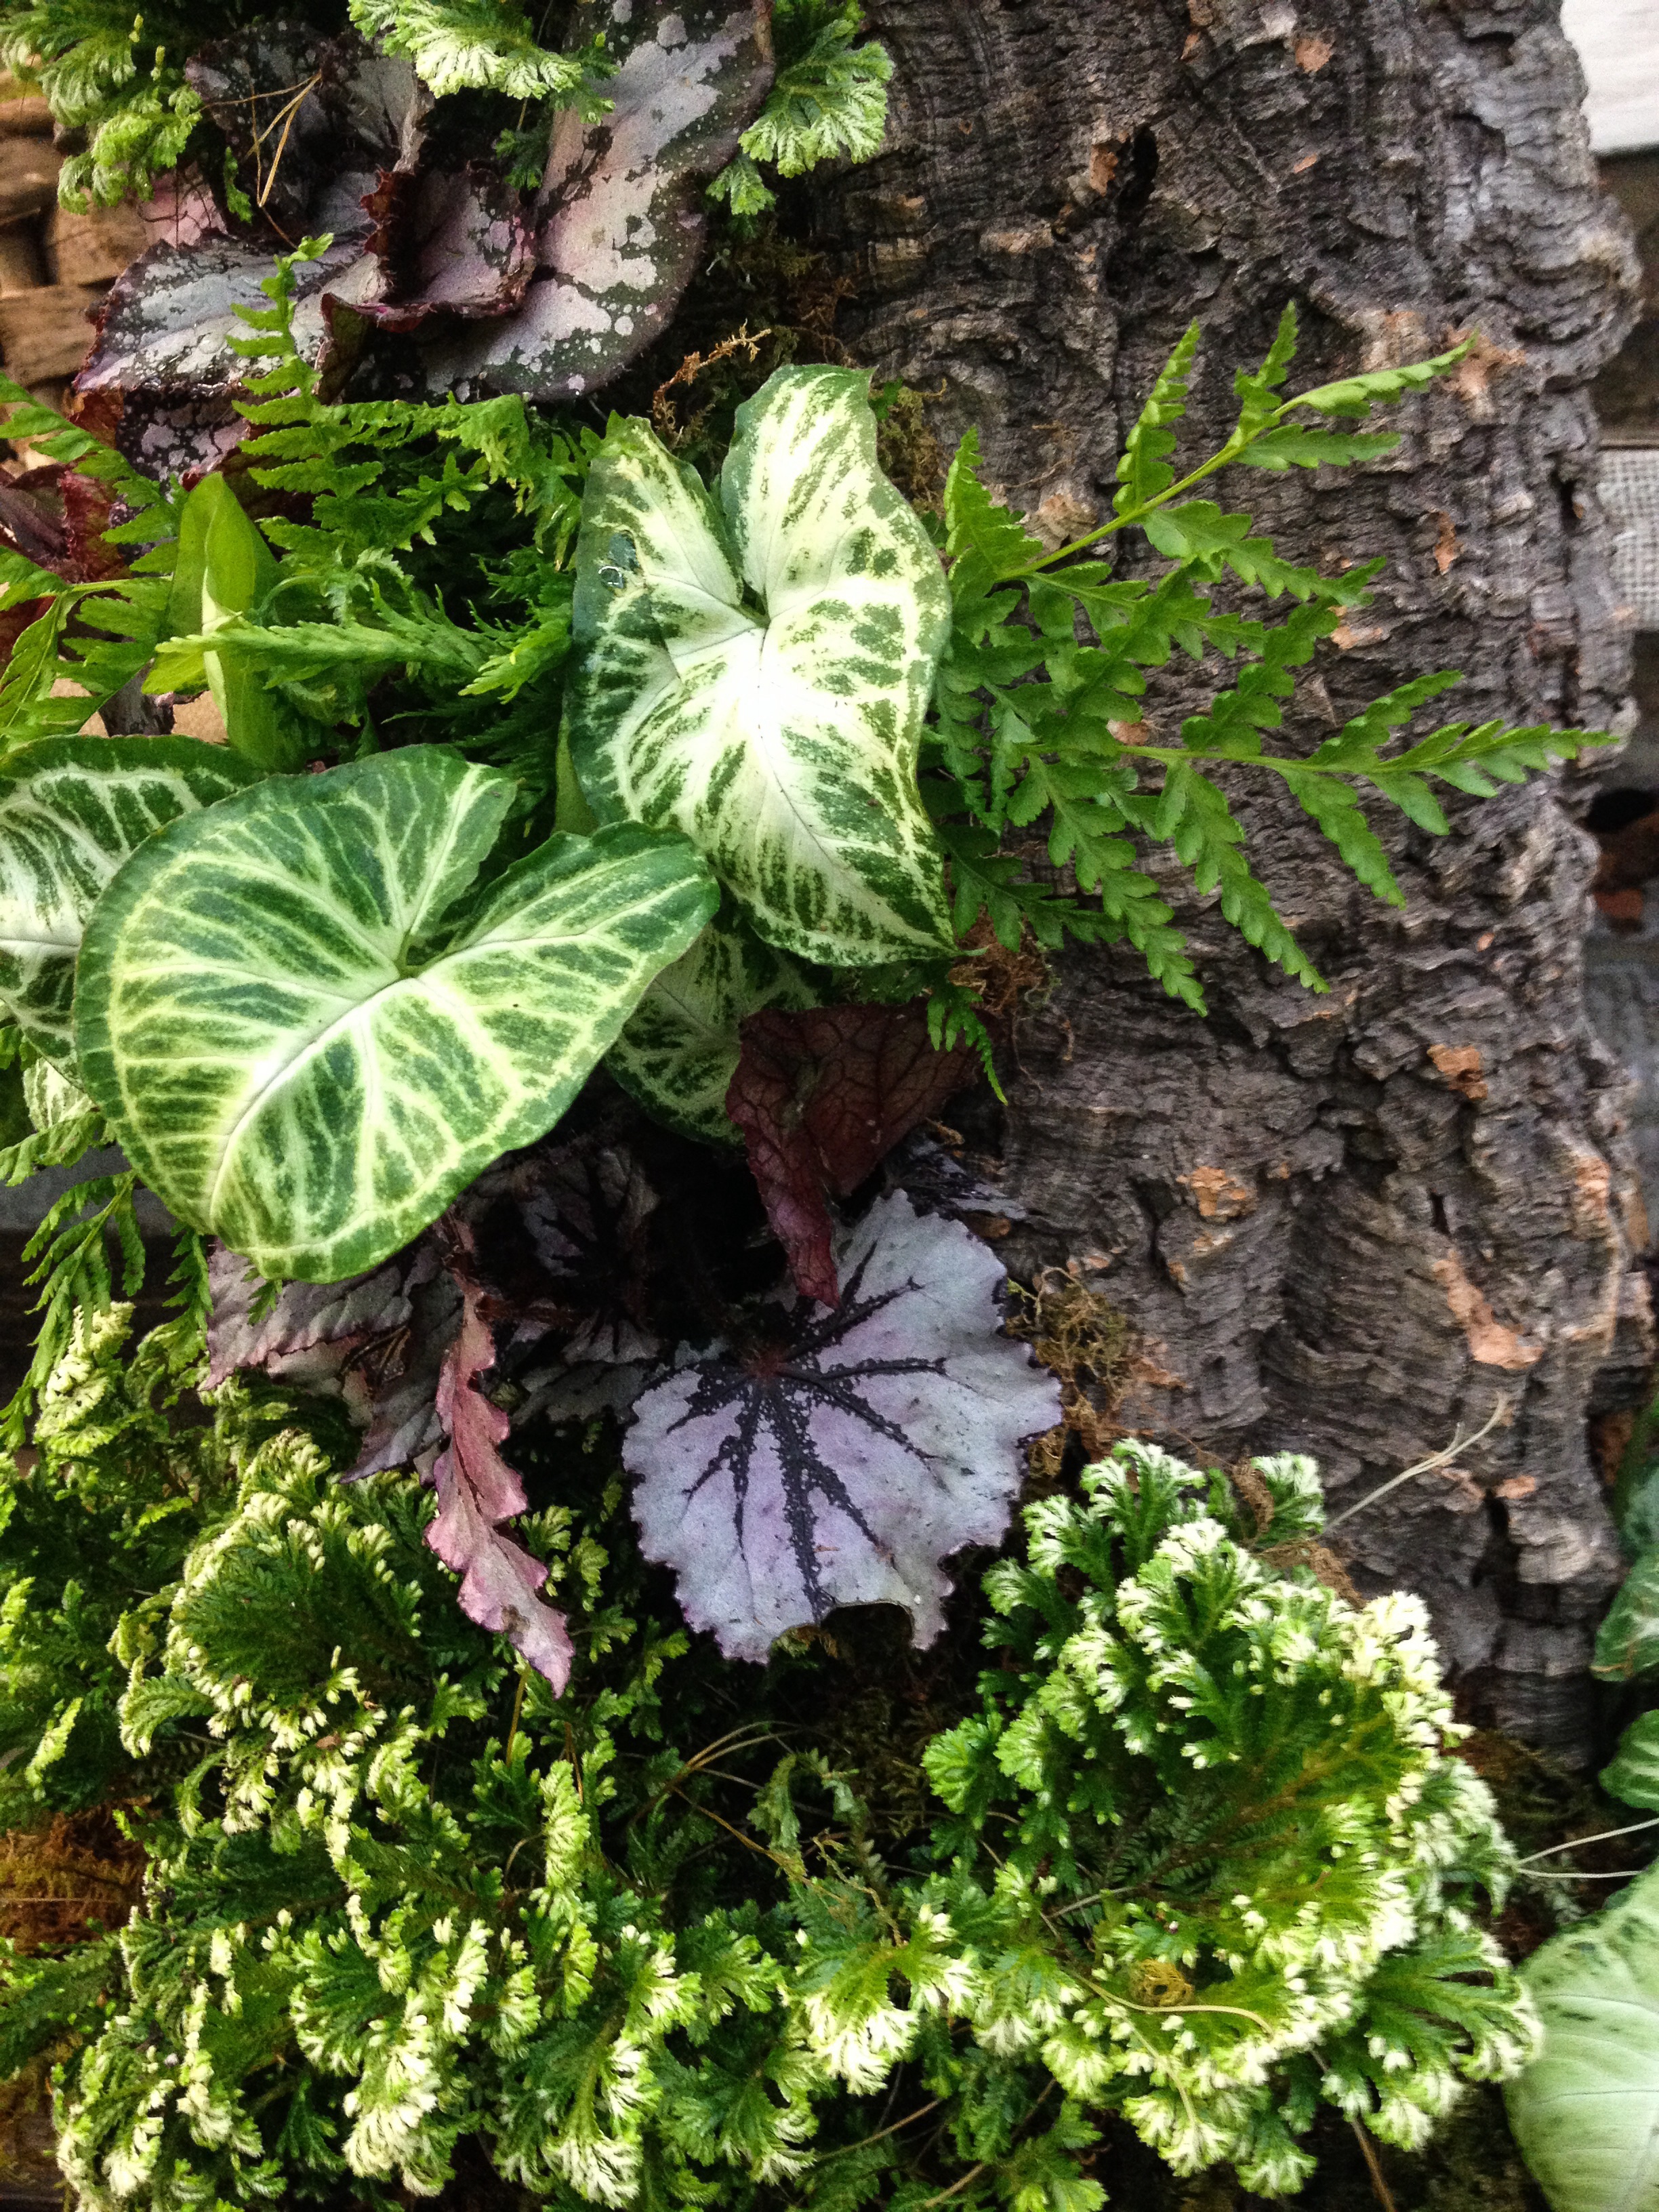
Of course this listing is just the tip of the houseplant iceberg. A few other plants pictured here include the puckered leaved peperomias, hardy Norfolk Island pines, alocasias, succulent jade plants, philodendrons, and, in the background one of our greenhouse “mascots”, a very large Monstera deliciosa, filling out its new pot. We love our plants too!
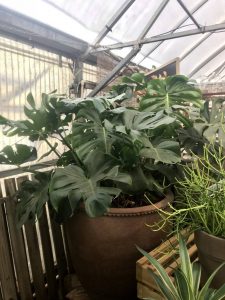
Monstera deliciosa
Some basic houseplant info: Light is important. Pay attention to how the sun moves through your home. Is your landscape outside filled with trees that block the light coming in on certain sides? Are there buildings that shade even western or south facing windows? Is your home bright and filled with windows that are unobstructed, or does it feel dark even on sunny days? Plants that don’t have enough light tend to “stretch”, leaning toward the sun and may be pale even with diligent fertilizing.
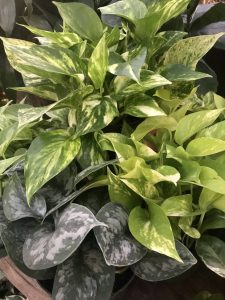
Assorted pothos
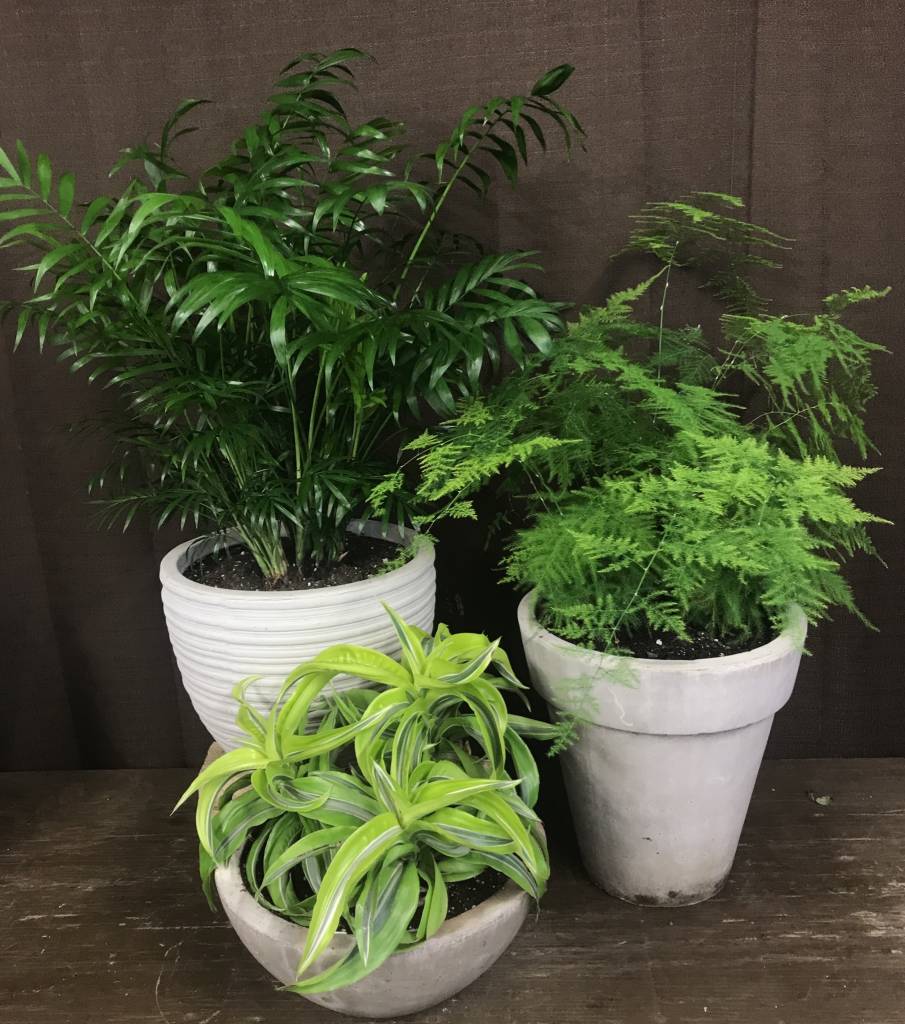
Plants that tolerate low light levels are the workhorses of the houseplant world. They’re also some of the best plants for beginners. Here are a few to try:
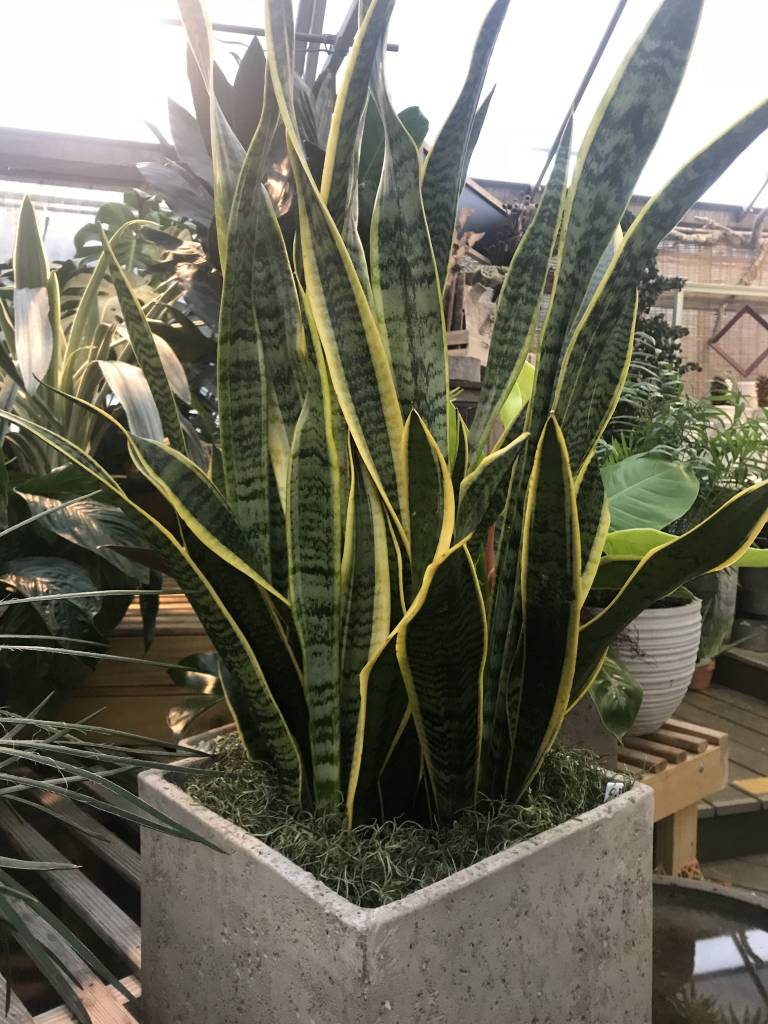
Pothos are virtually indestructible in low light and also prefer to be on the dry side. Don’t overwater and they’ll live happily in your home. Sanseveria thrive in bright light but also will add a lovely vertical accent in low light spots too. Philodendrons, spider plants, prayer plants, many ferns, and the indestructible ZZ plant are other good choices.
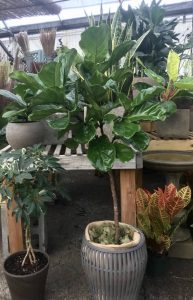
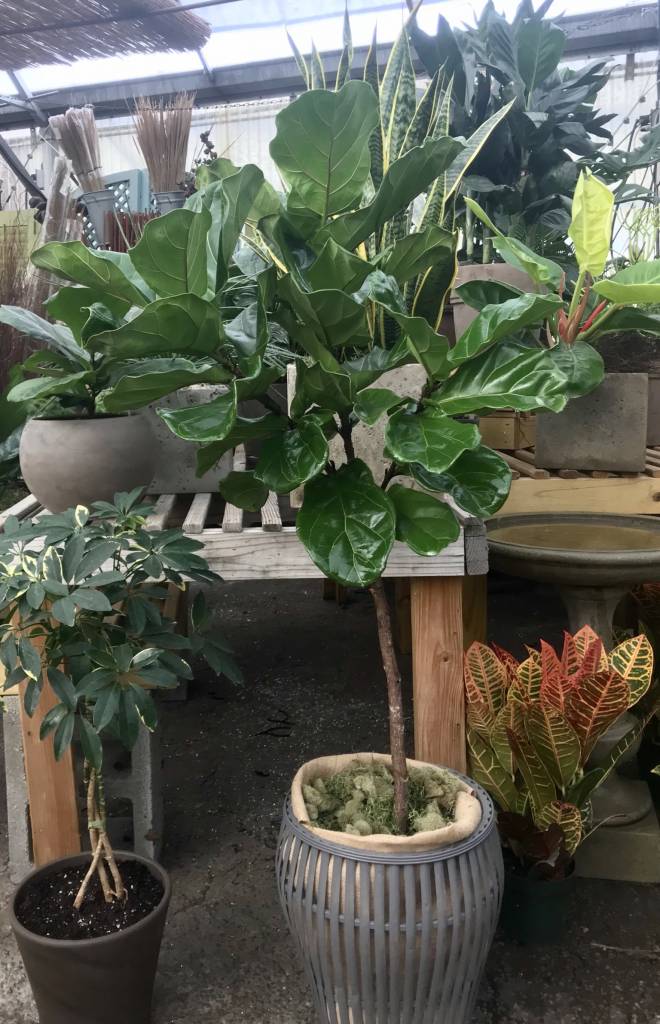
Fiddleleaf Fig Tree
If you have bright, light flooded rooms with plenty of windows, the choices widen. Peace lilies prefer this light, though they’ll tolerate lower light levels too. Ficus, including ficus lyrata, the popular fiddle leaf fig, aralia, jade plants and other succulents, croton, ponytail palm, hoyas, grape ivy and aloe vera need the brightest light you can provide.
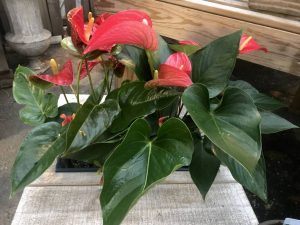
Anthurium
If you’re not sure you have enough light for those but want to try something other than the low-light plants above, Chinese evergreens, parlor palms, anthurium, bromeliads, ivy, creeping fig, Schefflera arboricola, fittonia, or peperomia are worth trying.
Each plant will have specific water requirements, and I remember my mom checking hers each week, watering if it was needed or simply “grooming”, removing yellow or dead leaves and clipping wayward stems.

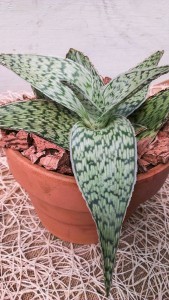
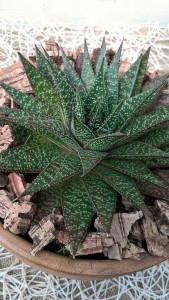
Sanseveria
The amount and frequency of water depend on the brightness of the light, how warm or cool the room is, and the type of plant. Moisture meters can be helpful to determine the moisture in a planter, especially if they’re large. With so much information at our fingertips, researching individual plants is easy; so learn as much as you can about your new purchase to give it the proper care.
Healthy plants need food, and fertilizing should be done at least every two weeks during the growing season, spring through summer, and monthly in the winter when growth slows.
Cissus, Grape Ivy
Even with the best conditions, indoor plants may be susceptible to insect damage. These pests might include cottony-looking mealy bugs that hide in leaf axils or along stems, spider mites (Common when humidity levels are low and, in advanced infestations, even showing webbing on plants.), scale (Usually seen as dark bumps on stems and the underside of leaves.), and aphids, soft bodied insects typically found on tender new growth.
If you tend your plants weekly you should spot insect problems early on when they’re more easily managed with a natural pyrethrum or soap spray. There are also systemic granular insecticides that can be sprinkled onto the soil. Always read the labels before using.
Houseplants not only look good and purify our indoor air, they add to our interior style, give us something to care for, and bring a little of the outside in. So, with the “comeback” of the houseplant, we say, “Cheers!”
Plants to use with caution around children and pets: Dieffenbachia, Easter lily (very toxic to cats), and ZZ plant (Zamioculcas zamifolia)
If you follow us on Instagram or Facebook you’ve probably seen a new series of shop videos – if not, follow us and check them out! They’re also on our YouTube channel under Oak Street Garden Shop – if you’d like to see more, subscribe!
By Kris Blevons


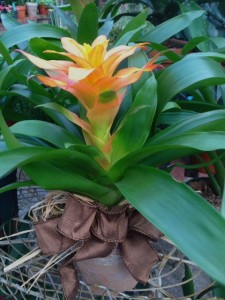
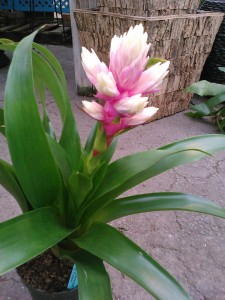 You’re no doubt familiar with the brightly colored bracts and strap-like leaves of bromeliads. Extremely long lasting and colorful alternatives to orchids and other flowers, they can’t be beat for a touch of tropical beauty and their ease of care in our homes and offices.
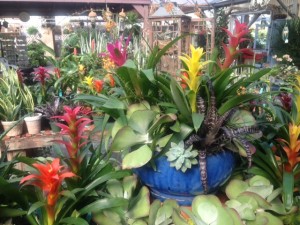


 Avoid direct sun on the foliage, especially during the hottest hours of the day. So, near East, West, or shaded South facing windows are ideal for the bright light they need to thrive and bloom. Like most houseplants, temperatures between 60-80 degrees are ideal.
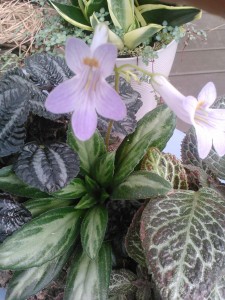


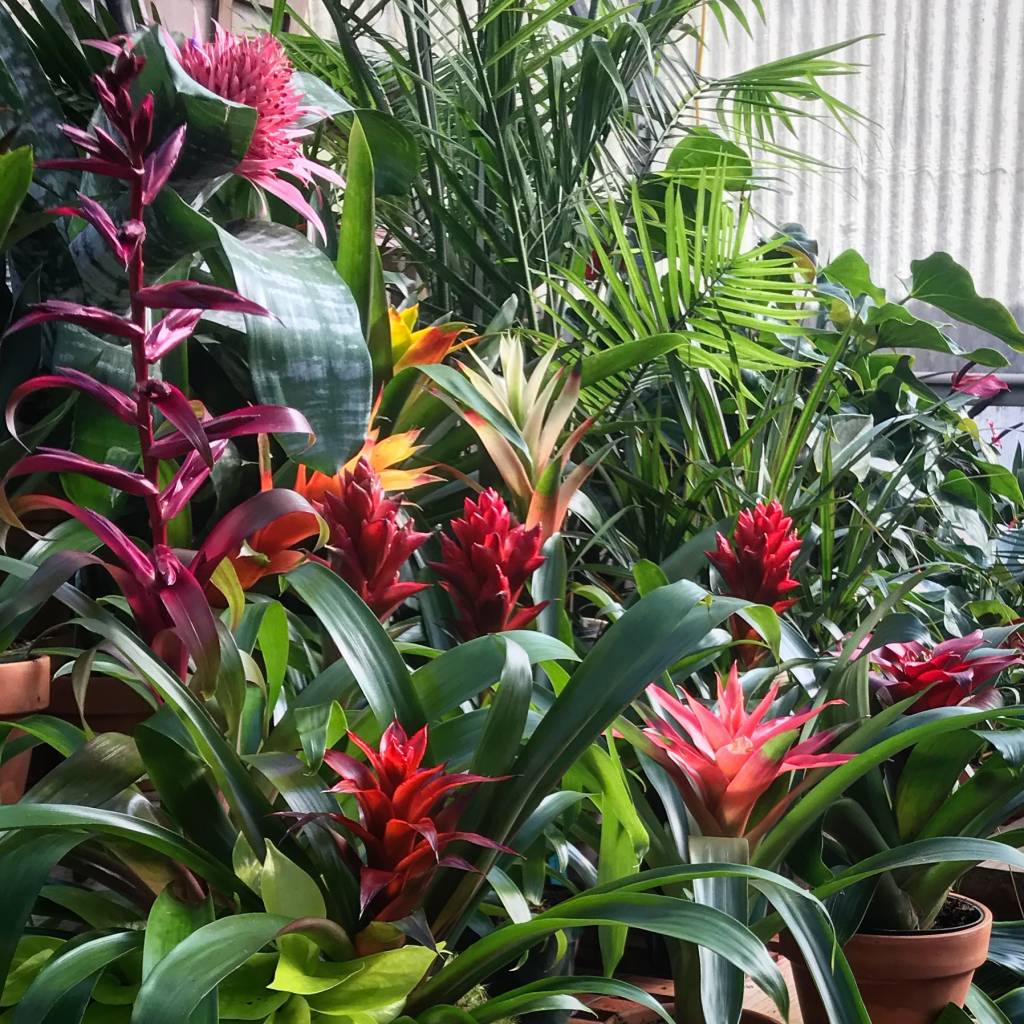


 They prefer temperatures above 50 degrees, the perfect range being anywhere from 75 – 80 degrees F. If temperatures drop lower, the foliage can be prone to fungal problems and the tips of their tiny leaves will turn brown. So, if you are using them in outdoor shade planters through the summer, keep this in mind as the temperatures cool in the fall.

 Plants are like people; they need food to grow…and nutritious food for best health. I would take that one step further and say that, not only should you feed the plant, you need to add organic amendments and nutrients to create healthy soil that your plants will thrive in.
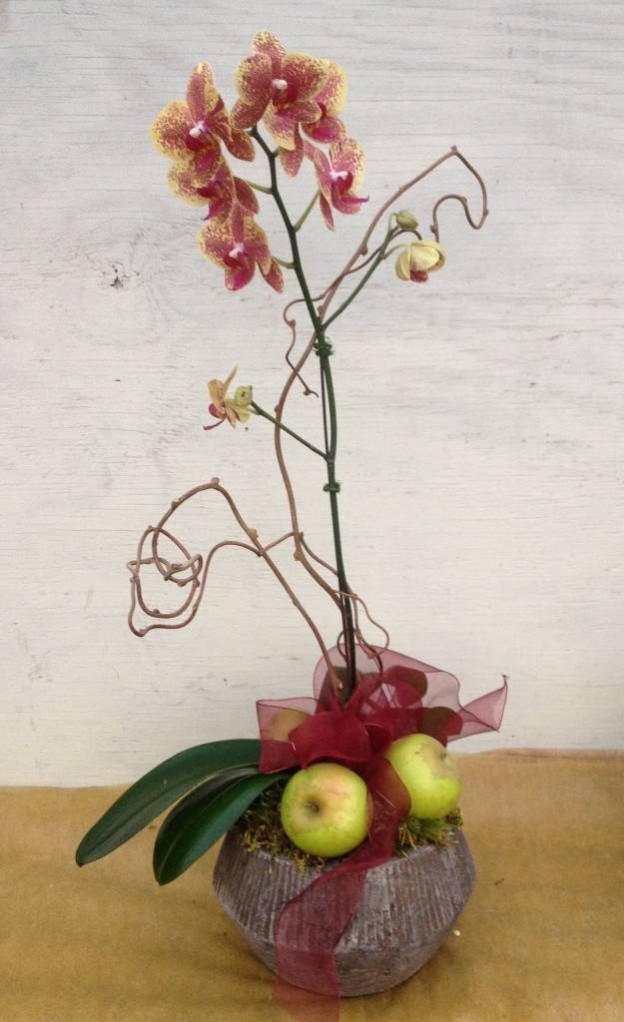
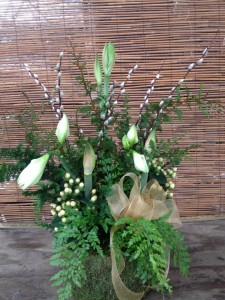
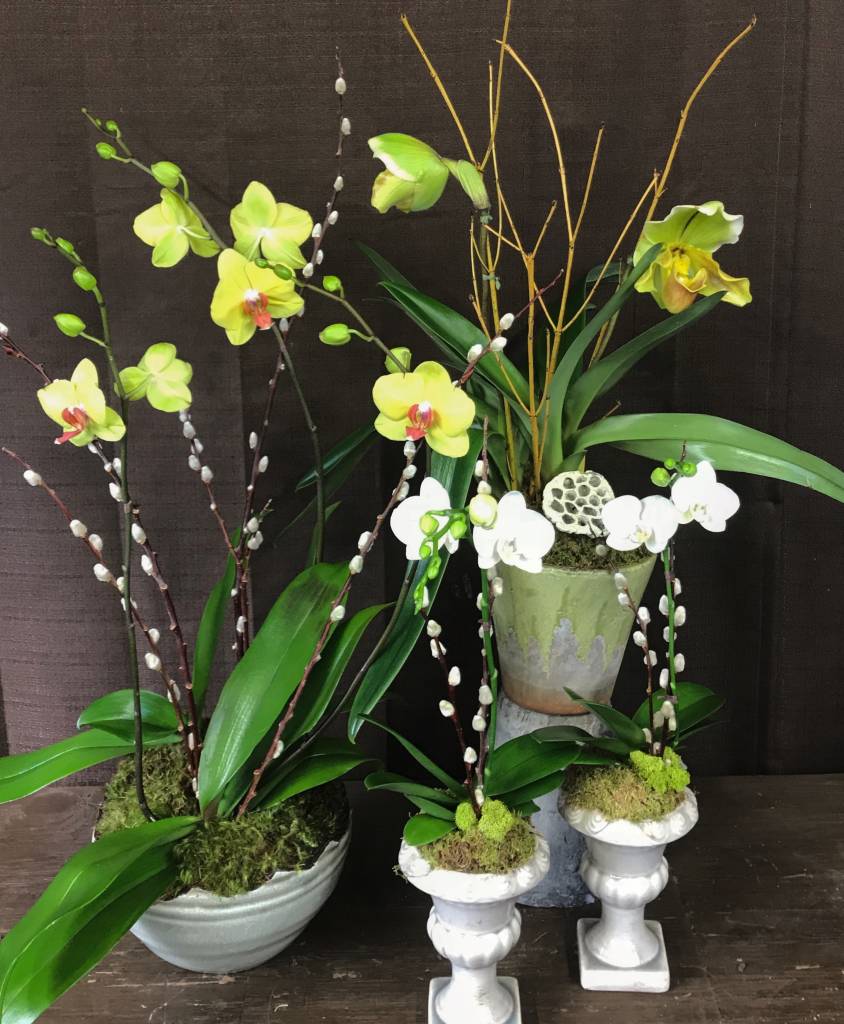
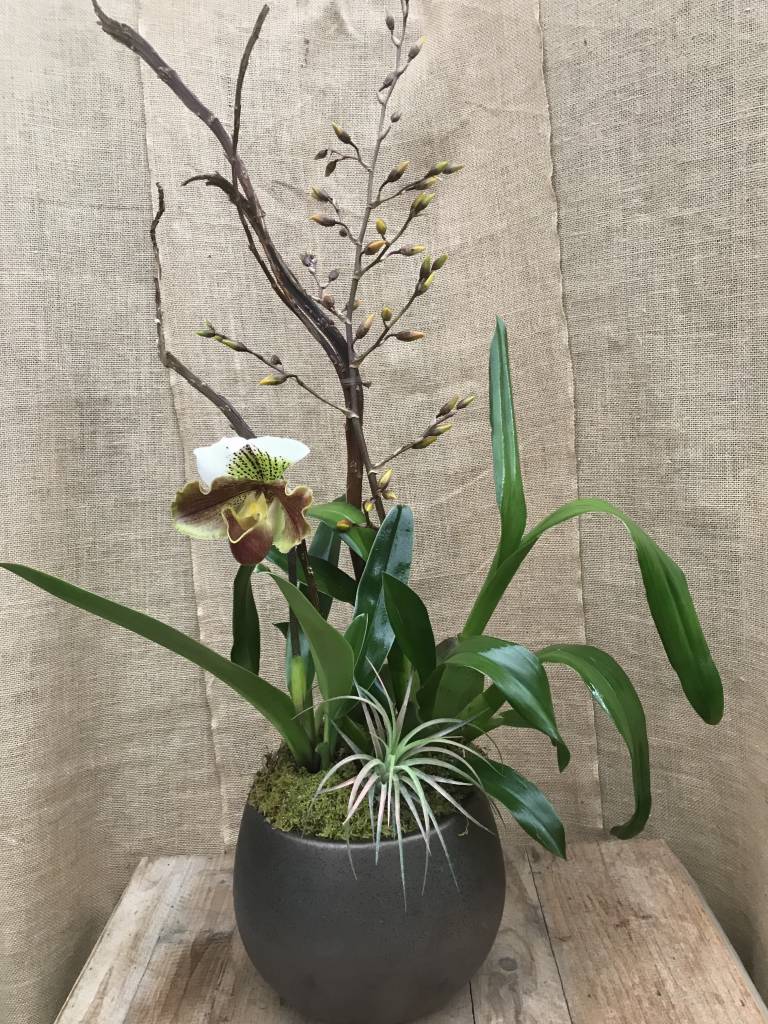
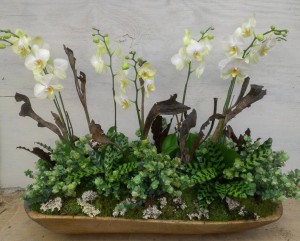
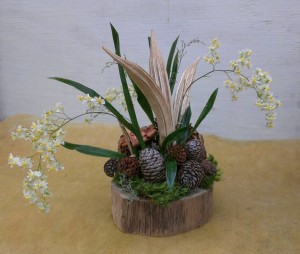
 Someone who worked for us many years ago called from North Carolina to order an orchid for her mother’s birthday. She likes succulents too; so a double stemmed phalaenopsis and a lady slipper orchid were paired in a container and succulents nestled at the base. The addition of angelvine and a touch of brown ribbon complete the design.
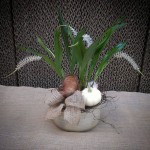
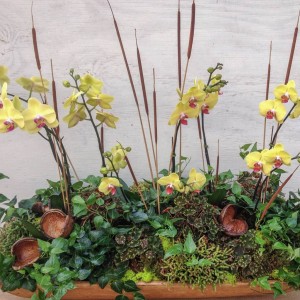
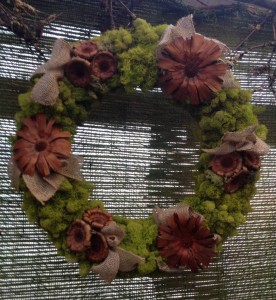
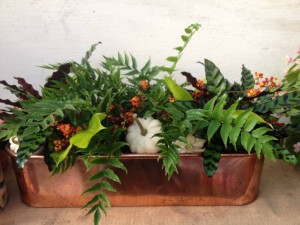
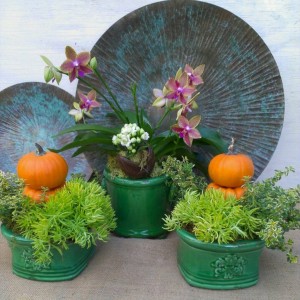
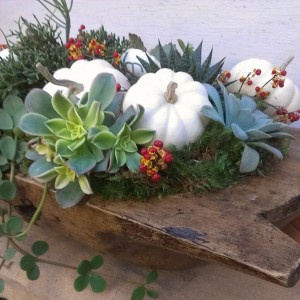
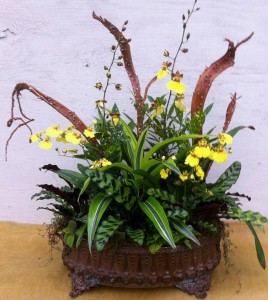
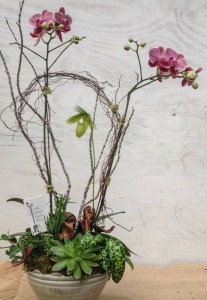
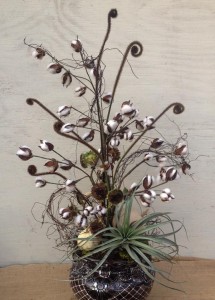 This is just a sampling of the early fall things we’ve been creating! Since we’re always searching for new ideas and ways to make our arrangements more interesting and unique, who knows what we’ll come up with next…
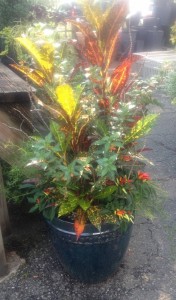

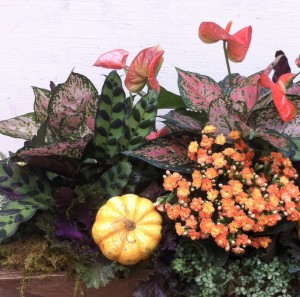
 But “What colorful foliage?”, you’re thinking by now. So glad you asked! What we have in mind are the brightly patterned leaves of crotons. Up to now you might have thought of them as simply a pretty houseplant for bright spots in your home.
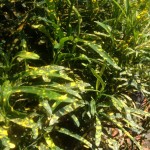
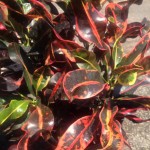
 The best thing about crotons is that their coloration becomes more pronounced with plenty of sun, which is what the marigolds and other plants listed above prefer. Finally, surround your planting with pumpkins and gourds (or tuck a few into the base of your planting) to create a festive tableau for fall…perfect!
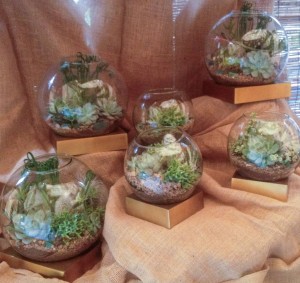
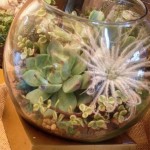
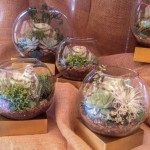 Since these terrariums are open at the top and the store gets plenty of light,
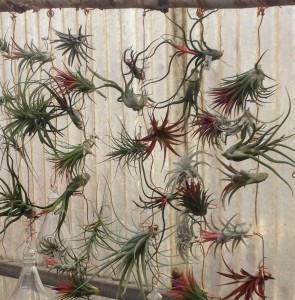
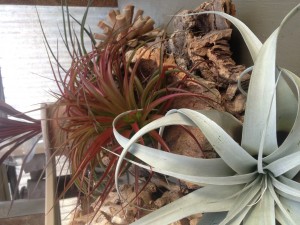
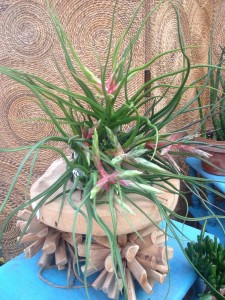
 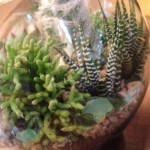 Some of the plants used include: Rhypsalis, various Echevarias, Albuca spiralis, Cactus, Haworthia, various Tillandsias, and Portulacaria afra, sometimes called a miniature jade plant.
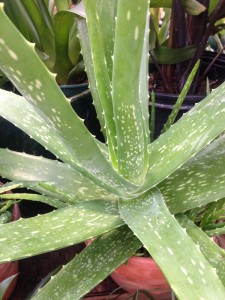

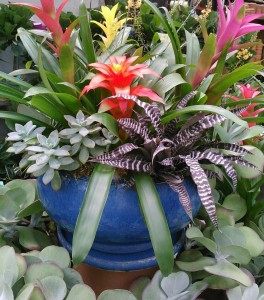
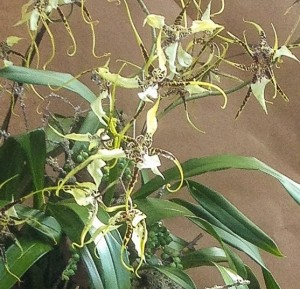
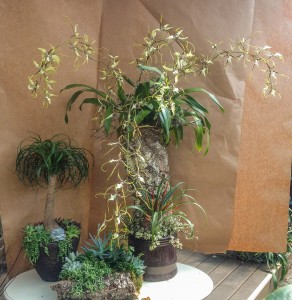 Jamie put together this stunning display the other day at the front of the shop, using a beautiful mix of containers and plants. The picture doesn’t do her designs justice,,,a pony tail palm underplanted with succulents; another succulent planting in cork bark; and a gorgeous arrangement of a standing cork bark planter with brassidium, or spider, orchids.
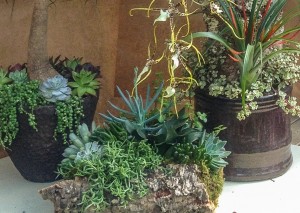
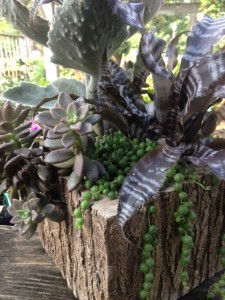
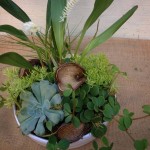
 This closeup picture of the succulent plantings shows both the diversity of this group of plants and why we enjoy working with them so much. In addition to the drought tolerant ponytail palm, there are echeverias, string of pearls, string of bananas, crassulas, and variegated trailing jade plant, all right at home in her design.