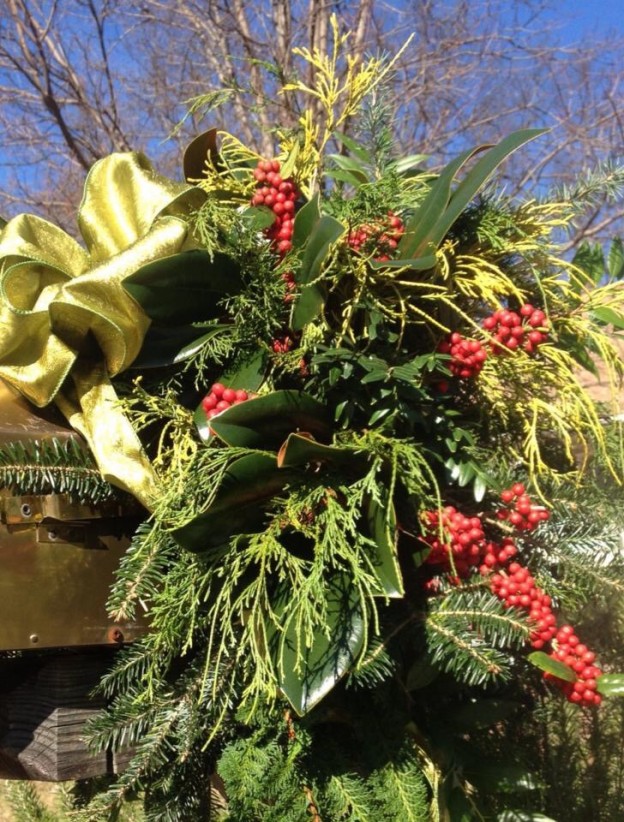
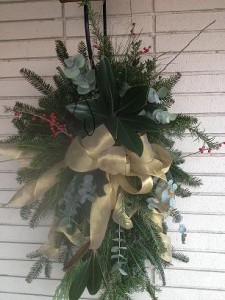
 I have to confess, where I grew up, mailboxes were at the houses, either as a mail slot in the door or physically attached to the outside of the home, and only folks in the country had mailboxes on a post at the street. Now this was actually a very good thing since it saved having to walk outside each day to get the mail, especially on extra cold or very snowy days. Of course, there was always a wreath, and garland with bows, and evergreen bunches in frozen pots.
But, since moving to Birmingham, I’ve grown to enjoy having a more southern twist to decorating, using a swag on the front door with all sorts of beautiful greens and berries, putting up garland with bows on the porch rail, and, yes, decorating the mailbox. In fact, that’s one of the things I enjoy most.
My mailbox decoration…
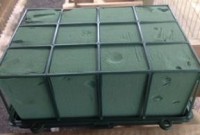
one oasis cage…
If you’d like to try your hand with your own mailbox decoration or door swag, using oasis in a cage will make the project easy, and, of course, the oasis will keep the cut material you use as fresh as it can be. Scout out your yard. Are there shrubs with berries that you can use? If you buy a real Christmas tree, save any branches that are trimmed off the bottom – they are wonderful as the starting point of a pretty decoration. I like to use magnolia, boxwood, juniper, chamaecyparis , pine, cedar, and a shrub often used in the shade, leucothoe, which is particularly long lasting when cut.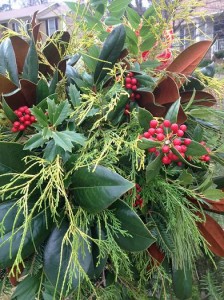
If your options are limited in your own yard, we also have bunches of greenery available through the season for you to decorate with. From berries to greens and pinecones too, there will be enough here for you to play with! I warn you though, once you start putting your decoration together, it will be hard to stop!
Begin by soaking your oasis piece(s) for at least an hour so the foam absorbs all the water. It will feel heavy. If you’re working on your mailbox, take a look at it. Would you like to see your decoration attached to the post? Or perhaps you’d like to put it on top. For either of these two options, simply take florist wire through the oasis cage and around the mailbox or post. If you have a mailbox with the nameplate across the top, it’s quite easy to wire two oasis forms together, creating a “saddle” to hang on the mailbox.
Now you’re ready to begin inserting your greenery and having some fun! Whether I’m doing a door swag or a mailbox decoration, I like to have all my different greens, berries and pinecones laid out so I can see all my options. If there was one thing I could tell you at this point, it’s to not be afraid. If you cut a stem and it’s too long, don’t sweat it, just recut it shorter. By the same token, if you feel the stem you’ve cut is too short, set it aside; it will probably work just right in a different spot. Remember, this should be a fun project, not a test! Try to cut stems that aren’t too “fat” since those larger than an inch in diameter tend to take up a lot of room in the oasis and can tear it up, especially if you aren’t happy with your placement and pull it out to reposition it too many times. Smaller stems are better.

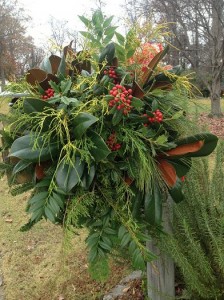
Mailbox decorations on display at Oak Street Garden Shop…
This isn’t going to be a do it by pictures post. I think that limits your creativity. So, I’m not going to tell you what exactly goes with what. If you like it, that’s what counts! You might choose to do your entire mailbox with magnolia because you have a big magnolia in your yard, or you may just want a small boxwood piece with ribbon. To emphasize, again – there is no wrong way to do this. Simply gather the greenery you like, and go from there. I think some of you who are unsure will be happily surprised at your creations. Have fun!
If do-it-yourself isn’t for you, we make mailbox decorations and more throughout the season. Give us a call or stop in to place an order!

