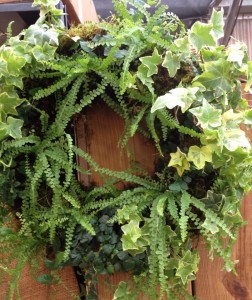
A living wreath planted for shade using houseplant ferns, creeping fig and ivy…
This post is for all you do-it-yourselfers and those that just like to know how interesting plantings are created. Living wreaths are one of those things, or, as I like to think of them, the original vertical garden arrangement. Maybe you’ve seen them on Pinterest or at your favorite garden shop (Of course, if you’re in Birmingham, we hope that’s us!).
Living wreaths are not difficult to make and are really quite fun – it just takes some time and a little thought choosing plants. The first step is deciding where you’d like to have your living wreath. Perhaps you have a gate leading into your garden? Or maybe there’s a blank spot on that shady patio wall? They also work well placed on a flat surface such as a table.

The sturdy wreath form you see here is a standard plastic coated 16″ size. You can see there are two pieces, and the smaller back piece hooks easily onto the larger one.
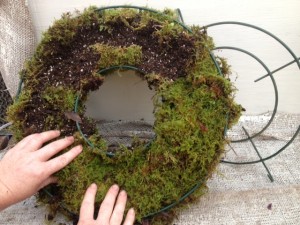
Lining the form prior to planting…
Many how-tos for living wreaths use moistened sphagnum moss to line the form. We plant them a bit differently, lining the form with moistened green sheet moss, then filling the cavity with potting soil and slow release fertilizer before planting. We’ve been planting hayracks, moss baskets and wreaths like this for over 20 years in this manner.
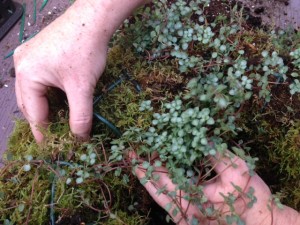
insert plants at intervals through the moss, firming in.
Jamie designed the wreath in this demonstration for a customer who wanted an interesting mix of foliage for use in a bright location. Her plant material includes pilea, tillandsias, tiny pink cryptanthus, and baby tears. It’s important to understand the cultural needs of the plants being used so any special watering needs can be met. In this composition, the baby tears will need special attention as they require the most water.
As with any open wired container that is being lined, don’t skimp on the moss. It’s the glue that’s holding everything together after all. When the form is thickly lined, add the potting soil, moistening it and firming it in, then add a slow release fertilizer like Osmocote. Remember to always use a good quality soilless mix when planting any type of container. After the cavity is filled, add more sheet moss to the “back” of the wreath and attach the smaller piece. Now your wreath form is ready to plant!

Adding the cryptanthus…
Water your plants well, then insert them into the wreath by pushing a hole into the moss with your fingers so the soilless mix is exposed. Of course, the smaller the plant the easier this step will be. Once the plant is firmed into place add more sheet moss if needed to keep the soil around the root ball of the plant.
Some plants can be purchased in larger pots and pulled apart, like the pilea and baby tears shown here. It may look a little messy at first, but they will recover in no time. Many plants that work well in living wreaths can be separated in this manner, including ivy, creeping fig, fittonia, asparagus fern, creeping jenny, dwarf mondo, some small ferns and many succulents.
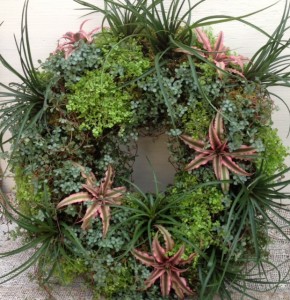
Finished!
What makes these wreaths so interesting and fun to make is the use of different foliage colors, textures and shapes. But, in addition to foliage, wreaths like those shown here can also be planted with bedding plants – in the spring begonias work well and, in the fall, violas and pansys make lovely wreaths too.
Watering requirements will vary on living wreaths, depending on the plants used. For instance, a wreath planted with succulents will need less attention than those shown here.
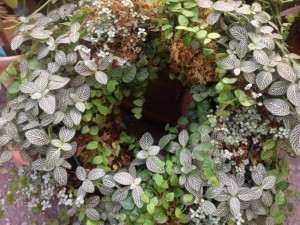
a living wreath for shade with fittonia, creeping fig and pilea
We’ve found the easiest watering method is to lay them flat and either pour water on them or let them sit in a saucer of water until the planting is heavy. The ivy, fern and creeping fig wreath shown at the beginning of this post lived in the greenhouse, so we were able to shower it with the hose when it needed watering, and the ivy and creeping fig was periodically pinned to the wreath with florist wire so it could root into the moss.
So, as you can see, it just takes time, the proper plants and the right technique to make a living wreath – try one for yourself!
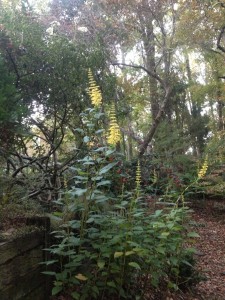
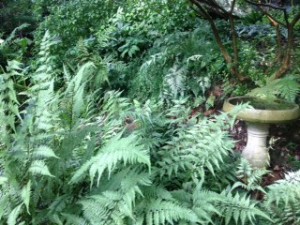 With 2013 beginning with a wet, cool spring and the rain continuing into early summer, it seemed like we’d been transported into a different universe than Alabama, didn’t it? All the rain may have caused some complacency – everything seems so much lusher than it usually is this time of year…now the heat is here, though, and it seems certain we’ll be entering our usual summer pattern of hit and miss rain showers with lots of warmth and humidity…
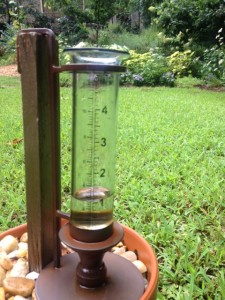 Established plantings in your landscape should be doing well, but be aware that new plantings of shrubs, trees and perennials will need supplemental watering this first summer – pay attention to them. The requirement for new plantings is an inch of water each week.

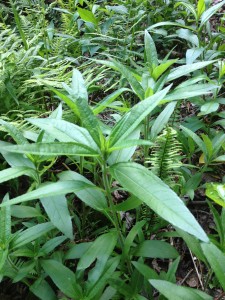
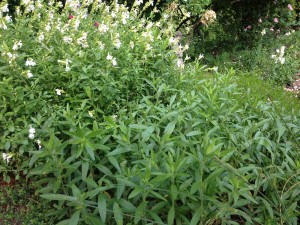
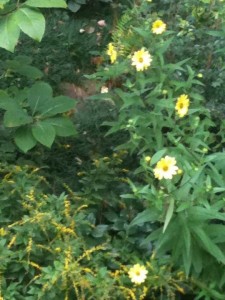
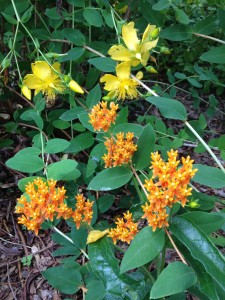 Butterfly weed, Asclepias tuberosa, is the pretty orange flower, shown in the picture on the right in my very hot and sunny front border. It’s right at home with other butterfly attractors including salvias, trailing white lantana, purple and red gomphrena, zinnias, mexican heather, other
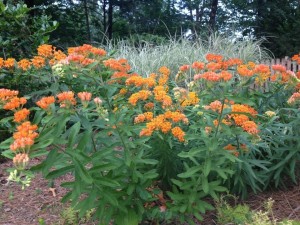
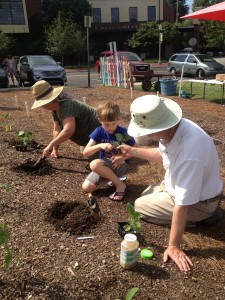
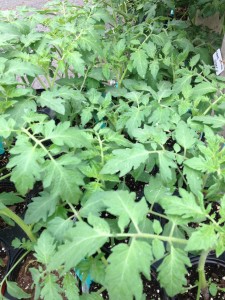
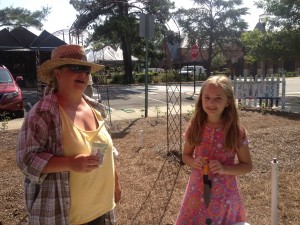 The garden is a teaching garden, and this year our market manager, Dená Hand, is lending her teaching abilities and helping Billy. This is a fun learning experience for kids who sign up with the “Dig Into Reading” program. Feel free to come by even if you’re not signed up though!
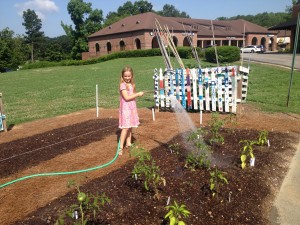
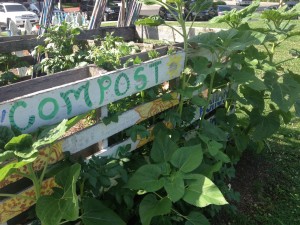 It’s a display garden as well, and folks are encouraged to come by, see how things are growing and ask questions throughout the summer. Do you have an elderly neighbor or friend that would appreciate any of the vegetables that are grown? Feel free to harvest and share with the community!
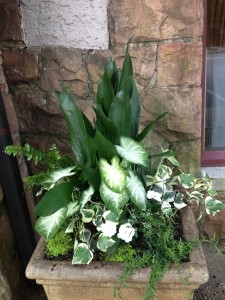
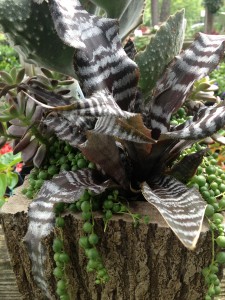
 Owners Frank and Pardis Stitt prefer white and green for the front of this French cafe, located next to their acclaimed restaurant Highlands in downtown Birmingham. These are fairly large, tan colored cast stone planters with nice clean lines. A mix of contrasting green and variegated foliage with a touch of white add light to this shady spot, and the stone wall adds a pleasing backdrop to the planting.