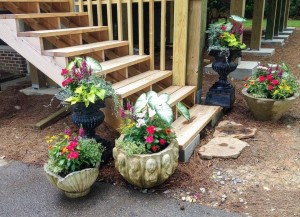
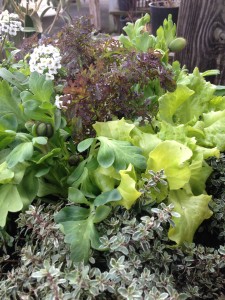
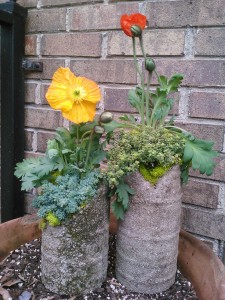
Owner, Billy Angell’s deck might not be finished yet, but his pots are!
It’s high summer with the 4th of July just past… time for vacations and lazy days at the lake, the beach, or maybe just spent lolling by the pool with a good book. I’m off on a much anticipated vacation to visit family and friends too, but I wanted to share a few more plantings first. If you are off and away, be sure to make arrangements for a friend to tend your plantings and container gardens so they’re as pretty when you return as when you left. No one wants to come home to a sad garden, after all.
Here, then, are a few plantings we’ve done recently:
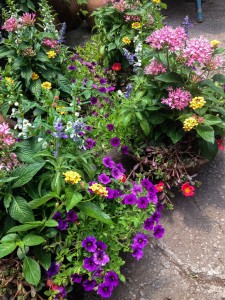
All flowers…Pinkie’s creations for a customer
Flowers obviously add blooms for bees and butterflies. Pinkie used an assortment of flowers for a customer’s containers. She included pentas, lantana (The butterflies love them!), angelonia, million bells (calibrachoa), purslane, plumbago and salvias for loads of color. With plantings like this, it’s necessary to keep old blooms cut off (deadheading).
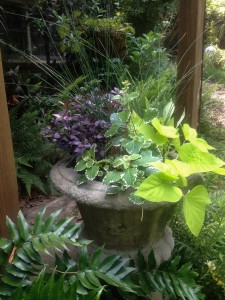
 Many of the container plantings we do are in light, mâché pots that can either be used on their own or placed in another planter. Here’s one with a mix of sun coleus, a dracaena (Barely visible in this picture, it adds a spiky leaf.), lantana, red million bells to trail, and a white angelonia. This planting will get much larger and fuller as the heat of summer settles in, and daily watering will be necessary.
The coleus will also need pinching back as it gets larger. This may seem difficult at first, but it’s really quite good for the plant and will allow it to grow fuller rather than getting leggy and scraggly. Think about it this way: Every time you cut it back, there will be two stems of colorful leaves rather than just one. It rewards you for your efforts!
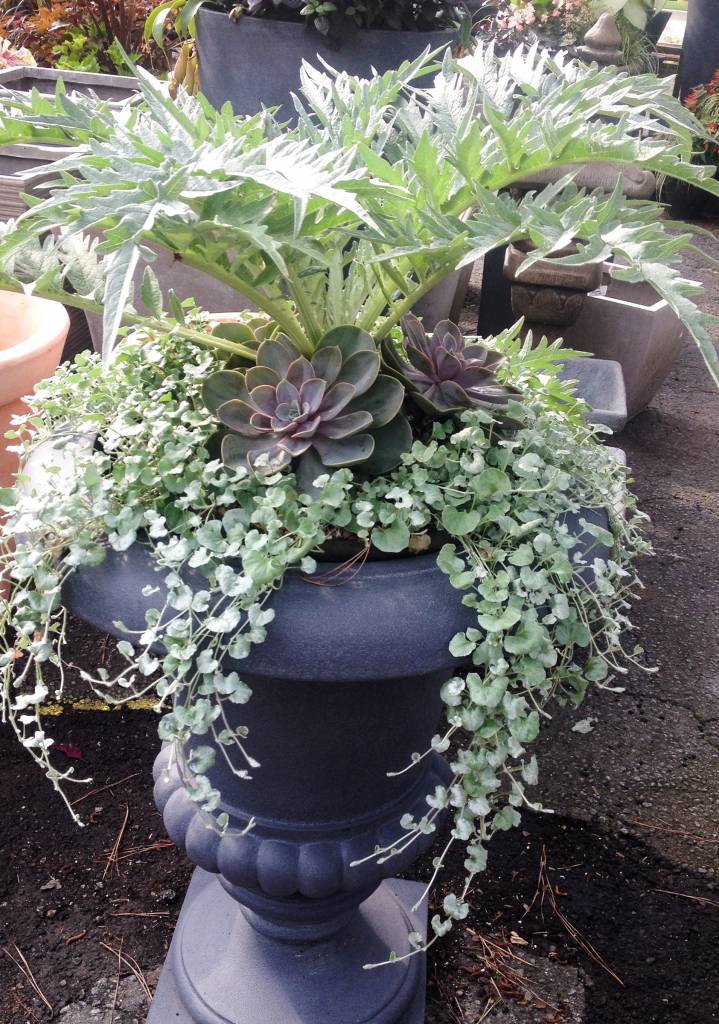
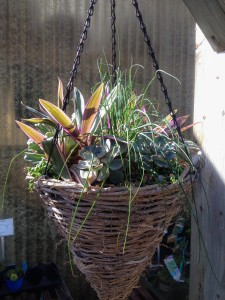 The white, cone-shaped hanging basket shown here is now home to a common houseplant, an herb, and some succulents. While it may seem an unusual combination, it’s working quite nicely and has a cool, summery look. The houseplant is a pink and green tradescantia (It’s also known as Rhoeo spathacea.), sometimes called Moses In The Cradle.
It’s keeping company with some succulent echevarias and trailing string of pearls, just beginning to peek over the edge of the basket in this picture. I added a pot of chives in the center, just for its spiky green leaves. This is hanging in the nursery waiting for someone to give it a home.
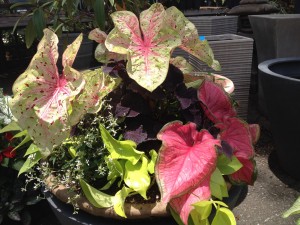
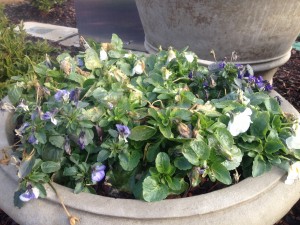
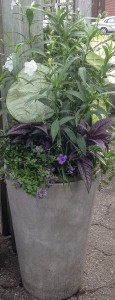 We have a few tall, lightweight planters still available, and this planting shows one of them off. A tall, white ruellia (They’re sometimes called perennial petunia.) is combined here with a caladium whose leaves will get very large. The name of this one is ‘Garden White’, and it’s impressive! The large leaves will contrast nicely with the smaller leaves of the ruellia. Another foliage contrast is provided by the silvery-purple leaves of a strobilanthes, sometimes called Persian Shield. A beautiful foliage plant, it benefits from a cutback every now and then if it gets to lanky in the planting. To trail there’s a blue fanflower, scaevola.
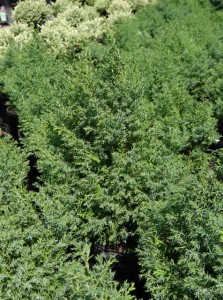
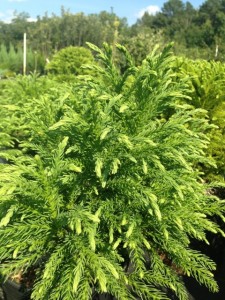
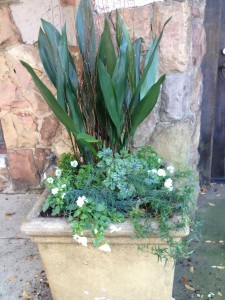
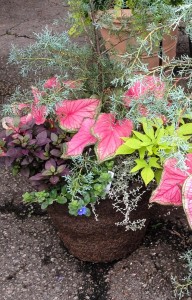 Finally, since we had a few ‘Carolina Sapphire’ cypress left, they were candidates for a planting using smaller plants at the base to add fullness, color, and trail. These planters will be in the sun and can be changed out in the fall with the addition of pansies and other cold weather plants for the winter season.
For now, though, the underplanting includes dwarf ‘Sweetheart Pink’ caladiums, trailing blue daze, lime green potato vine, a new silver helichrysum, and the purple foliage of an alternanthera ‘Little Ruby’. Watering, clipping out caladium seed pods (It’s best to cut them off so the energy of the plant goes toward making new leaves.), and keeping the potato vine cut back (if desired) will be needed.
These are just a sampling of the plantings we’ve done this season. Plants that are available from growers change rapidly, and so do our offerings. Hopefully you’ve planted a few pots this summer and are enjoying them now!
 The next uses a red fountain grass for height in a tall planter with the addition of white Profusion zinnias and white euphorbia as fillers. Spilling out are blue daze and potato vine. This planting will bloom continuously with regular water and periodic deadheading or clipping back of the zinnias. Late in the summer the grass will begin to bloom for an end of the season finale.
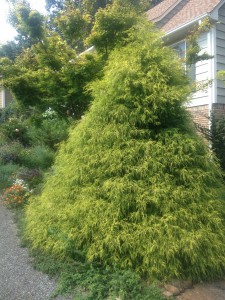
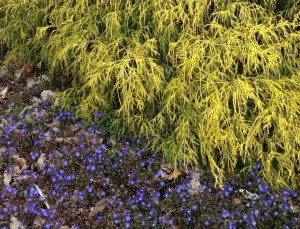
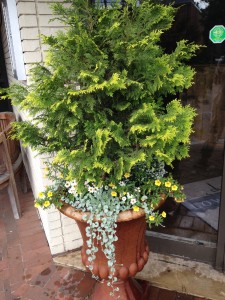 Many of you have pots that have shrubs in them that live year round, and just need some color added each season. In this example, the Chamaecyparis adds yellow foliage and is complimented through the summer with yellow million bells, white narrow leaf zinnias, silver dichondra and some euphorbia. The million bells and zinnias will be cut back when they get too leggy (There’s no need to deadhead each individual bloom on these.) and it will be watered daily, since the Chamaecyparis has been in this planter for a few years and it’s roots are filling the planter quite extensively.
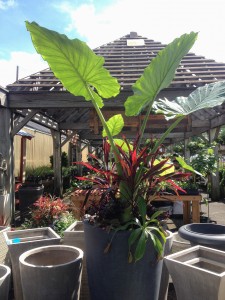 The final planting uses a dramatic, and very large Alocasia – this speaks for itself, though it has supporting players as well, including dracaena, epescia, nepenthes, and alternanthera. It’s quite a combo.
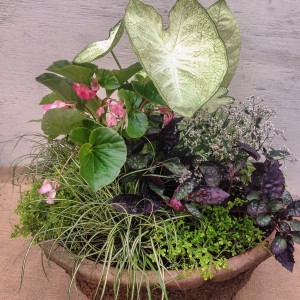
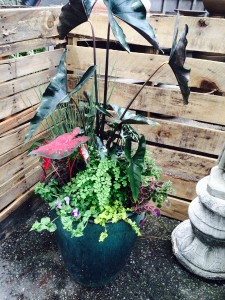 Sometimes it’s fun to try a plant that’s more unusual as the centerpiece of a design. In this glazed pot the dark leaf of the Alocasia is a beautiful contrast to the coleus, grasslike juncus, maidenhair fern, trailing torenia, and creeping jenny.
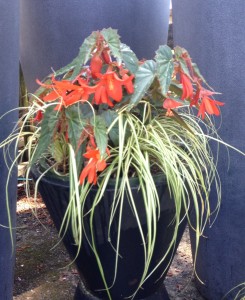 Finally, here’s a simple planting for shade using a begonia and the contrasting leaf and brightness of carex ‘Evergold’, which will spill over the edge of the container. Simple, yet effective. The begonia will continue to bloom with a couple of cutbacks if it gets “leggy.”
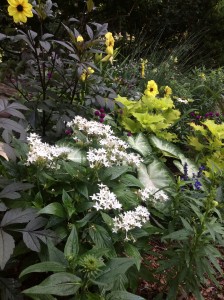
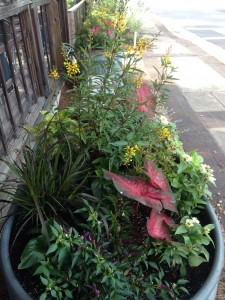
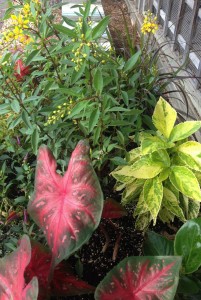 While all caladiums appreciate heat and shade, there are some that can also handle sun, including ‘Red Flash’, the one shown here. These deep red leaves will mingle with the other foliage and flowers, including a copper plant, Acalypha ‘Tahitian Gold’. It was chosen for its yellow foliage to echo the yellow blooms of the thryallis. The acalypha and a red fountain grass will grow up tall, providing a nice backdrop to this composition.
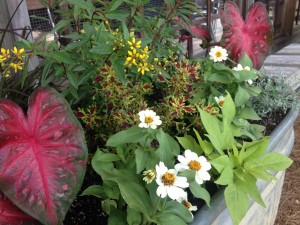 Since it is a restaurant, after all, and ornamental peppers were plentiful in the nursery, those were placed next, just in front of red Dragonwing begonias. Eventually the peppers might be enveloped by the other plants, but until then they’ll contribute their small white flowers and ornamental purple peppers to the mix,
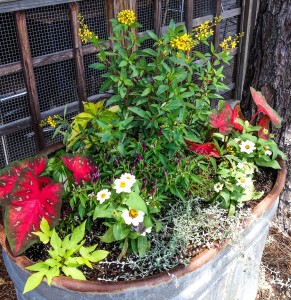 Last, a silver trailing plant. Usually I use silver dichondra for this color because it holds up extremely well in our heat and humidity where so many other silver plants fail. This year, though, I’ve decided to try a new plant…a selection of one that I haven’t had good luck with, but this is supposed to be an improved variety, so we’ll see. It’s a licorice vine, Helichrysum ‘Silver Star’. We’ll keep an eye on this one and hope for the best. It scored high marks in the University of Georgia Athens trial gardens, so I have high hopes!
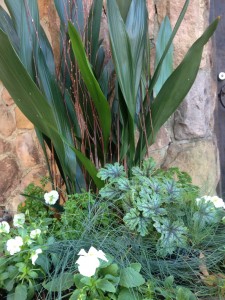
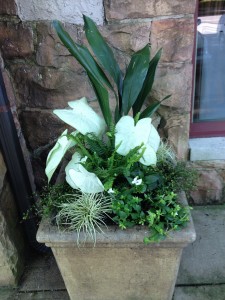 A testament to its common name of cast iron plant, the aspidistra looked amazingly good considering the bone-chilling temperatures Birmingham dipped to in January. It only needed a few leaves cut out, and no thinning was required this season…probably due to the cold. A heuchera, that had been added in the
 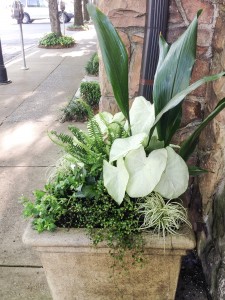 Torenia is an interesting plant, useful in
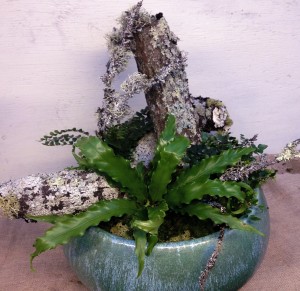
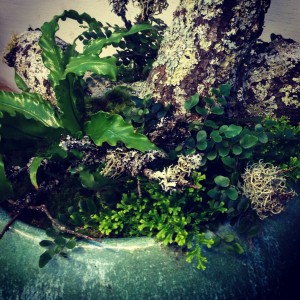
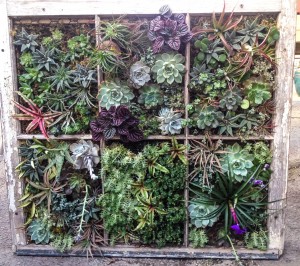
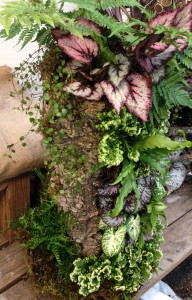 These pieces can be used either horizontally, planting along the top, or vertically, like I’ve designed this one, positioning the plants up the planter. Since it could be unsteady if it didn’t have something to stabilize it at the base, I placed it in a pulp planter that I’d covered with a layer of sheet moss. A plastic saucer underneath will protect the floor during its time indoors, then it can be used without the saucer out in the garden or on a patio, porch or other spot that has some shade.
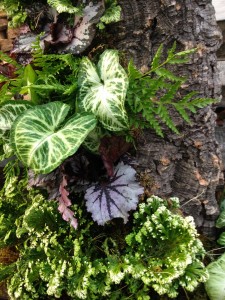
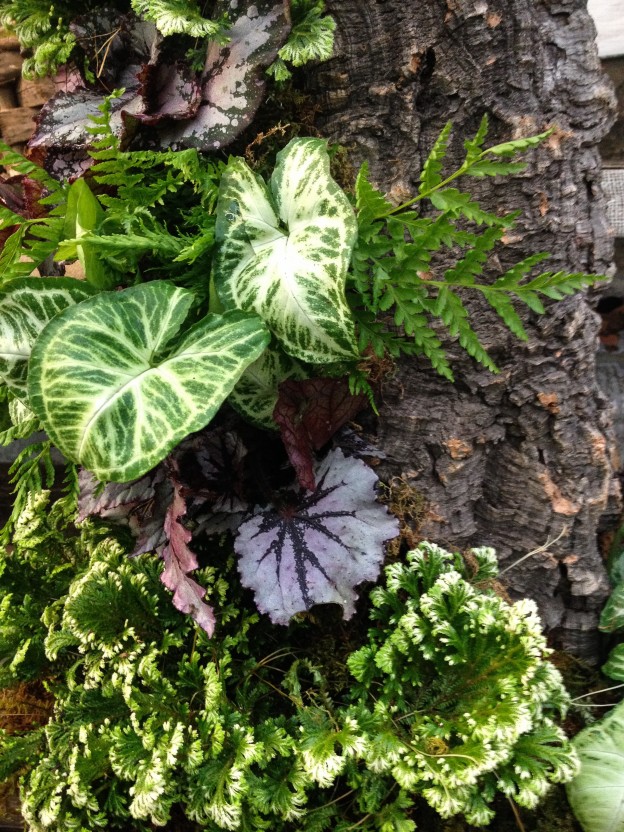
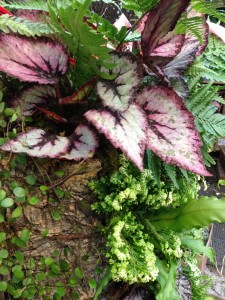 This planting has a variety of houseplants, including nephthytis, used for its lighter green and white foliage, rex begonias for a bit of color, tooth brake ferns and a bird’s nest fern, a new selaginella with white tips called ‘Frosty’, and a large autumn fern in the top with angel vine spilling over the edge with one last, large rex begonia.
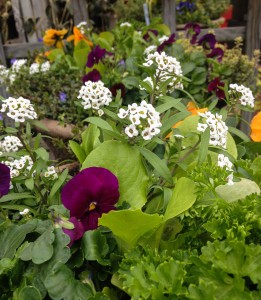
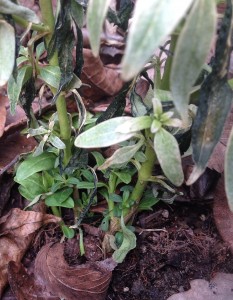

 However, a friend recently sent a picture she took (mid January) of warm weather caladium bulbs that had been left outside on display racks for sale in freezing temperatures at one of the “big box” stores in town. Now, caladiums grown in pots are so heat loving we don’t even begin to carry them until late April – and advise people not to plant caladium bulbs in the ground until the soil is thoroughly warmed in May.
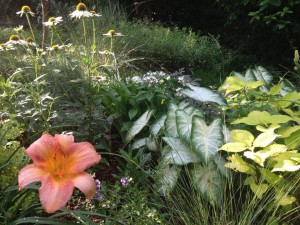
 If you haven’t noticed,
 The emphasis is on foliage, though, and I’ve included curly parsley for it’s fresh green color, a small blue fescue grass, and a shade loving heuchera for this planting. Holdovers from the summer are aspidistra, which I thin out each season, and a tiny leaf green ivy. After planting, I added birch branches to add more height and winter interest. (Branches are an easy way to get color in planters during the holiday – red twig dogwood branches would also be pretty.) While it looks a bit top heavy with the tall aspidistra at first, the parsley and heuchera will add fullness to the composition as it grows in. I’m also trying the Cool Wave white trailing pansies here this year, hoping they get enough sun to bloom well.
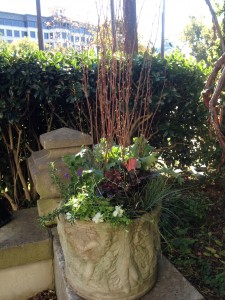
 This fall Pardis asked if I would also take a look at the planters at Bottega, their other wonderful restaurant.