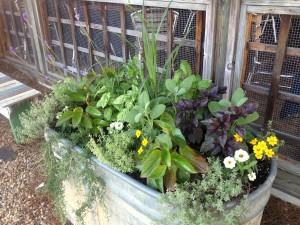
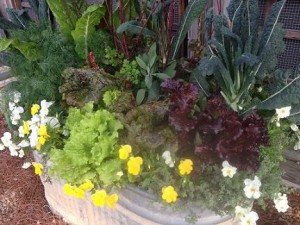
for summer – lots of herbs and some flowers too…
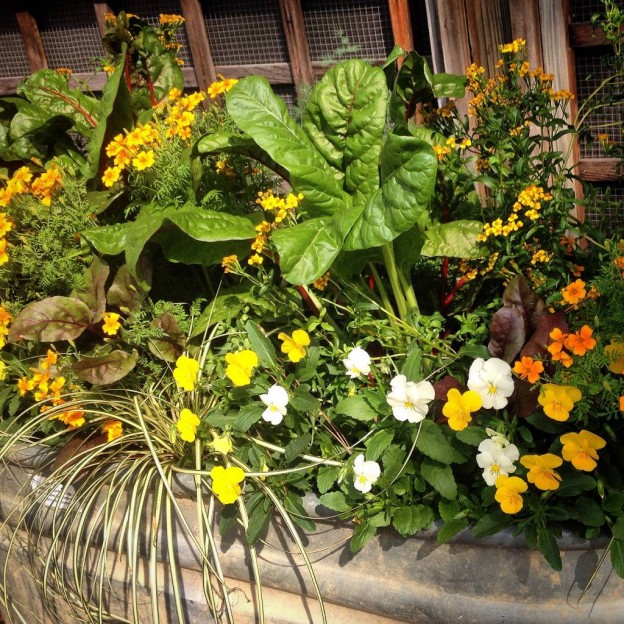
Herbs are beautiful additions to any container garden, either on their own or combined with seasonal flowers. They add colorful leaves, texture, scent, and culinary usefulness to plantings and attract bees and other beneficial insects as well.
Planting Basics:
Use as large a pot as possible.
Use good quality potting soil.
Fertilize lightly.
Maintenance of Herbs in Containers:
Herbs often suffer from overfertilizing, overwatering, and overcrowding. Water when dry so that water runs out the bottom of the container. Remember pots will dry out quickly in the heat of summer and during windy conditions. Empty water that may be standing in saucers. Clip your herbs regularly. This will keep them from becoming leggy and overcrowded, especially if they’ve been used in combination plantings. Harvest herbs in the morning and just prior to bloom. Near the end of the season, allow your basil to bloom; the bees love it! Finally, never prune woody herbs like rosemary to bare wood.
Using Herbs in Combination Plantings:

Trailing pink vinca works well with sun loving herbs of lavender, sage and chives in this trough planting….
Start with the herbs you’d like to most use, either for an ornamental or culinary addition. Knowing their growth habits is helpful in deciding their placement in your container.
For example, use chives for a grasslike effect; thyme, trailing rosemary, and oregano to spill over the edges; lavender or upright rosemary for height; and parsley and sage as fillers in containers.
Another idea is to use one herb in a pot and group many such pots together. A rosemary plant, once mature, will easily fill a large 14″ or bigger planter, as will lavender. Mid-size (10″- 14″) pots can be filled with parsley, chives, sage, French tarragon, or, more easily grown in the south, Texas tarragon. The larger the pot the better!
Annual Herbs Basil, Lemon Verbena, Lemon Grass (warm season); Cilantro, Dill (cool season); parsley (biennial).
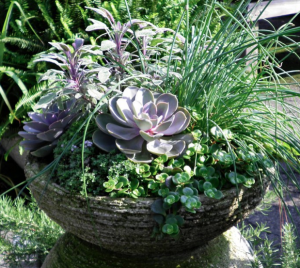
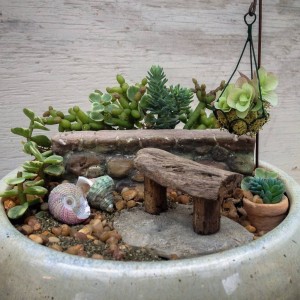
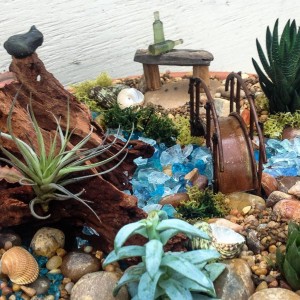
Herbs and Succulents…
Perennial Herbs Rosemary, Oregano, Marjoram, Thyme, Sage, Chives, Mint, Lavender, French Tarragon, Texas Tarragon, Savory, Hyssop, Lemon Balm, Catnip, Rue, Santolina, Fennel, Germander, Summer and Winter Savory.
Cool Season Herbs Cilantro, Dill, Salad Burnet, Chervil.
Plant Sizes
Small – under 1 foot in diameter: Parsley, Dill, Chives (garlic & onion), Cilantro, Salad Burnet, Chervil.
Medium – 1-2 feet in diameter: Thyme, Tarragon, Basils, Mint.
Large 3 feet or more in diameter or over 4 feet high: Rosemary, Oregano, Lemon Verbena, Sage.
Sun/Moisture
Dry, sunny, Mediterranean conditions: Rosemary, Oregano, Marjoram, Sage, Lavender, Thyme, Tarragon, Germander, Santolina.
Cooler, afternoon-shaded locations: Mint, Cilantro, Dill, Chives, Parsley, Lemon Balm, Salad Burnet, Lemon Grass.
Common methods of propagation of perennial herbs: Divisions: Chives, Mint, Thyme, Oregano. Cuttings: Rosemary, Lavender, Sage, Winter Savory, Lemon Verbena, Rue.
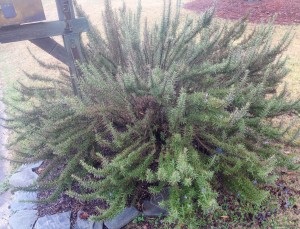
Rosemary looking a little rough after this past winter…
Pests & Diseases Of Herbs Careful cultivation of your herbs will help keep them healthy and less susceptible to pests and diseases. Provide adequate water when needed, plant with the proper spacing for the best air circulation, and place them in the right amount of sun. Chemicals, obviously should not be used on any herbs you plan to harvest. Insecticidal soap or a strong spray of water is generally enough to deter most pests.
Aphids – Soft-bodied insects found on new growth and easily controlled by a strong spray of water or insecticidal soap.
Whiteflies Can be problematic, spraying the undersides of the leaves consistently with insecticidal soap is necessary to eliminate them. In large infestations they’ll fly out of the center of the plant in a white cloud when disturbed. An important point to keep in mind is that spraying with the wrong insecticide can make whitefly problems worse, since spraying with the wrong insecticide will kill important predatory insects and tiny parasitic wasps that help control whiteflies. These naturally occurring beneficial insects are the best way to control whiteflies, and whitefly outbreaks generally occur when this natural control is disrupted. The best course of action is to preserve beneficials by avoiding unnecessary insecticidal treatments.
Look HERE for more information from Mississippi State University.
Leaf Hoppers – These insects hop from plant to plant so are known to spread diseases. Control with insecticidal soap spray. Remove any garden debris each fall to reduce over-wintering sites. Thorough coverage of both upper and lower infested leaves is necessary for effective control.
Leaf Miner – Burrowing insects that live inside leaves and are identified by the white “trails” on the leaves. The best control is to cut the plant back and throw away (Do not compost.) those leaves. Common on parsley in particular.
Caterpillars – Always try to identify caterpillars before you get rid of them! Swallowtail butterfly caterpillars are commonly found on parsley, fennel, and dill. Bt and Sevin dust will control those you do want to eliminate, as will hand picking.
Powdery Mildew – Mildew is caused by too little air circulation. Thinning the plant and clipping back surrounding plants to improve air movement will help.
The following organic fungicide of baking soda and water can also be applied on your herbs:
1 Tbsp baking soda. ½ Tsp liquid soap 1 Tbsp light horticultural oil in 1 gallon of water.
Always spray in the coolest portion of the day, avoid spraying when bees are active, and test this on a small portion of the plant first. The oil coats and smothers the fungi, and the soap helps the mix cling to the upper and lower portions of the leaf.
Latin names for herbs listed in this post:
Anise Hyssop: Agastache foeniculum; Basil: Ocimum basilicum; Chives: Allium schoenoprasum; Garlic chives: Allium tuberosum; Cilantro: Coriandrum sativum; Dill: Anethum graveolens; Fennel: Foeniculum vulgare; Germander: Teucrium chamaedrys; Lavender: Lavandula sp.; Santolina: Santolina chamaecyparissus, Santolina virens; Lemon Balm: Melissa officianalis; Lemon Grass: Cymbopogon citratus; Lemon Verbena: Aloysia triphylla ; Marjoram: Origanum majorana; Mint: Mentha sp.; Oregano (Greek) Origanum heracleoticum; Parsley: Petroselinum crispum; Rosemary: Rosmarinus officianalis; Rue: Ruta graveolens; Sage: Salvia officianalis; Salad Burnet: Sanguisorba minor; French tarragon: Artemesia dracunculus; Texas tarragon: Tagetes lucida; Thyme: Thymus sp. Winter Savory: Satureja Montana; Summer Savory: Satureja hortensis

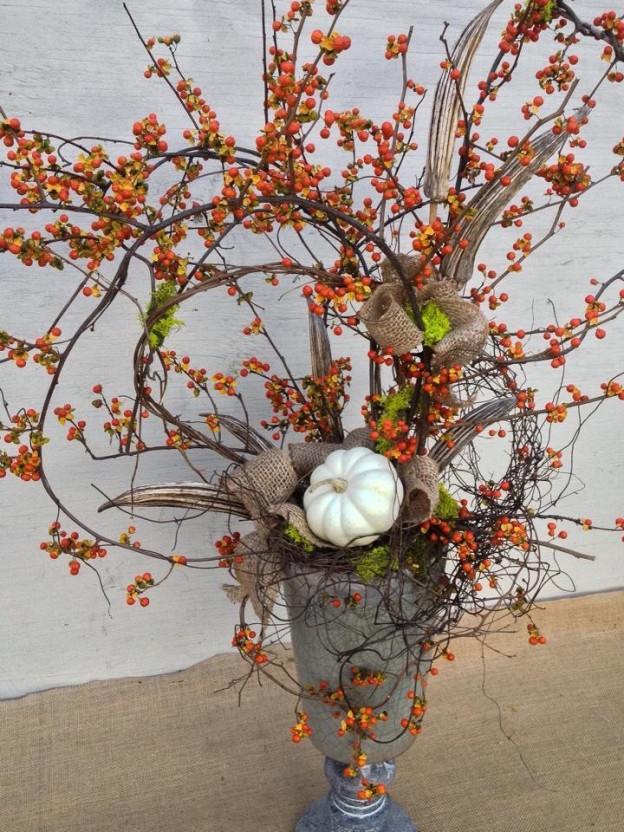

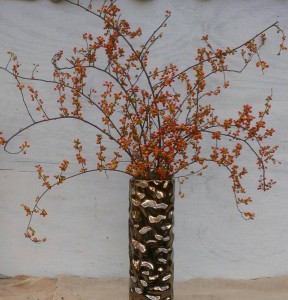 Each year we’re fortunate to have friends in North Carolina supply us with long stems of beautiful, freshly cut bittersweet that we enjoy using in many of our fall designs and that you can purchase to create your own too.

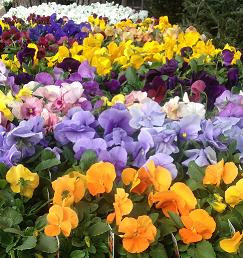
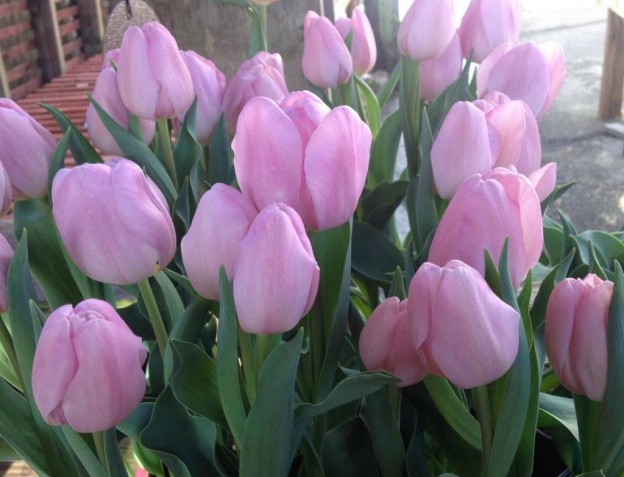
 Start with pansies and violas for beds and planters, then add supporting players. Some of the prettiest additions to your winter/early spring garden are


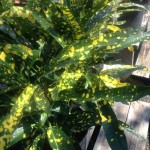
 But “What colorful foliage?”, you’re thinking by now. So glad you asked! What we have in mind are the brightly patterned leaves of crotons. Up to now you might have thought of them as simply a pretty houseplant for bright spots in your home.

 The best thing about crotons is that their coloration becomes more pronounced with plenty of sun, which is what the marigolds and other plants listed above prefer. Finally, surround your planting with pumpkins and gourds (or tuck a few into the base of your planting) to create a festive tableau for fall…perfect!