Monthly Archives: February 2017

New Statuary for Spring 2017

When the big crates of statuary arrive, it’s a sure thing spring is just around the corner. Here’s a look at a few of the pieces that came in recently. Whimsical animals, and pretty planters that struck our fancy and we hope will tickle yours too.

They’re even better in person!

Continue reading

Evergreen Ferns Are Waking Up

With warm temperatures and sunny days the evergreen ferns in the garden are beginning to unfurl their new fronds. Usually I wait another few weeks before trimming frost damaged leaves, knowing we’re certain to get another cold snap or two.

One reason many say to wait before cutting off all the older, winter damaged leaves is that they help protect the emerging fresh foliage from possible freezing temperatures. Usually I listen to this advice; but it was such a pretty day, we’ve had a mild winter, and I really just wanted to get one more chore out of the way while I was thinking about it.

Knowing this,  I’ll definitely keep an eye on the weather forecasts (Being in the nursery business I’m an avid weather watcher anyway!)  and will be prepared to throw some pinestraw over these plants  during any extended periods of below freezing temperatures. It’s certainly possible, since our last average frost is the middle of April.

The holly ferns (Cyrtomium falcatum)  I decided to clean up are in a protected spot at the edge of a patio area near the house, so they’d be easy to take care of in the event of a freeze. I brought out my folding garden seat and pair of small clippers and got to work.

With holly ferns, care needs to be taken doing this so any emerging fern fiddleheads aren’t cut off. Autumn fern (Dryopteris erythrosora) and tassel ferns (Polystichum polyblepharum) are more cooperative and easier to deal with, as their old fern leaves lie flat on the ground around the crown of the plant and are easy to remove without damaging any new growth.

When I was finished, the bed looked pretty naked except for some leaf litter, which I left to help protect the crowns. By the end of March I’ll make a final clean up and remulch around these plants. For now though, I’ll enjoy watching the new growth unfurl a little more as each day grows longer on the way to spring.

By Kris Blevons

Preparing Your New Garden Bed

The other day I received an email from a long time customer asking if I’d consider writing a post on creating a garden bed from scratch. He went on to tell me he has a spot he’d like to turn into a garden like our ‘Better Late Than Never’ garden and wanted to do it right.

Following are two ways to create a garden bed. I’ll describe each method and let you decide which you would prefer. Each one was created in an area where there had been grass.

Spring – larkspur and bachelor buttons

When Oak Street Garden Shop owner Billy Angell created the four garden beds across from the shop, the first thing he decided was the size of each quadrant and how wide the paths between them would be. He was very precise in his measurements, but, since I’ve taken over the garden beds, the sizes have shifted to accommodate self-sown plants.

First he killed all the grass in the area by spraying it with the non-selective herbicide, Round-Up. After waiting a week, he spot sprayed again to be sure all the grass was killed. When this was completed, the entire area  was lightly tilled and then leveled to make it even. If you’re creating a bed where there are utility lines, always have them located before digging.

View through the garden, 4 beds and pinestraw paths

At this point the actual beds were measured and marked off. There would be 4 of them, each 6′ wide and 20′ long with 3′ wide pathways between each bed.  Next, each of these beds was deep tilled, using a bobcat equipped with a tiller attachment on loan from a local landscaper.

Now it was time for the final amendments. A truckload of 1/2 compost from the city of Mountain Brook and 1/2 coarse builder’s sand was unloaded on the sidewalk in front of the soon-to-be garden. Wheelbarrow by wheelbarrow the compost and sand was spread evenly over each bed. It was tilled one more time, then graded so each bed sloped slightly toward the walkways.

Billy sent a soil sample to Auburn, and about a week later they had the results. We were prepared to adjust the soil depending on what the findings were. Amazingly, they said the soil was near perfect and no other adjustments were necessary. You can obtain these soil test kits from the Birmingham Botanical Gardens Extension Service office.

Each season the beds are top dressed with soil conditioner and PlantTone  and regraded. Weeding is done by hand, and no chemicals are applied, in keeping with its designation as a pollinator garden. In addition to plants that reseed each season (zinnias and sunflowers in the summer, bachelor buttons and larkspur in the winter), transplants from the garden shop are also added. For more on plants in the summer garden look HERE.

This was a weedy patch of grass

At home, my husband and I have created many beds, the largest one in front of our house that had been weedy grass. In our beds my husband first dug out all the grass by hand, working in one small area at a time, shaking all the loose soil off and discarding the grass.

Rather than tilling the soil, he took a large pick-ax to break it up, loosening it and then removing any remaining roots and weeds by hand. The cleared area was then raked smooth.

The garden bed is filled with a mix of annuals, perennials, and shrubs

Following this, he applied layers of newspaper, wetting each area down, then covered  the paper with soil conditioner purchased in bags from the shop, and home made compost.  We left these areas through the summer, hoping  to kill any remaining rootlets of grass and weed seeds. I began planting a few things that fall but waited until the following spring to begin planting in earnest. I continue to pull weeds that appear and keep it well mulched as well.  Each season we add more shredded leaves and compost, and the soil has become looser each season.

Each year soil amendments are added to this bed

Whichever method you use, remember that creating a garden bed doesn’t end when the initial work is done. Good gardening practice is to continue to add nutrients to the soil as our hot temperatures break soil amendments down very quickly. The easiest amendment makes use of our fallen leaves each autumn. Run over them with your lawn mower and add them to your beds.

If you are beginning a pollinator garden with summer annuals and would like to sow seeds, be sure to wait until any danger of frost is past, then sow heat lovers like tall cutting zinnias directly in the ground. Be sure to keep seeded areas moistened until the seedlings show, then water as necessary as plants become larger.

Creating a garden bed by either method requires a good bit of initial labor, but the end result is worth the effort!

By Kris Blevons


Cat Proofing the Sign Planter

This year was the worst. Because of the drought the sign planter stayed unplanted from November through January, and the cats noticed, notably Liam. There’s nothing worse than standing out front, helping a customer and seeing your cat, out of the corner of your eye, doing his business…ohhhhhh it was getting more and more agravating.

I didn’t want to plant pansies, simply because I wanted to have as many as possible for our customers. So, when some iceland poppies in cell pack flats became available, I grabbed a flat and planted them in the offending spot.

I wish I could say Liam took the hint. He did not. So, this past Saturday I took matters into my hands again, vowing to do all I could to keep him out. I’d already snatched him up repeatedly, toting him to the back of the greenhouse where the two litter boxes (cleaned religiously for them) resided. He would only hop out, give me a baleful look, and avoid me the rest of the day.

I had figured out my strategy the day before, and, on a sunny but cool Saturday morning, I got to work. Bert gathered pine cones from the side garden (I told him I needed a lot of them.). I pulled some tall, loose stems of the red twig dogwood and cut them to various lengths. There was a pot of washed pea gravel in the greenhouse, and I brought that outside too.

Bert began placing the pine cones between the tiny poppy plants, clustering them in various spots. When he had placed them all, I began arranging the red twig dogwood throughout the planter. This will fix him, I thought. Once the stems were in place, the pea gravel was distributed between the pinecones and branches, and, finally, a few faux fern fiddleheads were placed on either end.

Voila!!! A (hopefully) cat-proof planter. I will report back on how it worked.

By Kris Blevons


Catching Up In The New Year

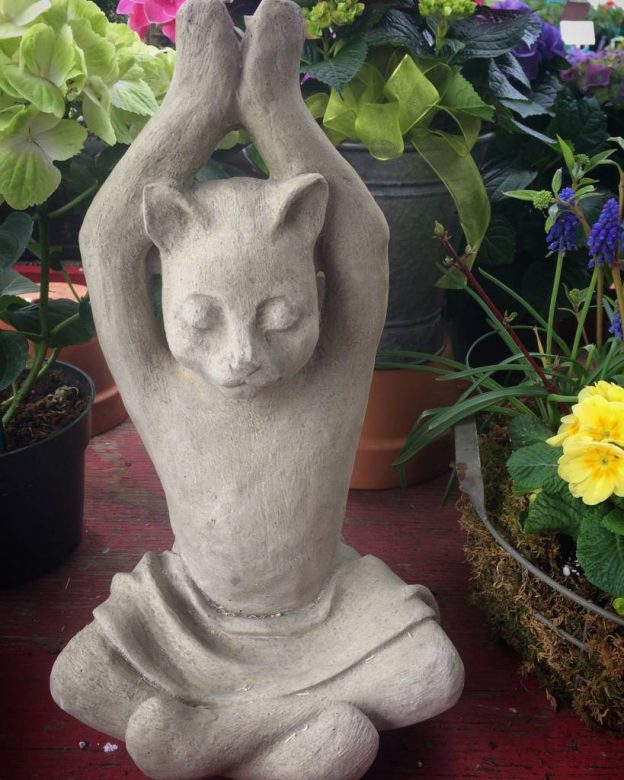
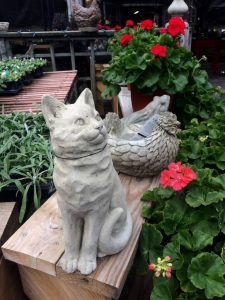
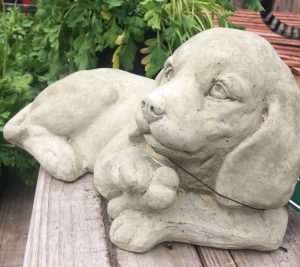
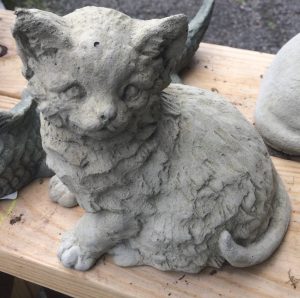
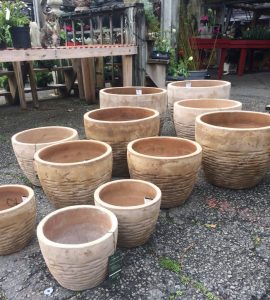
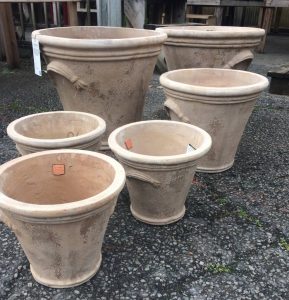
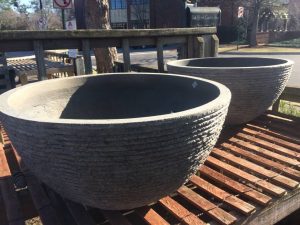
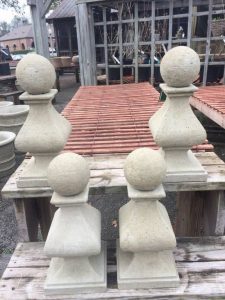
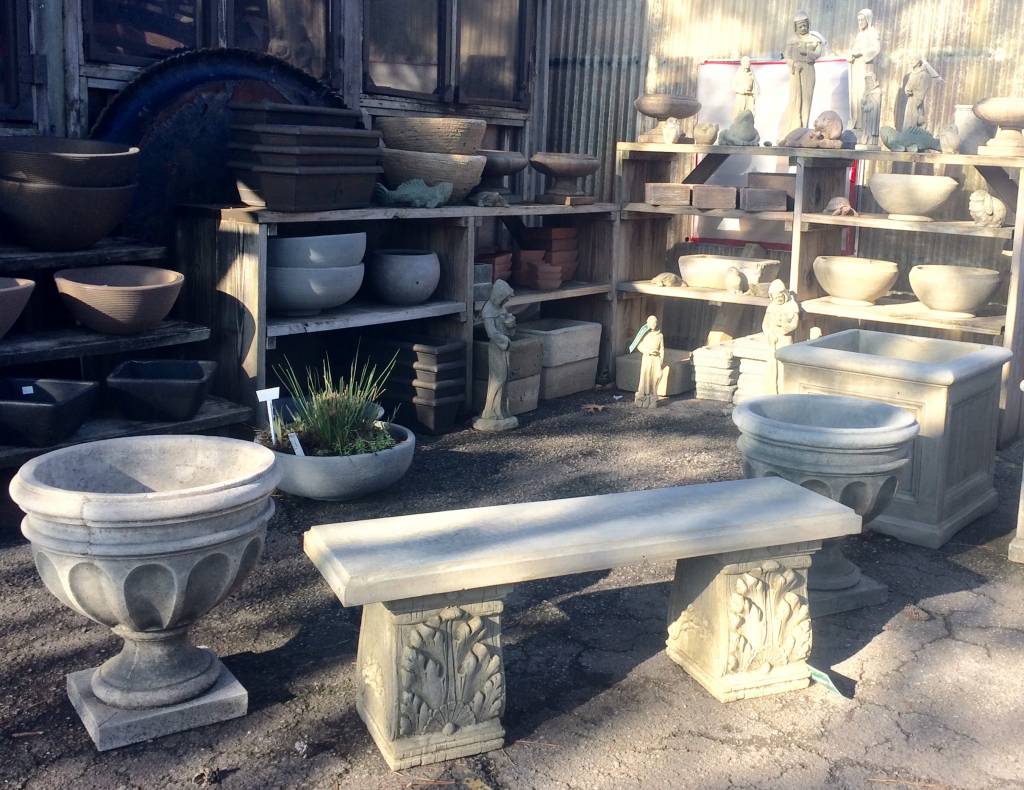
It’s been a while since the last blog post, so this will be a catch up entry to give you an idea of what’s been going on the last couple of months. January and February are usually pretty quiet, and, to be honest, we’re glad of it. Aside from a big shipment of garden planters and statuary, it’s a time for planning and rejuvenating.

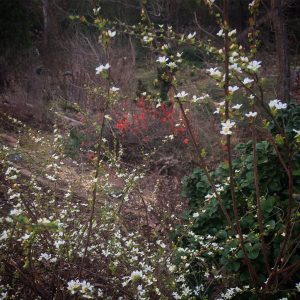
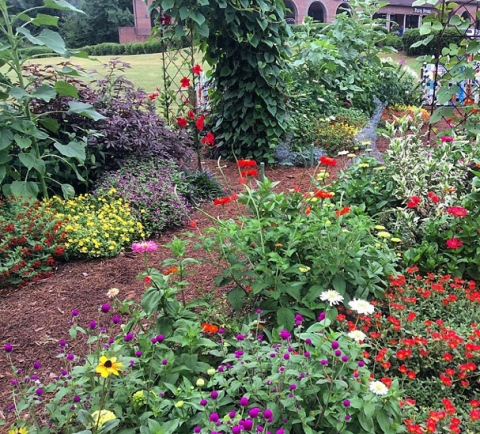
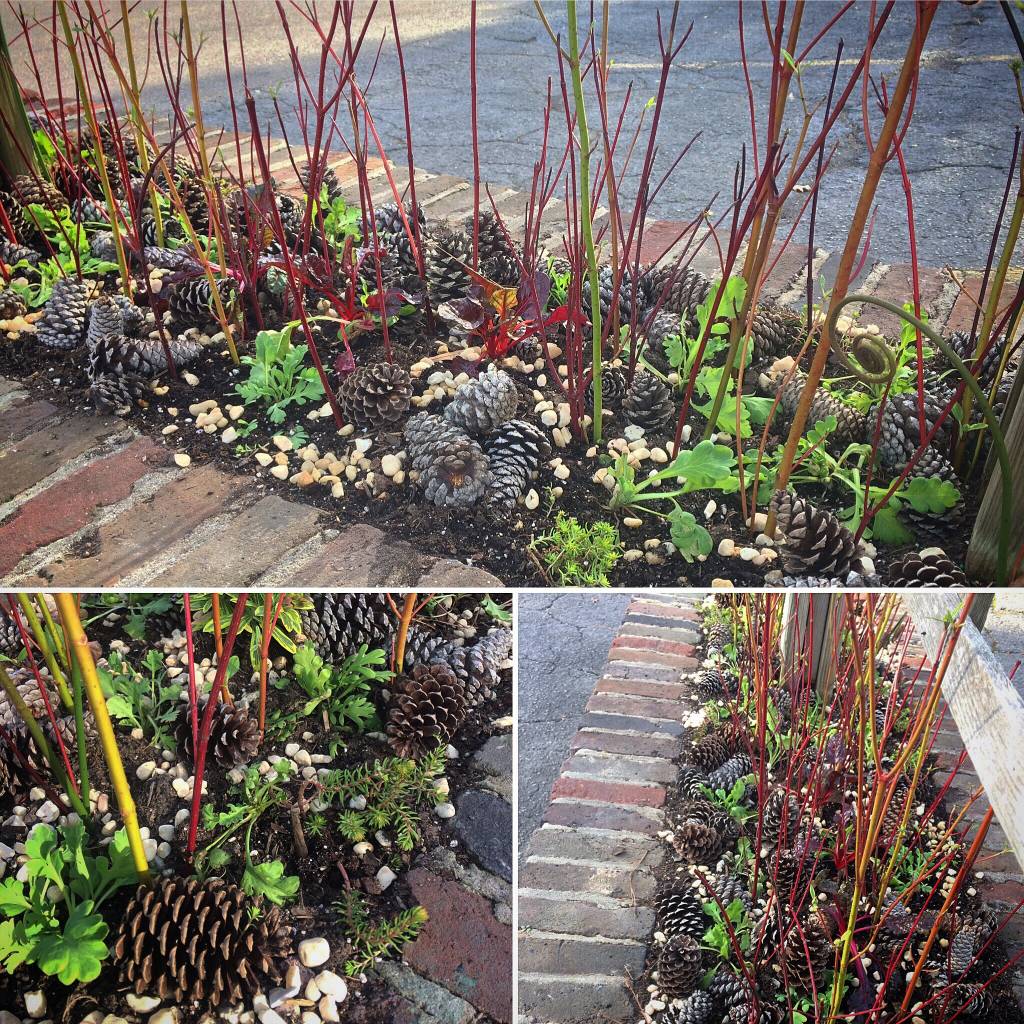
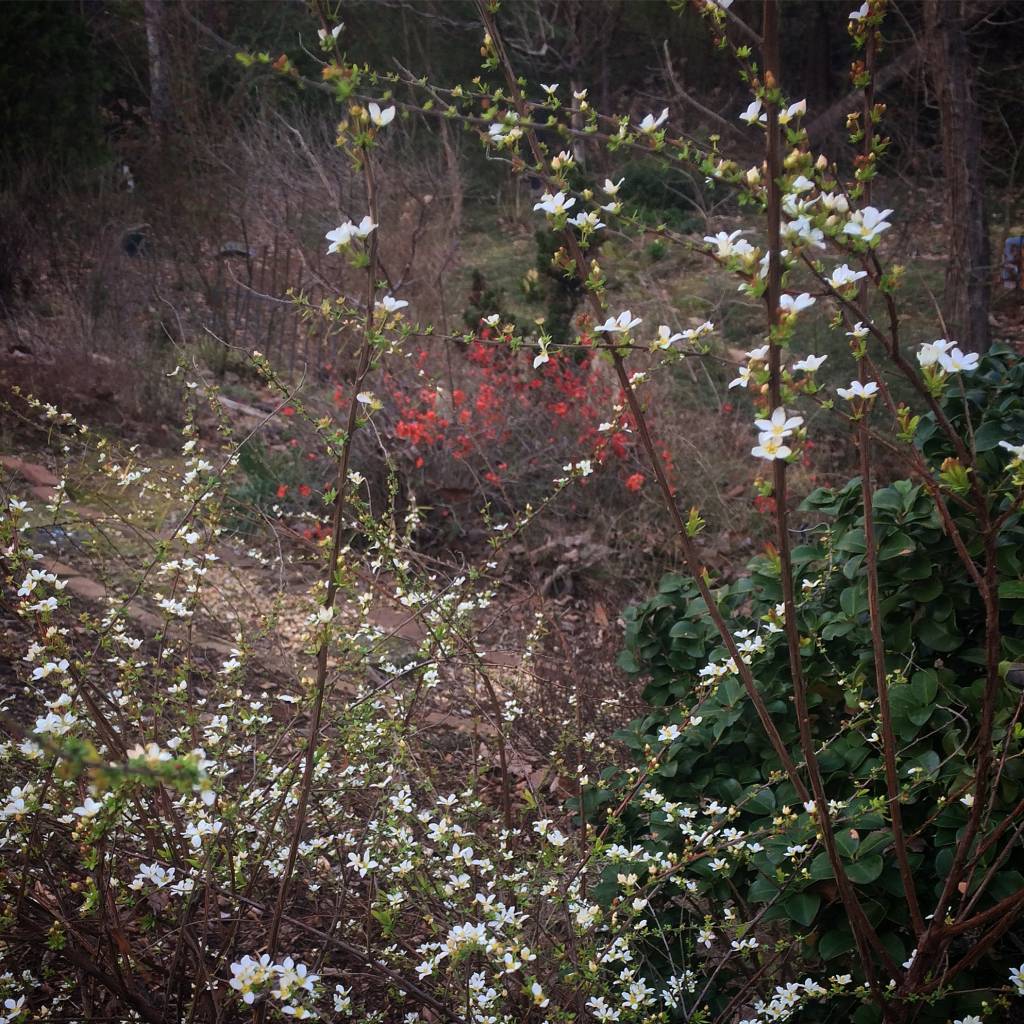
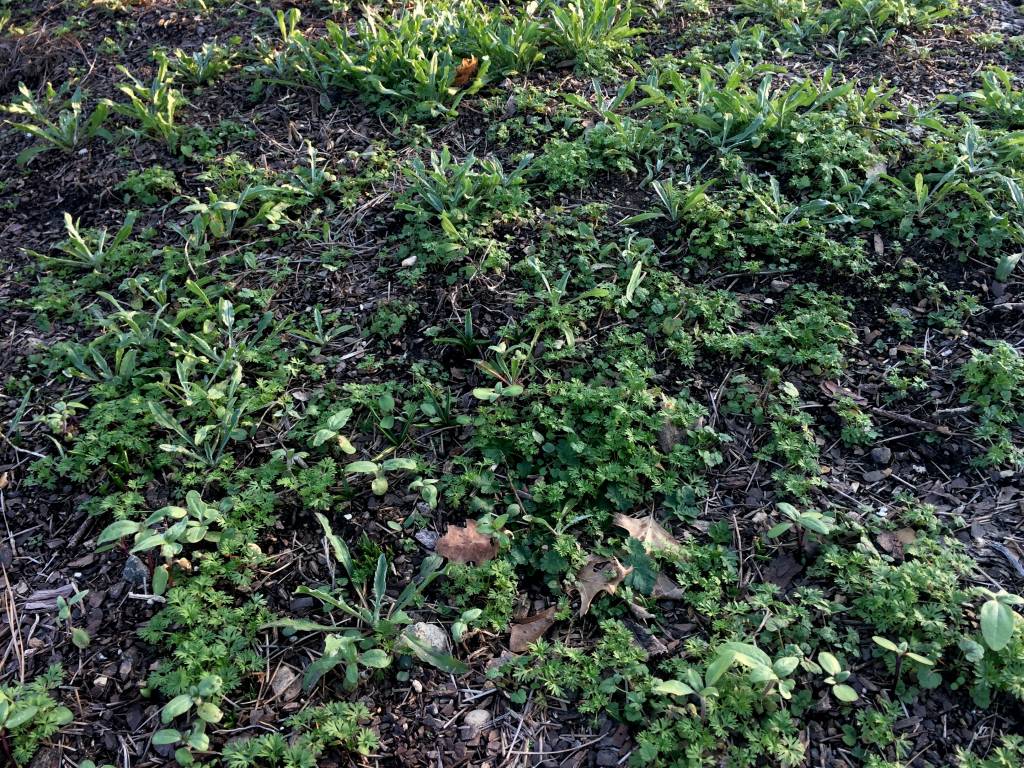
The garden is quiet too, though early blooming shrubs and perennials are beginning to put on their show, and cutting stems of forsythia, quince, and spiraea for early bloom indoors help stave off the winter doldrums.


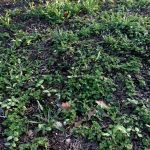
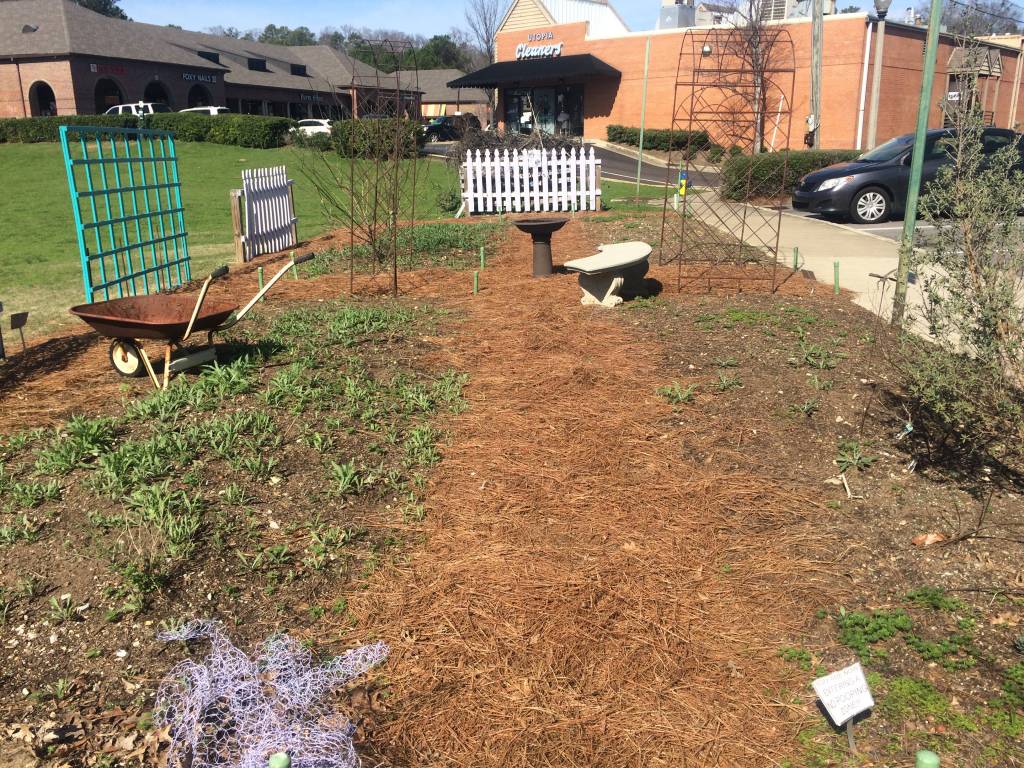
In December Ben got the ‘Better Late than Never’ garden across the street cleaned up and ready for winter. Angie laid fresh pinestraw in the paths in January, and now we’re seeing  larkspur and bachelor buttons appearing..self sown seedlings from last winter’s plants. I sowed lots of poppies a few weeks ago in hopes that they’ll be abundant this year too. We shall see.

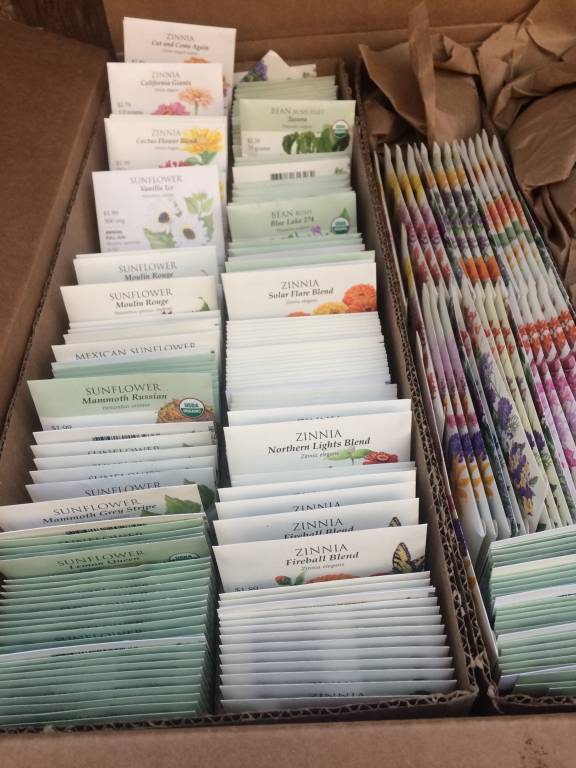
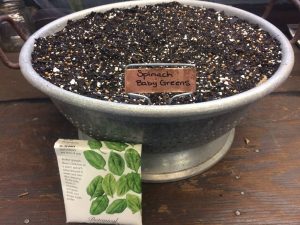
Our spring/summer seeds from Botanical Interests have already come in, though we’re still eyeing the winter options of lettuce and other cool season veggies and flowers. Jamie sowed a colander full of spinach seeds and is going to try them inside. It’s fun to experiment, and seeds are a small investment to make.

It’s a good thing the spring seeds arrived when they did. Yesterday a woman came in looking for zinnias, sunflowers and more summer bloomers, so we let her look through the boxes that weren’t unpacked yet. She mentioned last year she’d been disappointed, coming in too late to get any and was so happy this year to have first pick.

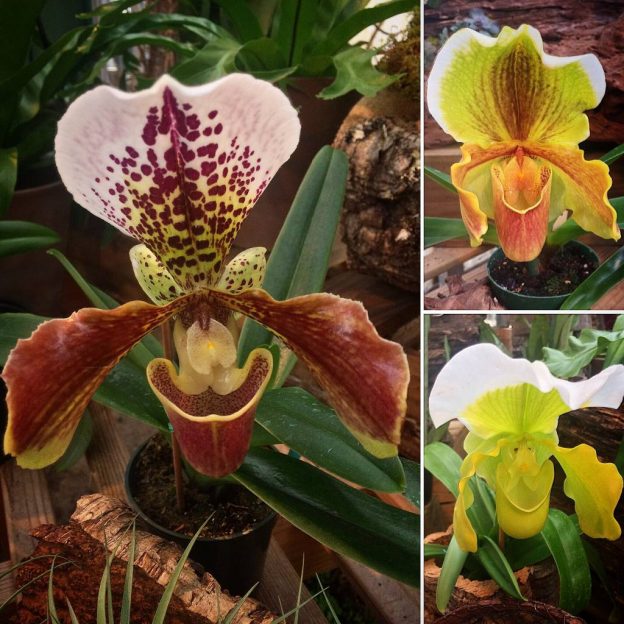
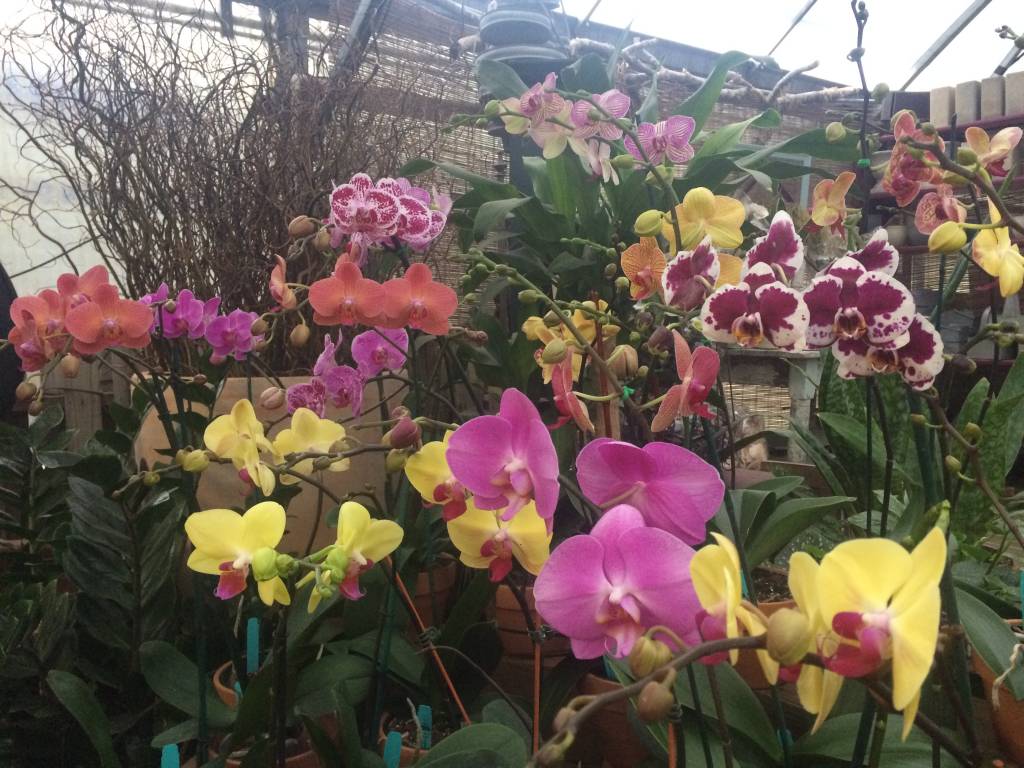
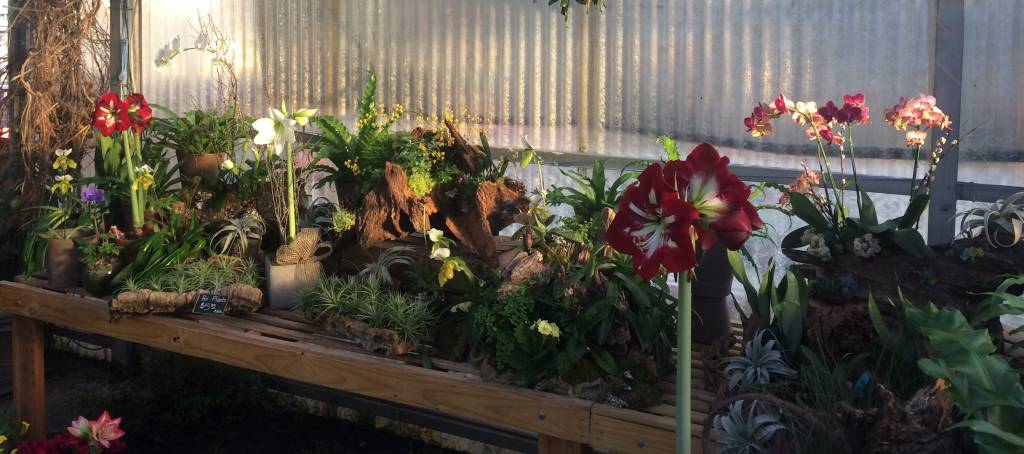
It’s hard to believe Valentine’s Day is right around the corner. We’ve got our orders in for the most beautiful blooming plants we can find. Orchids, hydrangeas, cyclamen, calla lilies, azaleas, and more – all plants, not cut flowers, so they’ll last longer.

In fact, every picture I post on our Instagram account of our planted arrangements has the hashtag #plantsnotcut. I love cut flowers as much as the next person, but it’s nice to have a gift that lasts a bit longer.


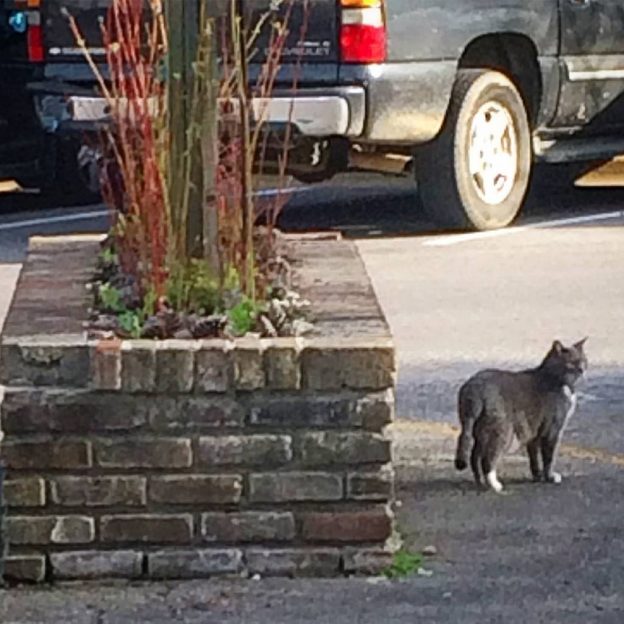
The cats of the shop, Tacca, Liam, Ozzie and Spooky, like the late winter quiet too, though they probably get the most visitors coming in looking just for them. There were at least 7 children in the other day squealing with delight and so happy to follow Tacca and Liam around. Spooky and Ozzie are too shy (Or smart?) to make friends, content to watch from a safe distance.


The cork bark planter inspiration continues. A couple weeks ago we planted three for a party with blooming blue anemones, ranunculus, and pansies. They really were striking, and since they’re planted to last will  only get better as they grow.


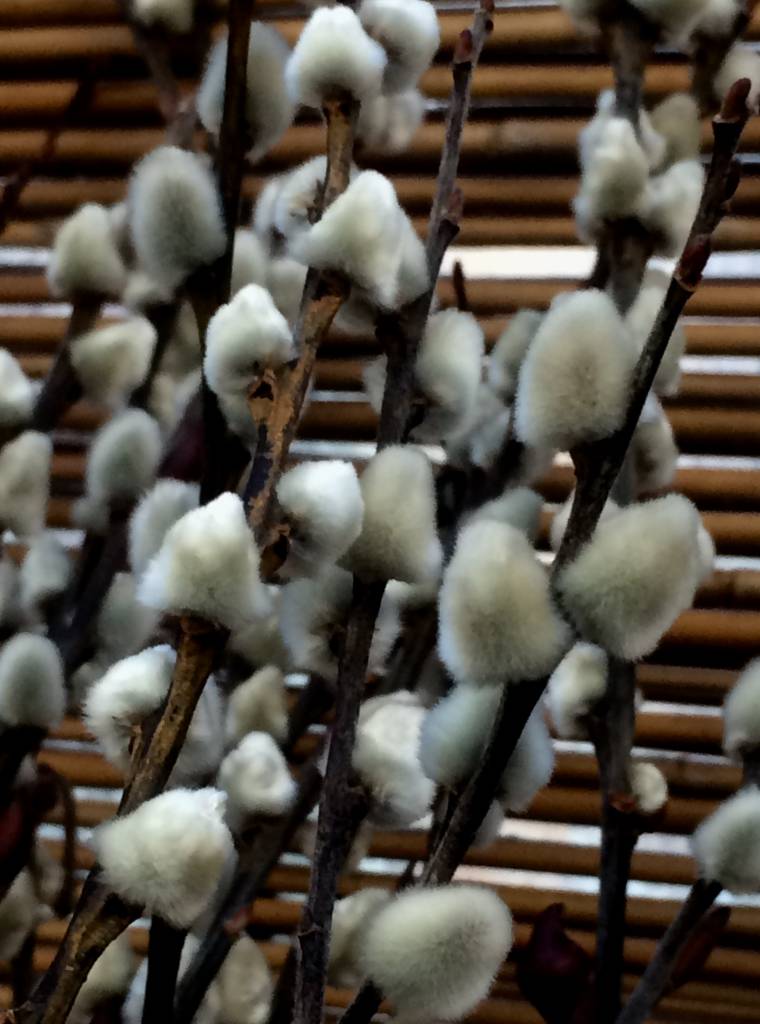
The pussy willow branches are abundant now. I’m not sure what stage they are when cut, I only know they’re perfect when they arrive here. I still remember my Dad cutting way back the huge pussy willow shrub in our back yard in Wisconsin and all the beautiful stems that it produced.

Those pussy willow branches were one of our earliest harbingers of spring in the dead of late winter – the catkins shining in the sunlight on days the drip,drip,drip of melting snow filled the air and puddles materialized on every flat surface.


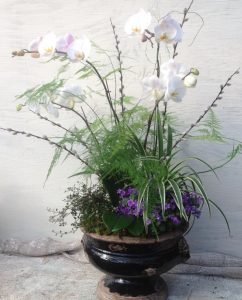
Here in the south we use them as accents in orchid arrangements and with other spring flowers. Their fleeting availability makes them all the more special.

In the winter the nursery area out front can be very deceiving, and, if you take just a few more steps and enter the greenhouse, you’ll see all sorts of colorful blooming flowers and houseplants.

We stay busy maintaining the many plants, creating beautiful container gardens and arrangements for parties, and taking pictures of everything for our Facebook and Instagram social media accounts. Our goal this year is to create more video content to better communicate  the joys of what we do. 

Here’s looking ahead to spring, but ’til then enjoy these late winter days and appreciate the beauty of this quiet season.

And, if you need a beautiful respite from the world’s cares,  stop in and stroll through the greenhouse, either here or somewhere near you. It’s bound to make you smile.

By Kris Blevons