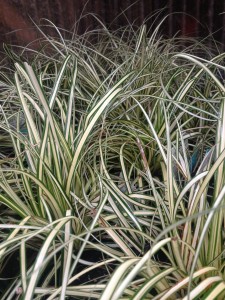
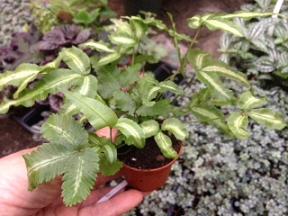
growing out nicely…
It’s summer, the heat is on, and we’re all working overtime to keep our landscapes looking as fresh as they did in the spring…thankfully we’ve been getting rainfall to help us out!
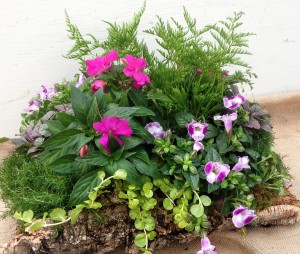
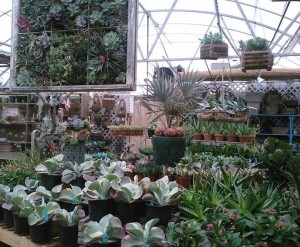
I thought you might enjoy seeing some of the planters and arrangements we’ve done through the spring and now into summer – some are succulent designs, some will enjoy the hottest part of a landscape, others are meant to stay inside or in a shady spot outside. And there are some just for a party or gift – but since they’re created with live plants they’ll last so much longer than cut flowers!
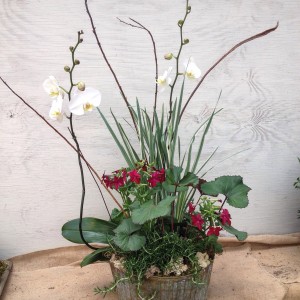
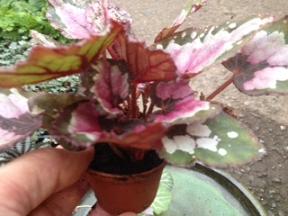
a gift for someone…
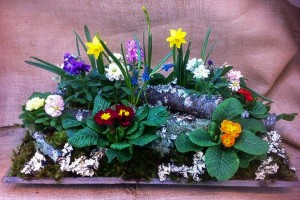
early spring…a centerpiece for a party….
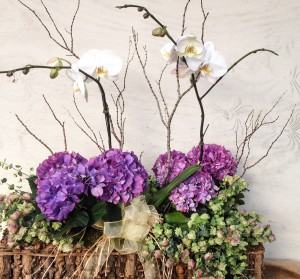
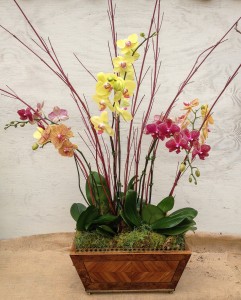
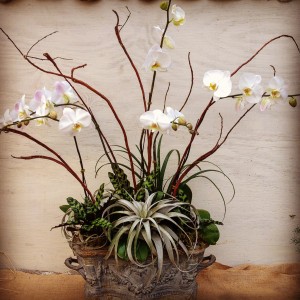
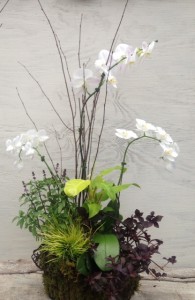
Arrangements for parties or gifts using orchids, indoor flowering plants, and any other plant that catches our eye are a lot of fun to put together, and we stay very busy creating them for folks…there really is no end to the combinations that can be used for this type of arrangement. And, once the party is over, the whole thing can be taken apart and the plants used elsewhere! The copper planter shown here was used for a party – and we’re assuming the flowers and herbs were planted in a sunny garden or container and are probably still going strong!

deadheading, judicious clipping and consistent watering kept this planter beautiful all last summer…
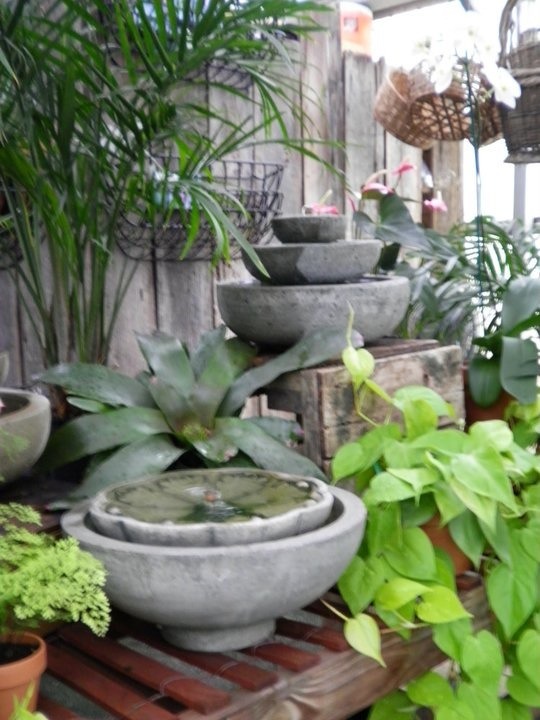
For long term plantings, smart plant choices need to be made, taking into consideration pot size and amount of light they’ll receive, Last, but definitely not least, the plants need to look good together! One of the most important aspects of container gardening is maintenance. Watering, deadheading, pinching, or, even more drastic, cutting back need to be done consistently to keep your container gardens looking their best.
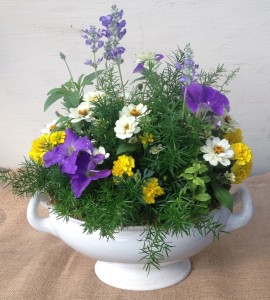
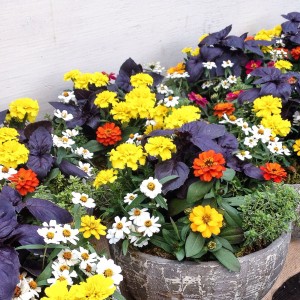
The planter at left is filled with herbs and flowers designed to handle a lot of heat and sun – just what we have in the middle of summer in Birmingham! This combination grew out quite happily last summer in the front of the shop on the hot asphalt…and inspired many other planters just like it throughout town. Herbs and flowers just go together!
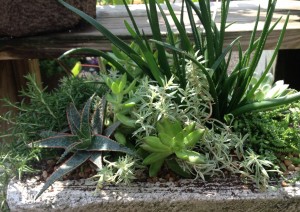
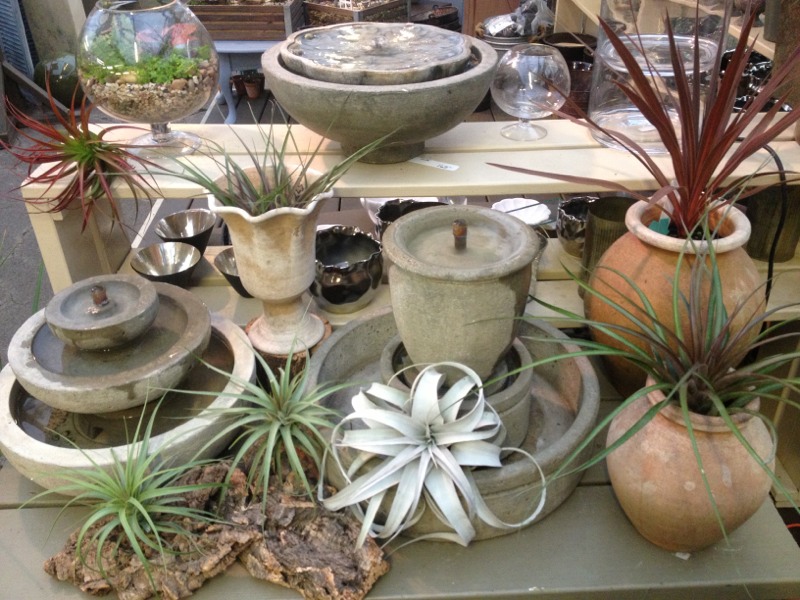
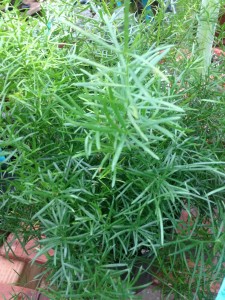
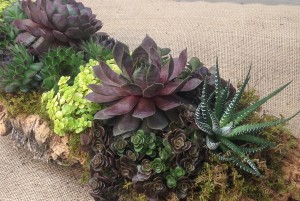
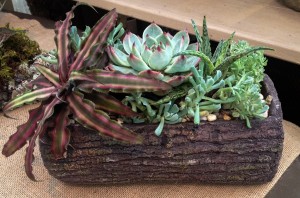
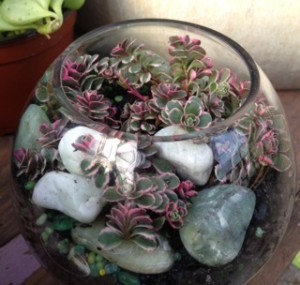
aloes, succulents and a trailing rosemary…
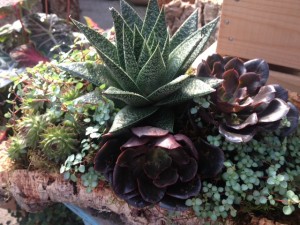
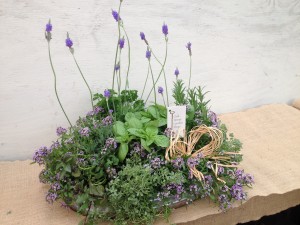
Succulents and herbs work quite well together…the trough planter shown here combines succulents, a couple of different aloe plants, and a trailing rosemary. Whoever said you can’t mix it up wasn’t talking to us!
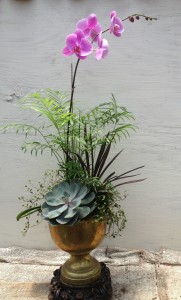
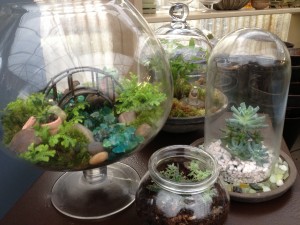
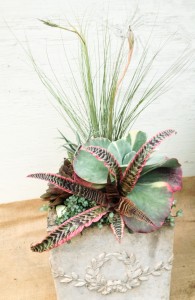
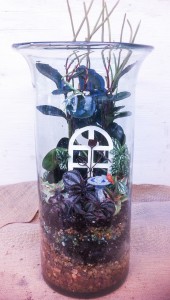
succulent and orchid arrangement…
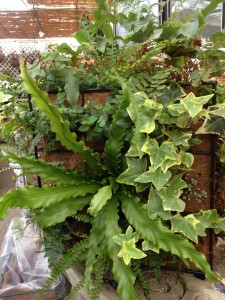
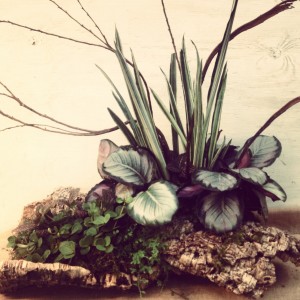
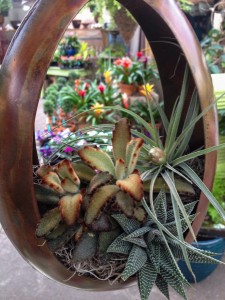
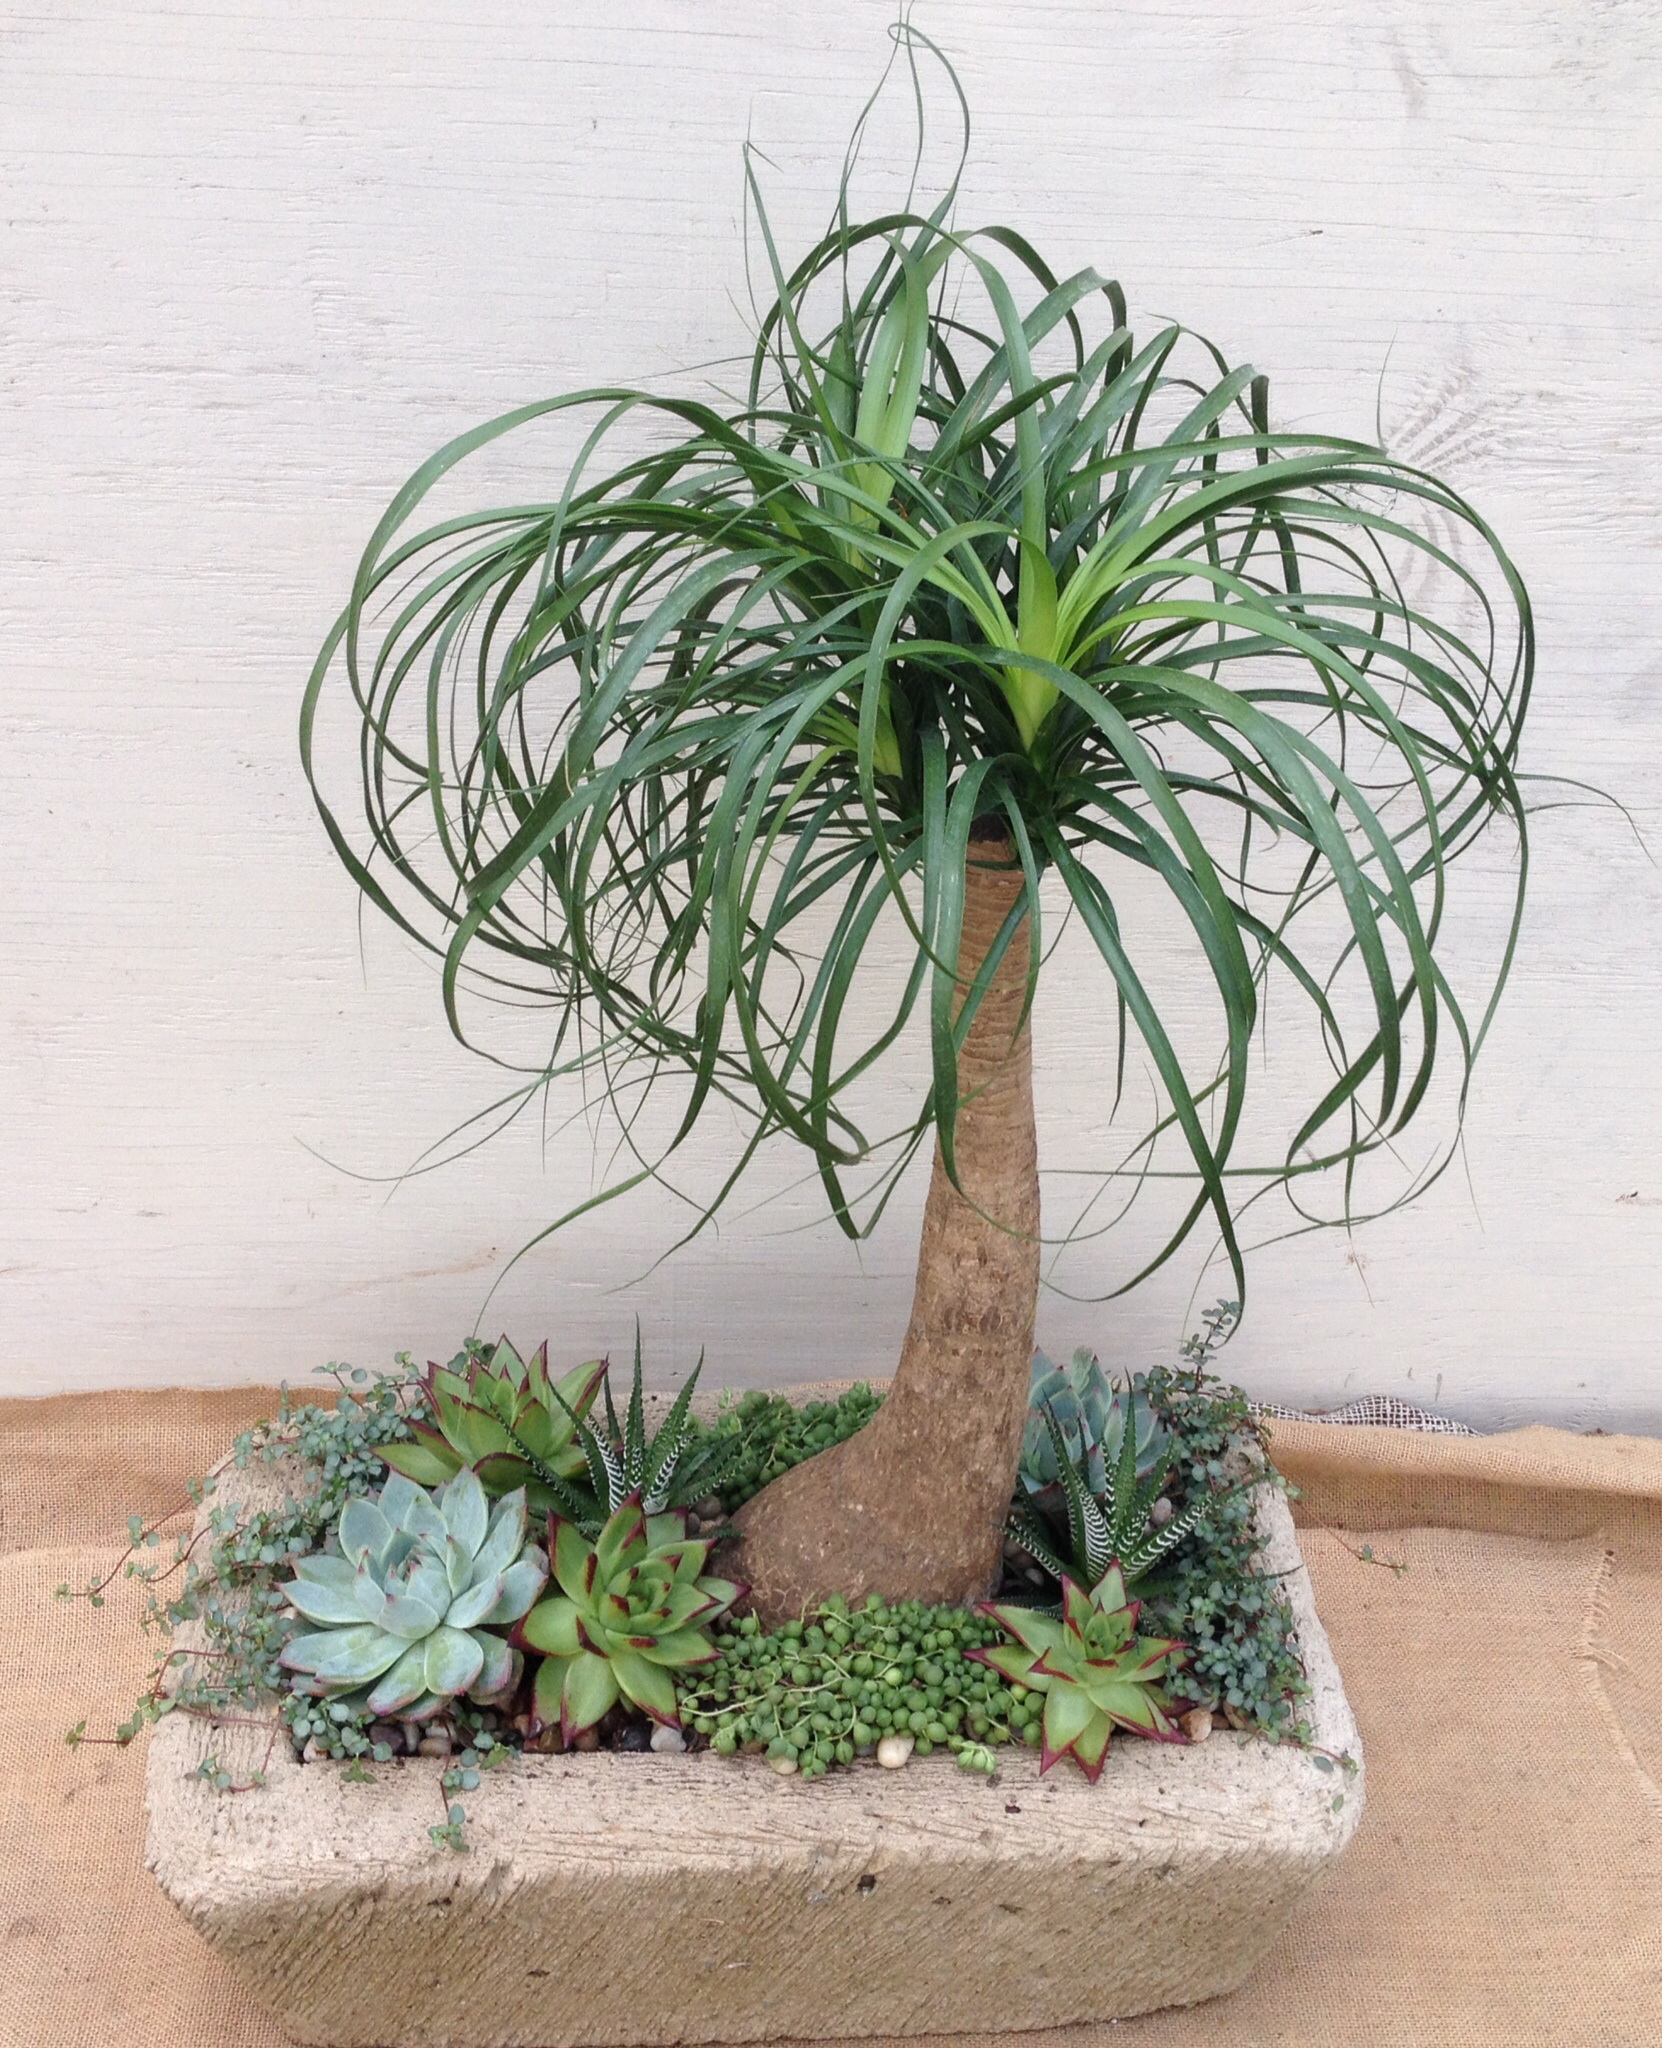
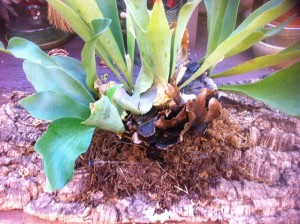
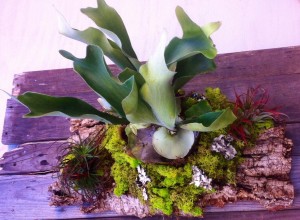
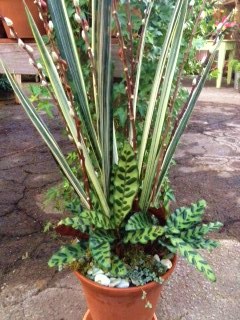
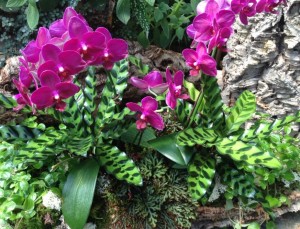
The succulents that have been available this spring and summer have really been beautiful, and we’ve been using them in all kinds of containers, on their own in long term plantings, and in gift arrangements too. Here’s one used in an orchid arrangement as an accent…they’re quite striking used in this fashion. If you’ve been keeping up with our posts on cork bark planters , you’ve seen us use the succulents in them as well.

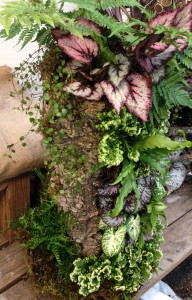
houseplants in cork bark…
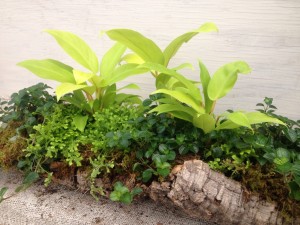
more house plants in cork bark – this one ended up on a mantle…
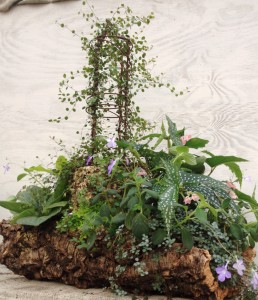
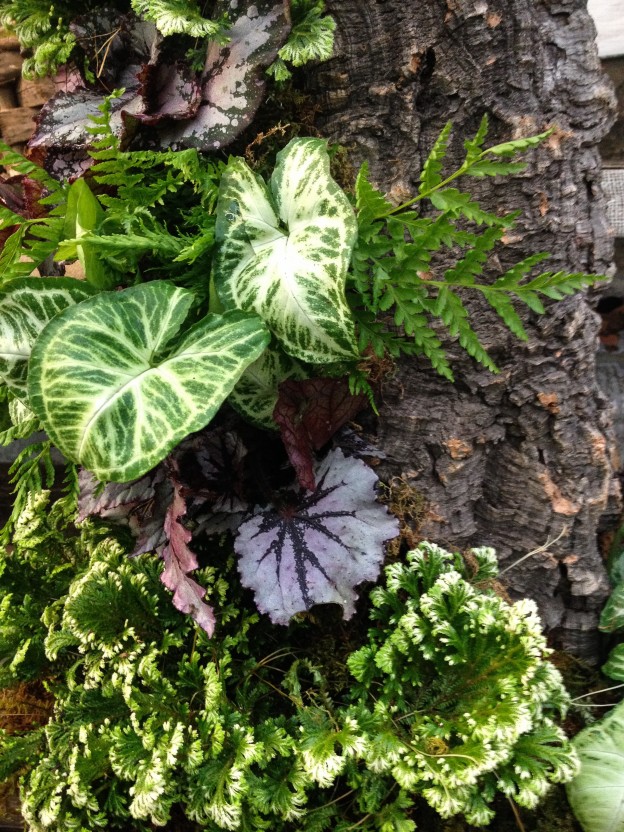
this cork bark piece was large…
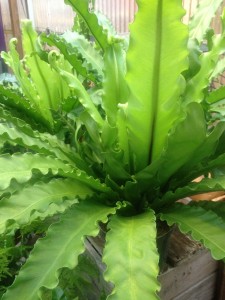
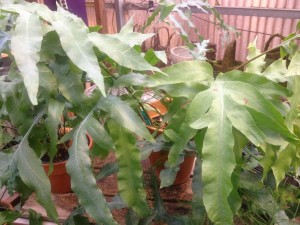
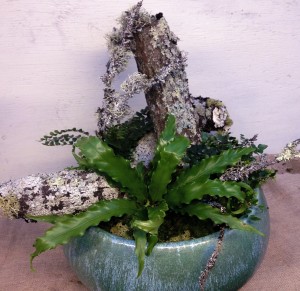
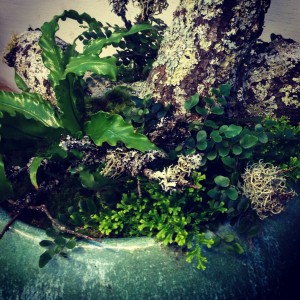
Speaking of cork bark planters, here are a few pictures of some interesting things we’ve done with them…succulents aren’t the only player in this fun sandbox! A cork bark planting done using carex, ajuga, selaginella and perennial ferns ended up at a mountain home in Highlands, North Carolina. The other planting in that post also went home with a happy customer.
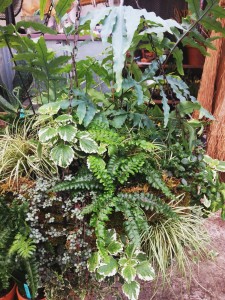
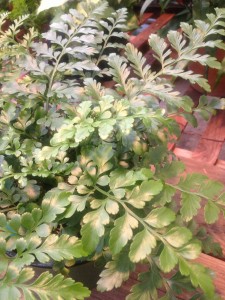
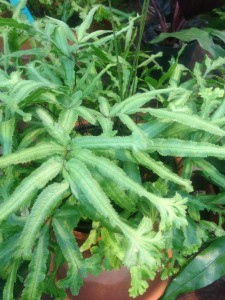
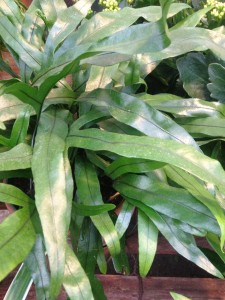
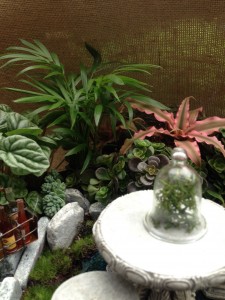
The ones shown above utilize a lot of houseplants and will be happiest either on a shady terrace or porch or inside in bright light. Some of the plants used include episcias, pilea, angelvine, creeping charlie, dracaena, selaginella and philodendron…all good houseplants. These will work nicely in a shady spot and there are other planters we’ve done that will too. Let’s take a look…

for shade…
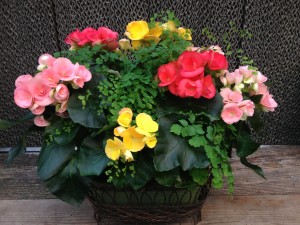
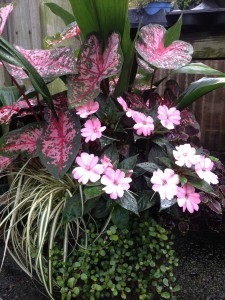
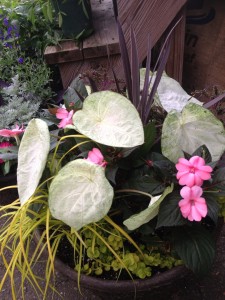
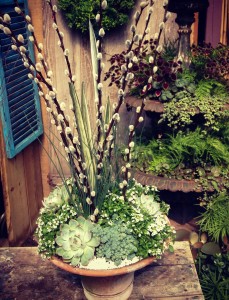
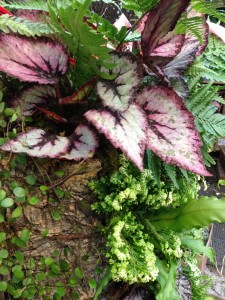
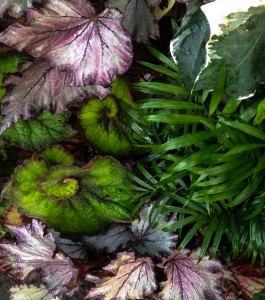
Shade containers are some of the most fun plantings to do because so much depends on foliage color and form. This might not be as flashy as an entire pot of flowers, but it is very long lasting and beautiful when done well. The hayrack shown here uses maidenhair fern, caladiums, an angelwing begonia and episcias in a very pleasing combination…the ‘Sweetheart’ caladiums seem to float above the maidenhair, and the episcia is a very subtle addition to the composition…
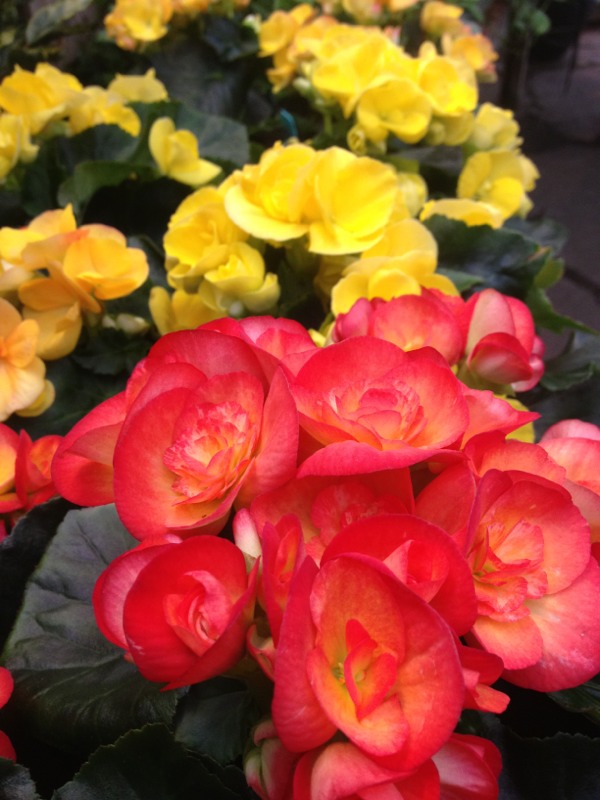
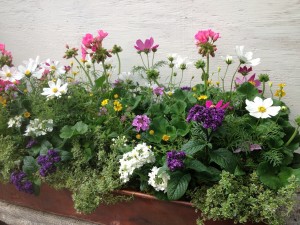
 The last planting is shown to serve as an example of how you can definitely have color in the shade using foliage in addition to flowers…the ‘Garden White’ caladium in contrast with the golden carex and sunpatien really catches the eye! The planter at the top of this post is also one for shade, and, once again, the foliage is the star.
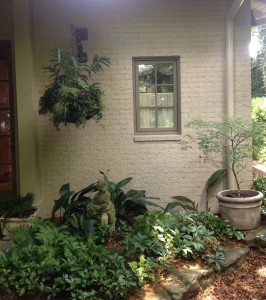
It’s always nice to have customers walk through the nursery with the same plants in their hands as we’ve done in our display planters. We are happy to have our designs in your landscape, and know that imitation is the sincerest form of flattery!
– Posted using BlogPress from my iPhone


 Because succulents, air plants and even
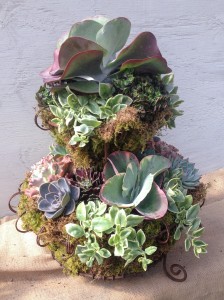

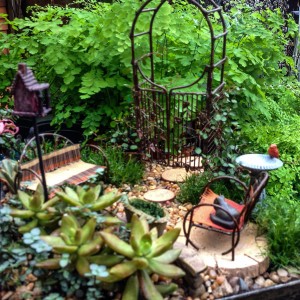
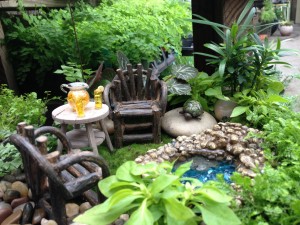
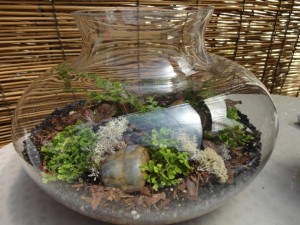
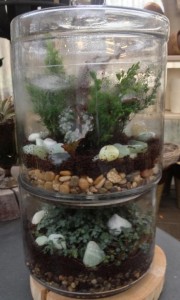
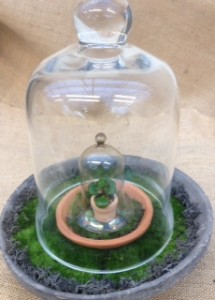
 What does all this have to do with miniature gardens, you ask? Well, these tiny gardens have been very popular the past number of years, and the garden club organizers decided it would be a fun thing to have on some of the tables for one of their meetings. And they turned to Oak Street Garden Shop for help.
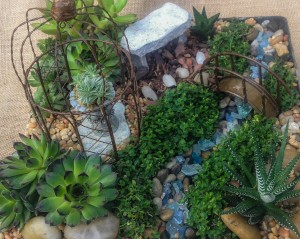 Because these take a great deal of time to make, I finally gave up on waiting for new miniature garden accessories I’d ordered since my deadline to have them completed was looming…but I still had plenty of fun things to play with. If you’ve ever made one of these
 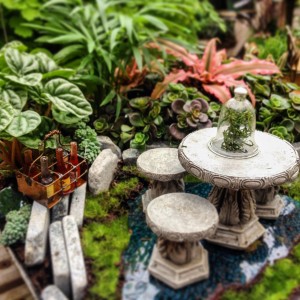 Tiny pots of ordinary houseplants also work in these gardens. Little parlor palms, ferns, polka dot plants and baby podocarpus make good companions, and selaginella is a pretty groundcover.
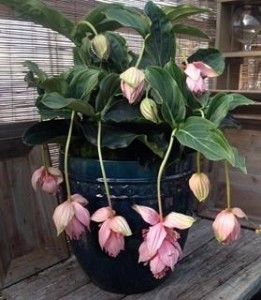 A stop you in your tracks plant, this one is very new to everyone, including us. Medilla magnifica’s origin is in the mountains of the Phillipines…and this is just one of 400 species! It’s an epiphyte in its native land, growing high in trees. What a sight that must be! Evidently the late king Boudewijn of Belgium was enamored of them, as well, growing them in his royal conservatories and using them on Belgian currency.
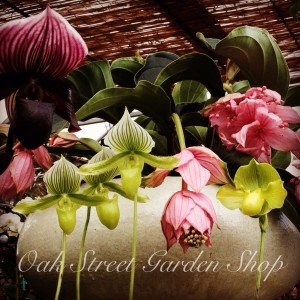
 These pieces can be used either horizontally, planting along the top, or vertically, like I’ve designed this one, positioning the plants up the planter. Since it could be unsteady if it didn’t have something to stabilize it at the base, I placed it in a pulp planter that I’d covered with a layer of sheet moss. A plastic saucer underneath will protect the floor during its time indoors, then it can be used without the saucer out in the garden or on a patio, porch or other spot that has some shade.
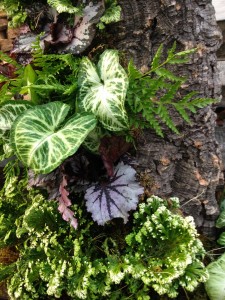
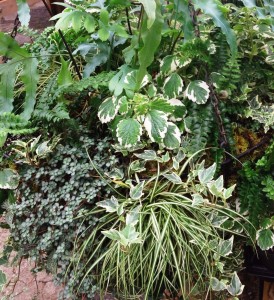
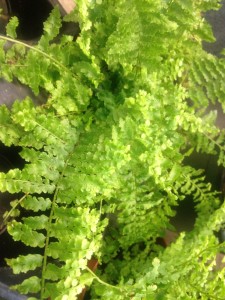
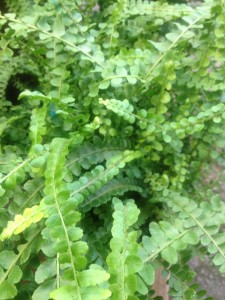
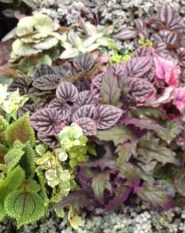
 This planting has a variety of houseplants, including nephthytis, used for its lighter green and white foliage, rex begonias for a bit of color, tooth brake ferns and a bird’s nest fern, a new selaginella with white tips called ‘Frosty’, and a large autumn fern in the top with angel vine spilling over the edge with one last, large rex begonia.
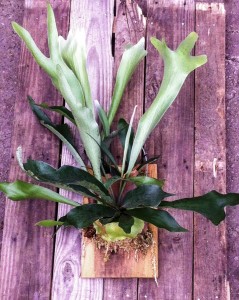


 If you haven’t noticed,
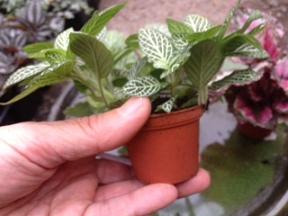
 This summer’s wet, cool weather might have kept many of you out of your gardens, but we’ve managed to stay busy in the greenhouse putting together arrangements filled with orchids, succulents, houseplants, and so much more…here’s a peek at some of them. We regularly have folks who stop in just to see what we’ve been working on! All of these arrangements are composed of live plants, no cut flowers here.
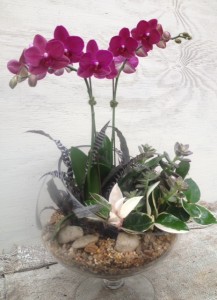
 Finally, the silver container was given in memory of someone…the longlasting and low maintenance houseplants of trailiing pepperomia and cryptanthus make excellent companions. It’s gratifying, also, to know that whoever is on the receiving end will be able to enjoy this longer than a fresh flower arrangement could ever hope to last.
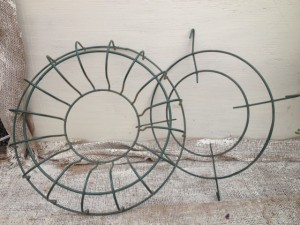
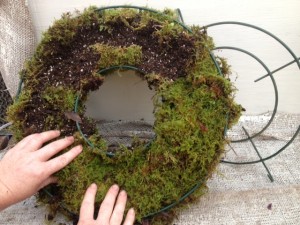
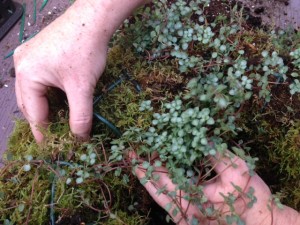

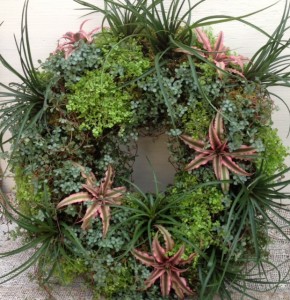
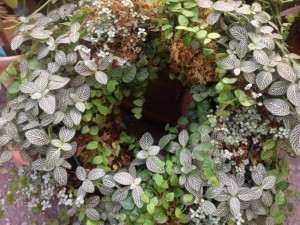
 Ok, this might not be the moss hanging basket for your front porch…in fact, its proportions are massive, at least 30″ across and almost as deep. This basket belongs to a customer who hangs it in in a shady garden area.
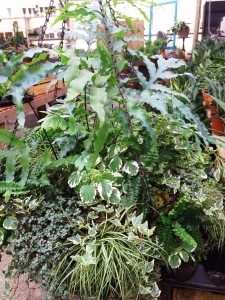 This year, she wanted an all white and green foliage basket filled top to bottom with shade loving plants. What a fun project! The basket itself is a heavy duty plastic coated metal frame with openings that plants can be inserted into. Many folks use sphagnum moss or coco liner for these type of plantings, and it works well. However I prefer to use fresh green sheet moss and layer the plantings from the bottom up.